Gradient Tool
A dedicated tool for painting gradients directly onto the surface of a 3D mesh.
A dedicated tool for painting gradients directly onto the surface of a 3D mesh.
Shortcut
G — Activates the Gradient Tool in the Painting 3D tool palette.
Modes
| Mode | Behavior |
|---|---|
| Mouse | Define start/end points by dragging on screen |
| Axis | Apply along the X / Y / Z axis (reversible) |
| CurveMesh | Apply along a Curve Mesh object |
Mouse mode
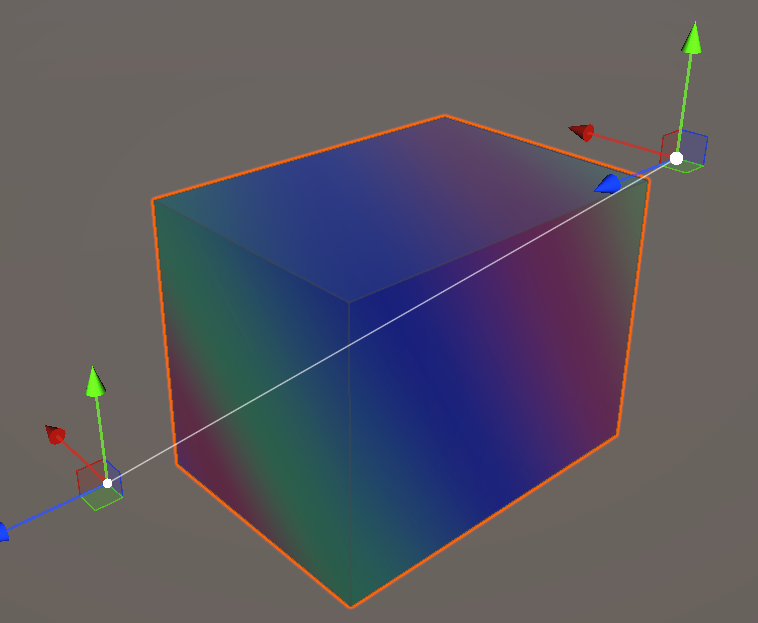
Drag across the mesh surface to paint the gradient along the drag direction. The starting point is the 0% position; the ending point is 100%.
Axis mode
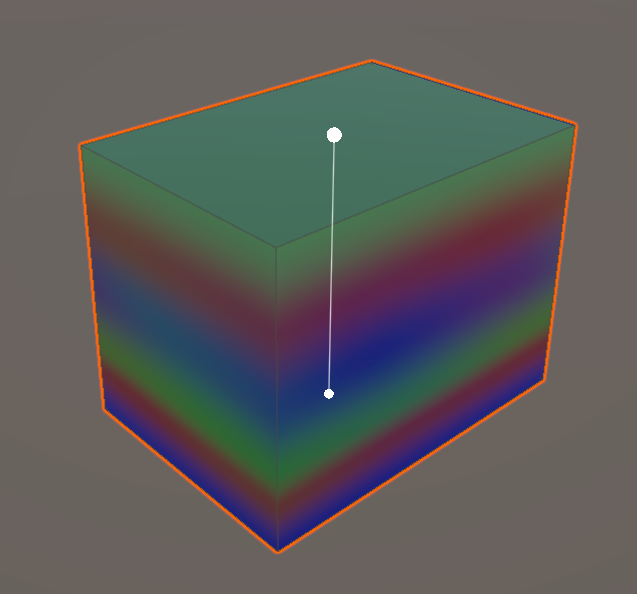
Pick an X / Y / Z axis and the gradient is applied automatically across the mesh. Use Reverse Direction to flip the direction.
CurveMesh mode
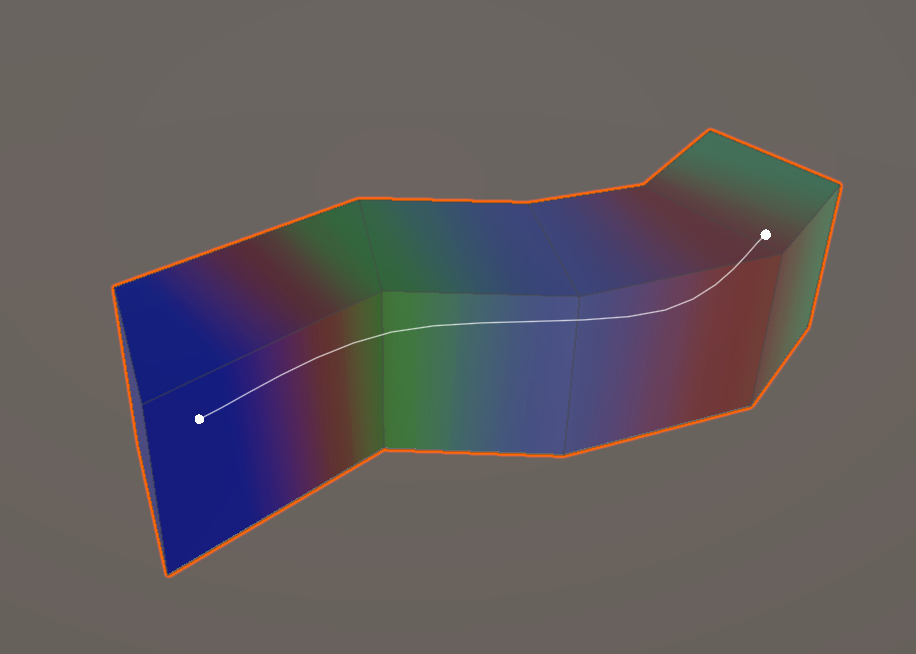
Assign a Curve Mesh object and the gradient is drawn along the curve. Useful when the gradient should follow a non-linear path.
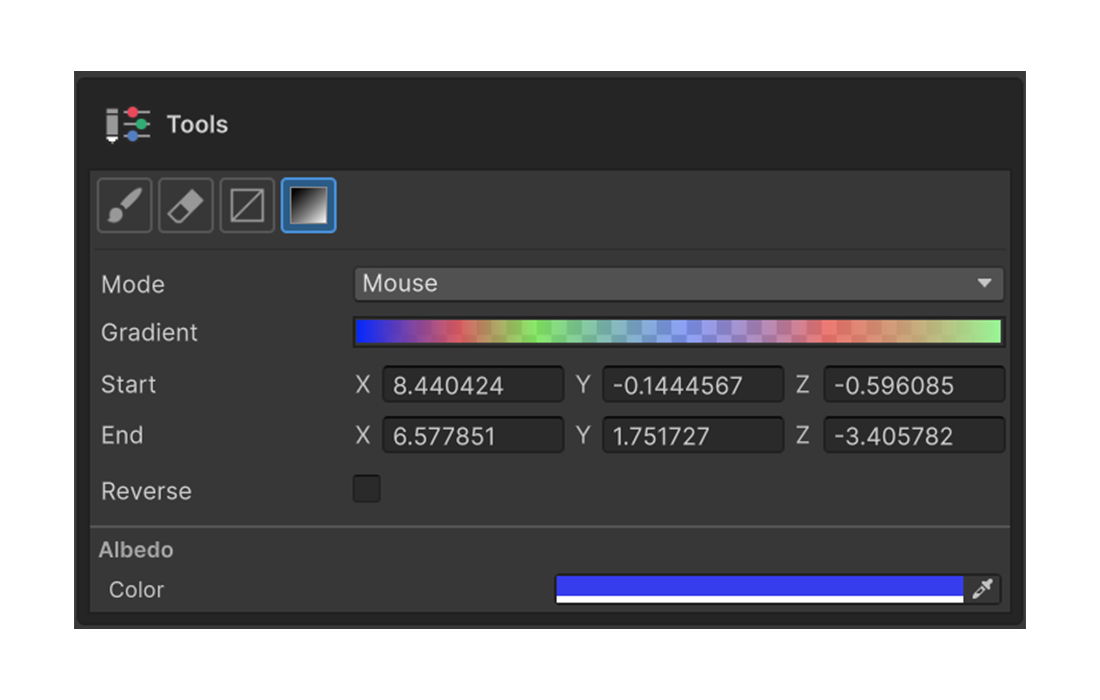
Properties
Gradient
Edit color stops (colorKeys) and alpha stops (alphaKeys) directly. Changes preview immediately while the tool is active.
Shape Mode
Pick one of the three modes above.
Axis
Shown only when Shape Mode = Axis. Pick X / Y / Z as the reference axis.
Reverse Direction
Flip the gradient direction.
With Masks
When a mask layer is active, the gradient is constrained to the mask area. Combining gradients with masks is the canonical way to paint a gradient into a specific region.
Usage
- Pick Gradient Tool from the tool palette or press
G. - Choose a mode (Mouse / Axis / CurveMesh).
- Configure the color stops in the Gradient property.
- Depending on the mode:
- Mouse — Drag across the mesh.
- Axis — Just pick an axis; toggle Reverse if needed.
- CurveMesh — Assign a Curve Mesh object.
- Refine the color stops while observing the result.