
Layer Mask
A layer mask is a property that masks a specific area of a layer.
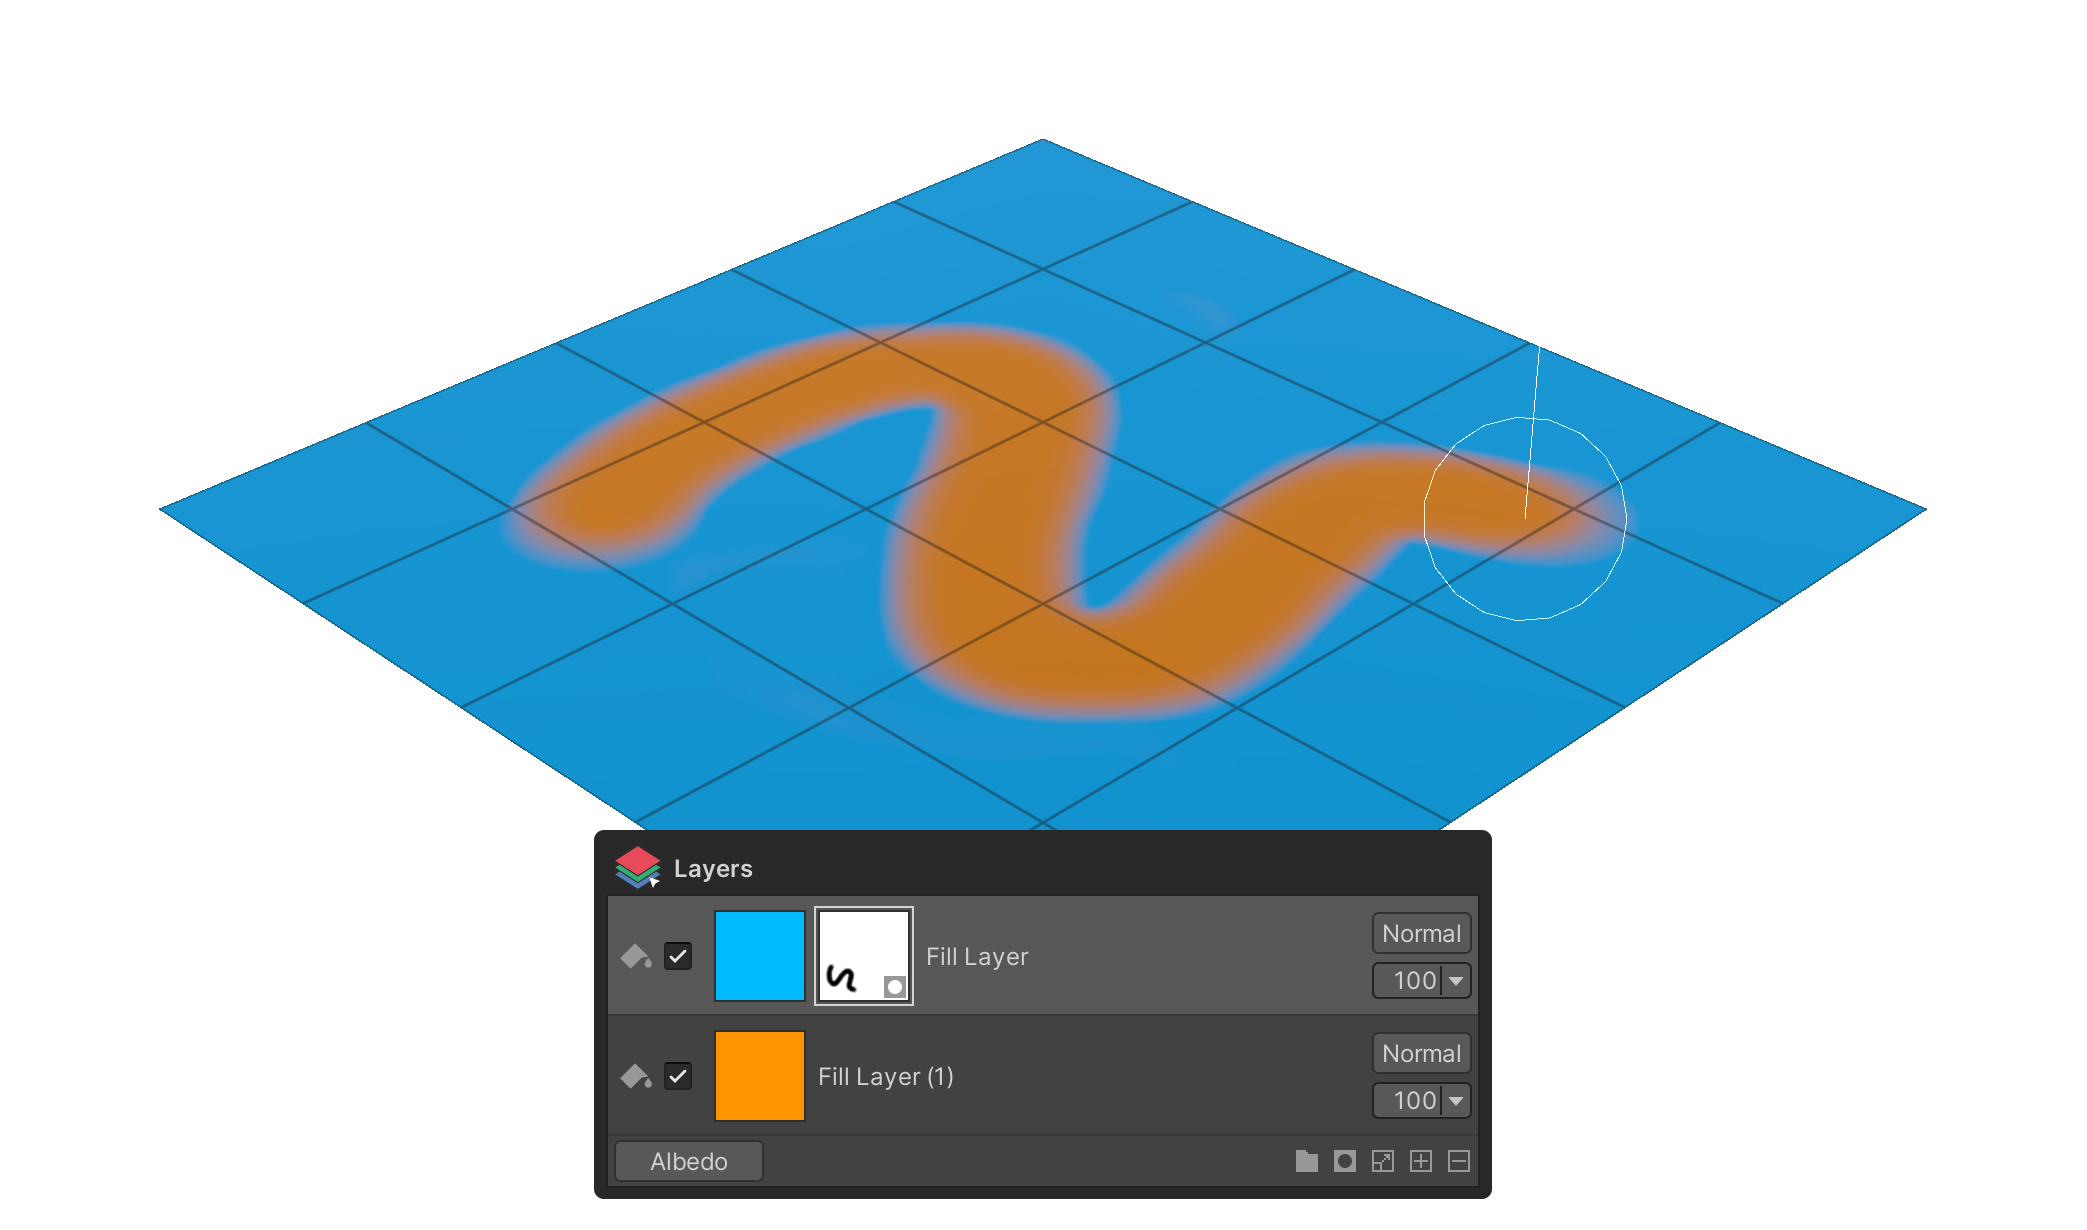
A layer mask is a property that masks a specific area of a layer.
How to use it
1.select the layer you want to add a layer mask to.
2.Click the Layer Mask button.
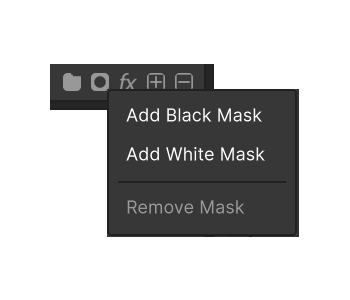
3.Select either Add Black Mask or Add White Mask.
4.A layer mask has been added to the selected layer.
Properties
Add Black Mask
This property adds a black layer mask. As a result, all materials on the assigned layer will be hidden.
Add White Mask
Property that adds a white layer mask.
Remove Mask
Properties to remove the selected layer mask.
Tool Behavior in Mask Edit Mode
Click a mask thumbnail to enter mask edit mode. The tools in the Tools group then operate on the mask pixels instead of the layer body. For each tool's general properties and usage, see the Tools Group page.
Brush
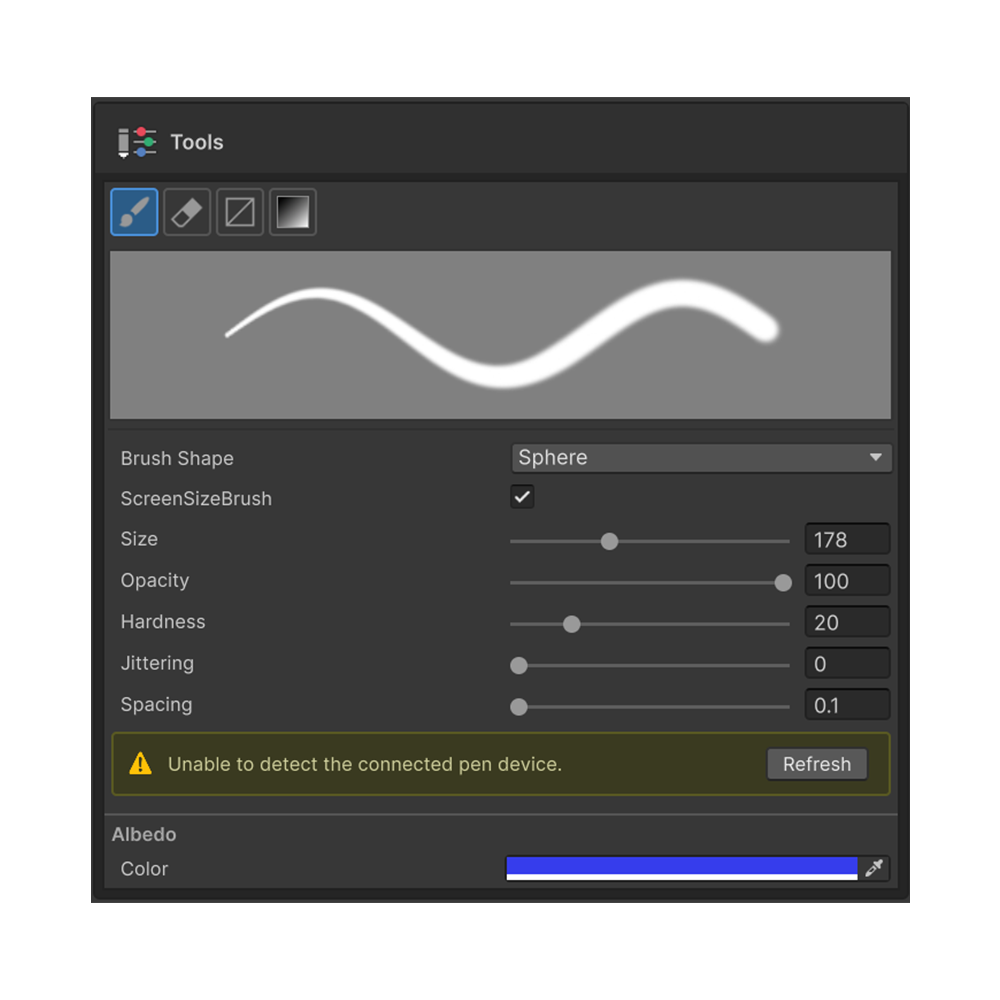
Paints into the mask. The Mask Value property controls the value (0 – 1) written per stamp. Size, Hardness, Opacity, Spacing and other general properties are documented in Brush Tool.
Erase
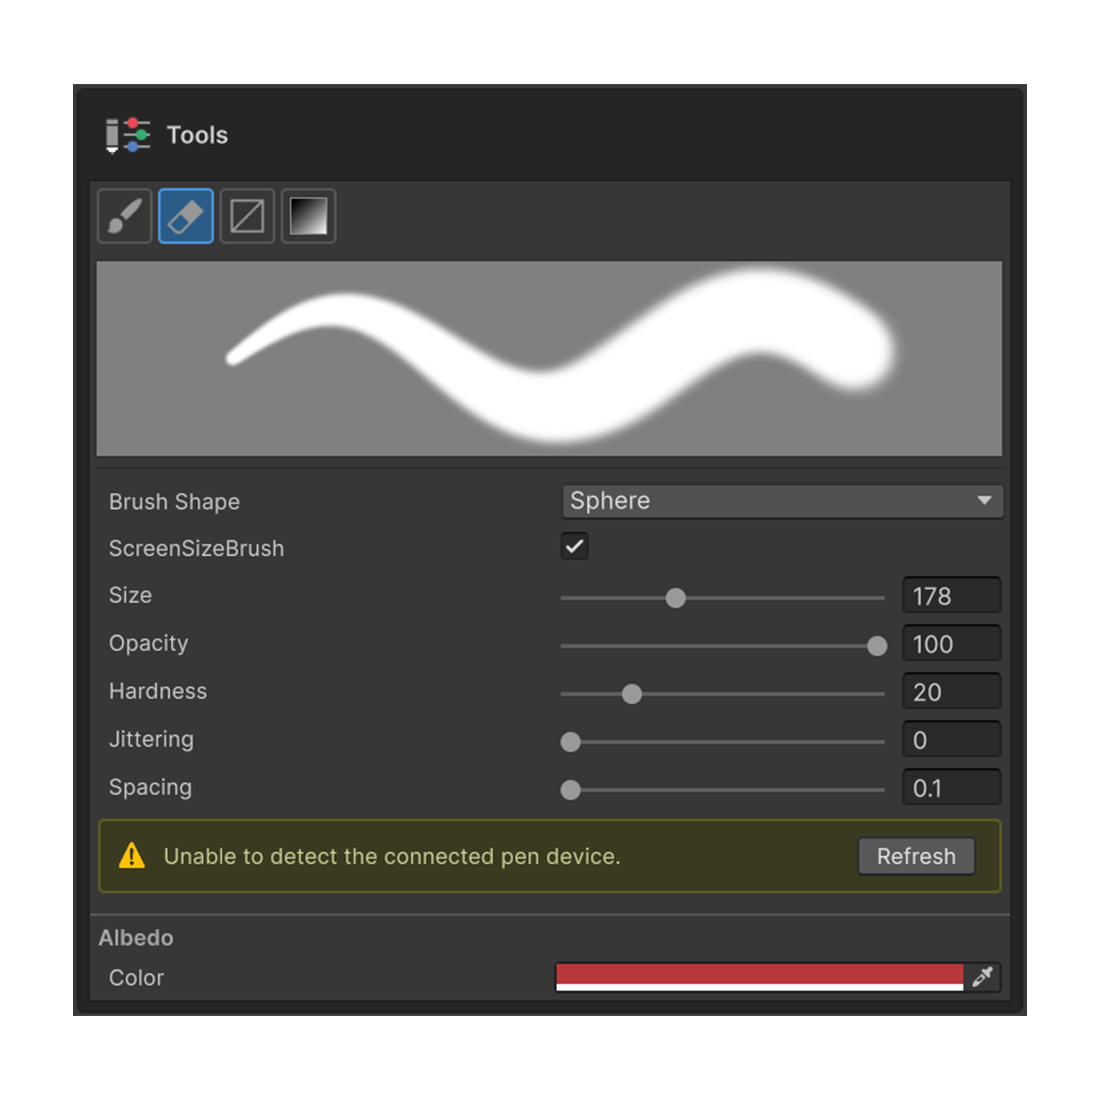
In mask edit mode, Erase behaves like a white brush — re-revealing areas hidden by the mask. Alternate Brush and Erase to sculpt the mask region. Full details in Erase Tool.
Gradient
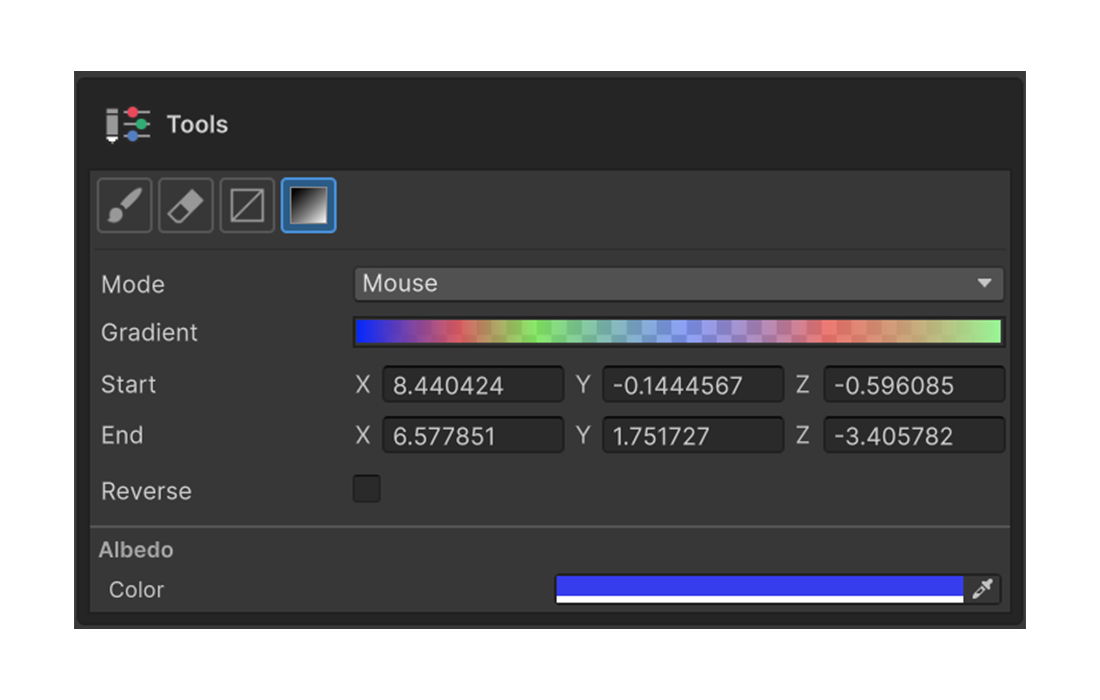
Paints a smooth gradient of mask values onto the mask. Especially effective for soft fade masks using a black-to-white gradient. Mouse / Axis / CurveMesh modes are covered in detail on the Gradient Tool page.
Rect Fill
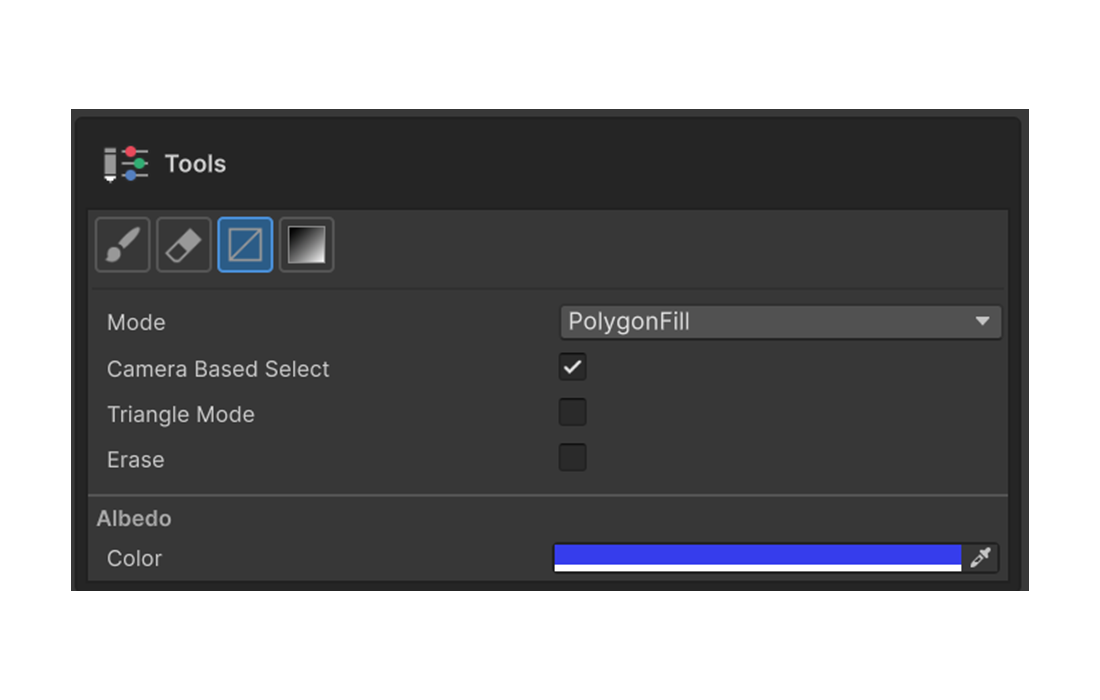
Fills mask values in a single input — by polygon, rectangle, lasso, UV island, or mesh-connected part. Mask Value sets the value, Erase Mode flips the action from fill to erase. All five modes and options are covered on the Rect Fill Tool page.