
Sticker Layer
A Sticker layer applies a single image to the model surface like a sticker.
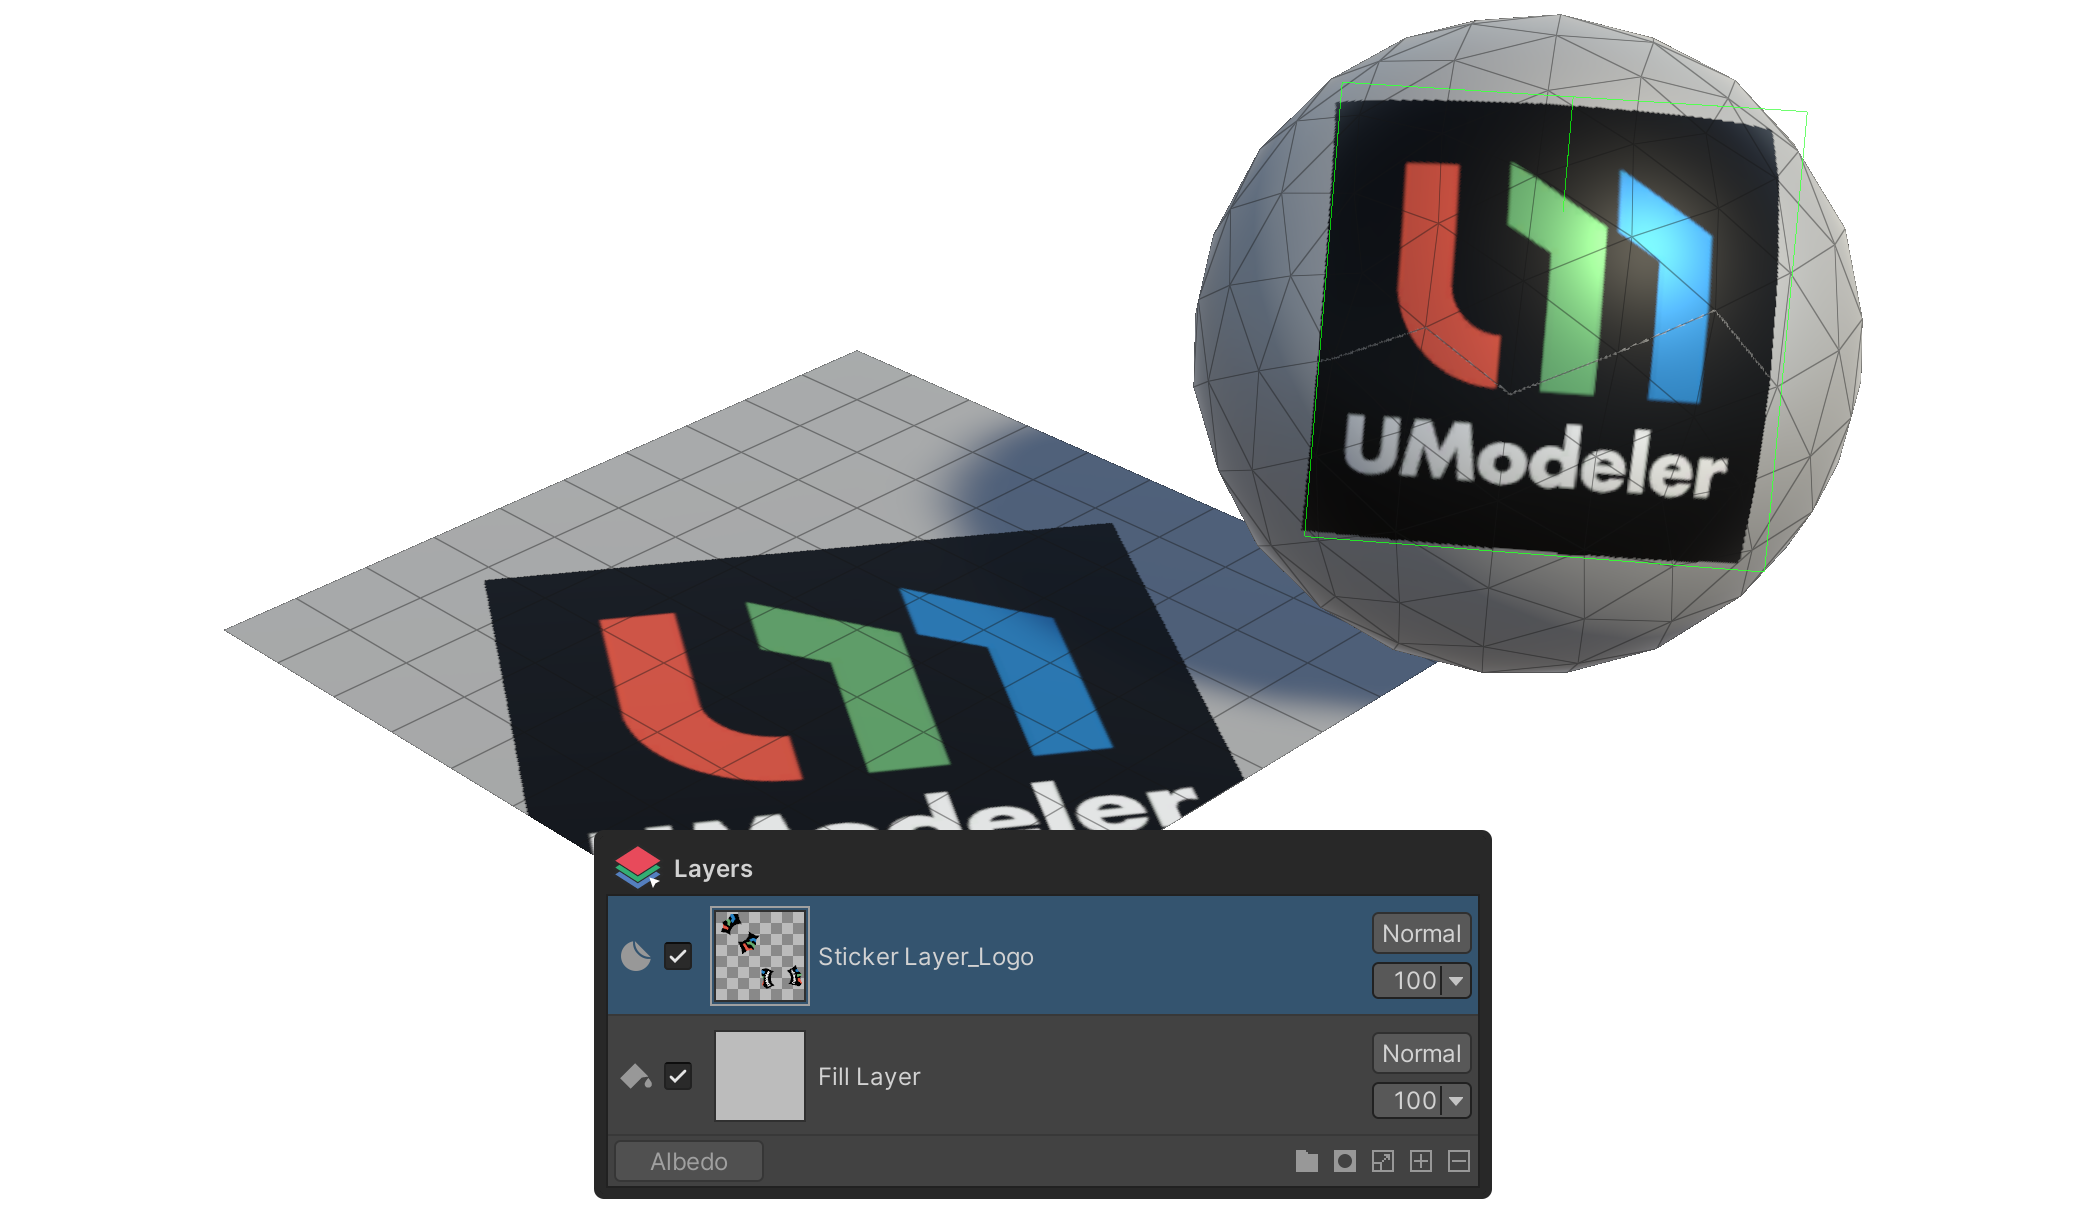
A Sticker layer applies an image to the model surface like a sticker. Ideal for logos, motifs, labels, decals — anything where you need a single image with clear position, size, and rotation laid onto the surface.
How to use
- Click the
+button on the layer panel's status bar. - Pick Sticker Layer from the context menu.
- Click on the model surface to set where the sticker is placed. Hold
Shiftand left-click drag at this step to set the sticker's size at the same time — the drag distance becomes the sticker's size.
Tool Behavior on a Sticker Layer
When a Sticker layer is selected, the Tools group exposes properties controlling the sticker's position, size, and projection.
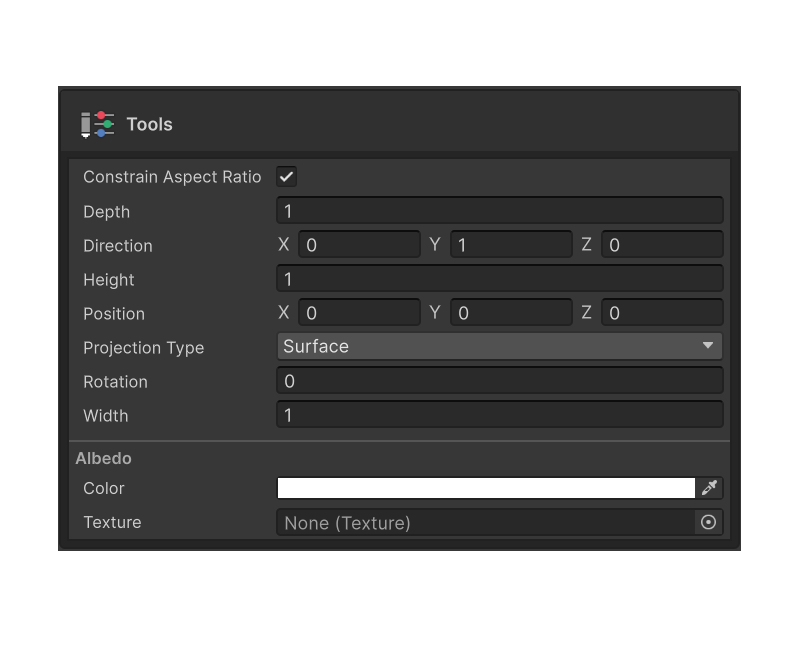
Width
The width of the sticker.
Height
The height of the sticker.
Constrain Aspect Ratio
When enabled, Width and Height stay locked in proportion — changing one scales the other accordingly. Use it to preserve the source image's aspect ratio.
Depth
How deep the sticker projects into the surface. Larger values push the sticker further into thicker regions.
Rotation
The rotation angle of the sticker.
Direction
The normal direction the sticker points along — i.e., which direction it projects from.
Position
The sticker's world position. Useful for fine-tuning the spot picked by surface click.
Projection Type
Controls how the sticker projects onto the model surface.
- Surface — Curves naturally along the model surface. Ideal for decals on curved geometry.
- Screen — Projects flat from the current camera view. Good when you want the on-screen shape stamped onto the mesh as is.