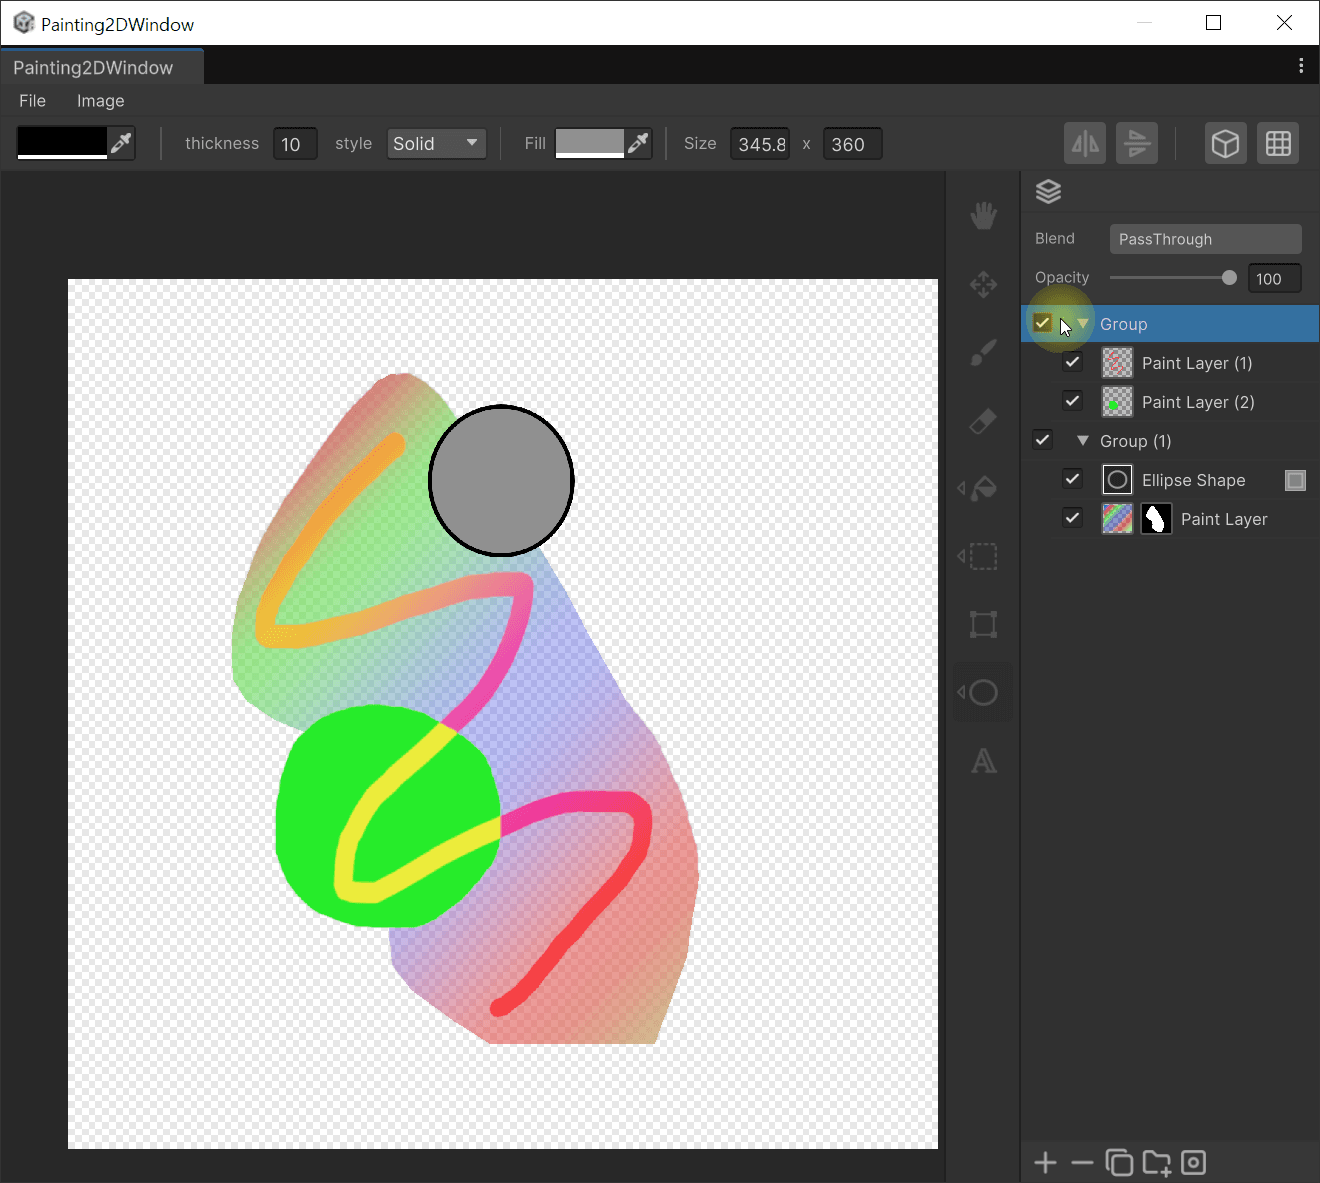
Layers
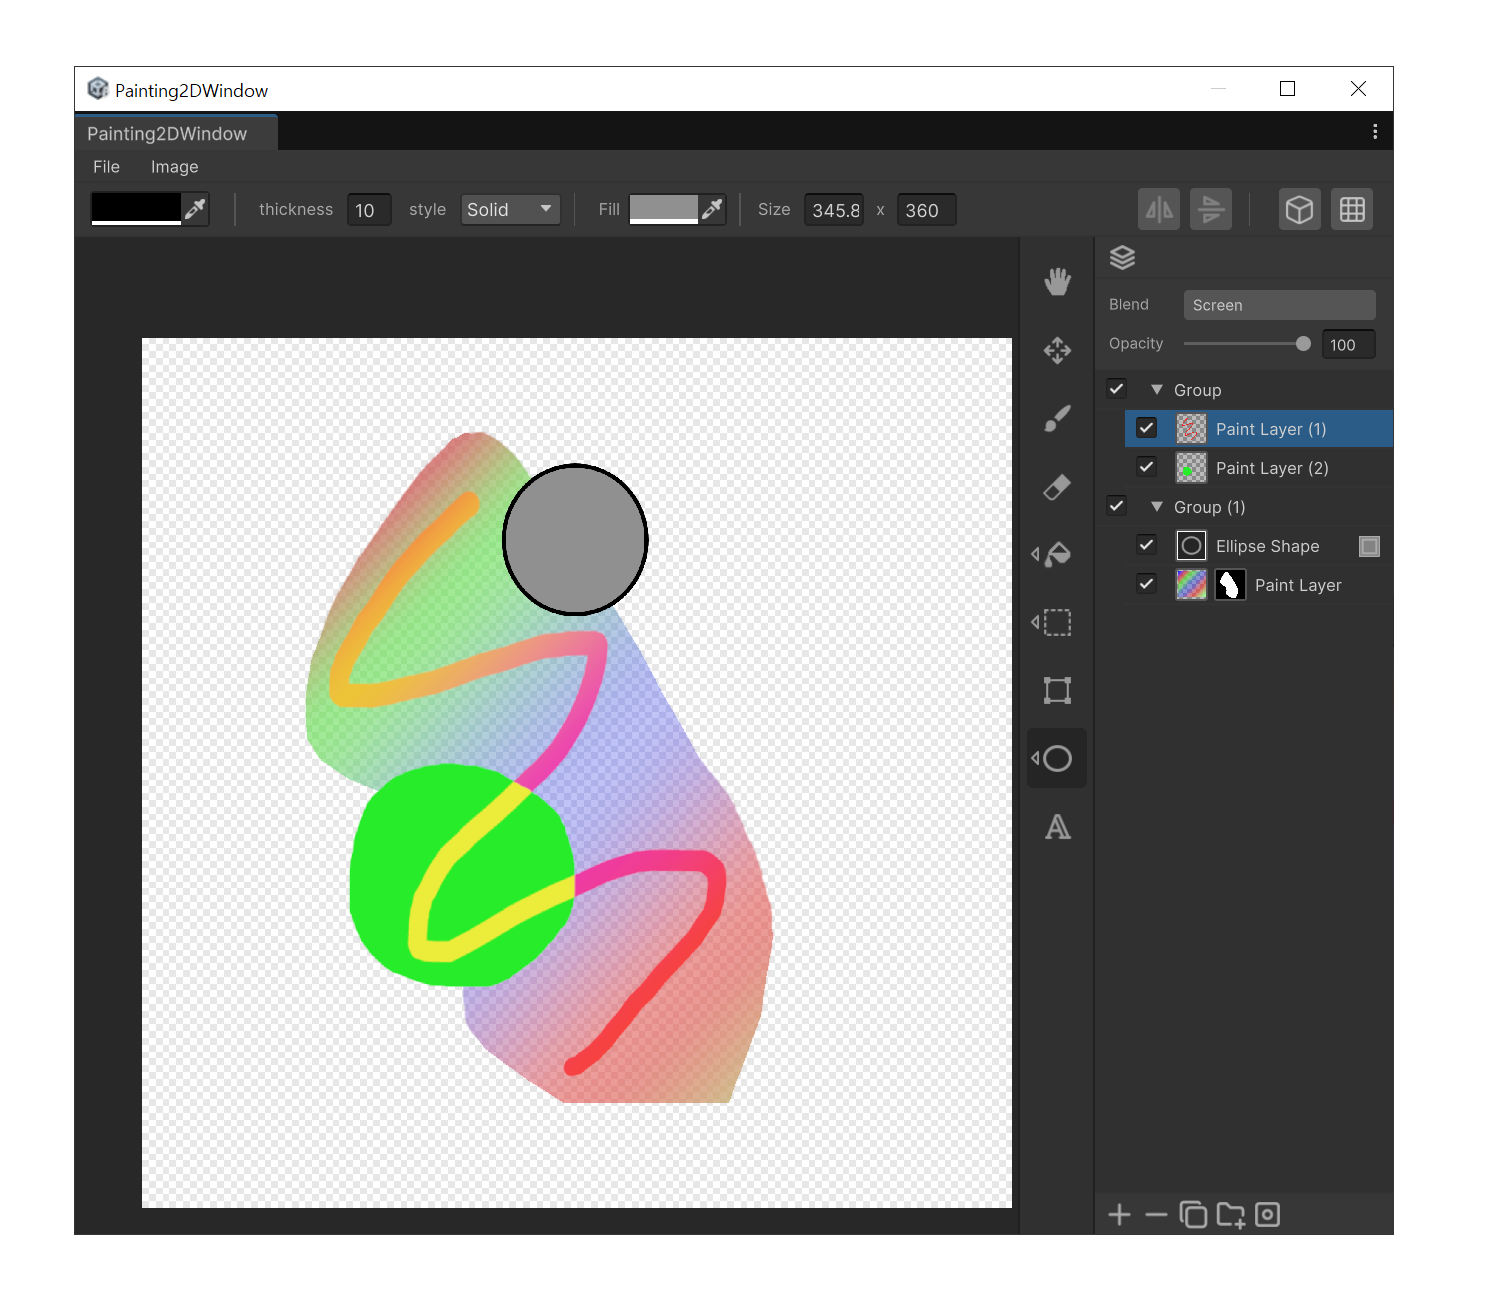
In Painting2D, the Layer panel is the workspace where all the images that make up your canvas are managed in one place. By adjusting each layer's visibility, order, opacity, blend mode, and mask, you compose the final result non-destructively. Confirming parametric Shape/Text layers as pixel layers (rasterizing), grouping related layers to keep things organized. The entire non-destructive editing workflow happens in this panel.
Layout
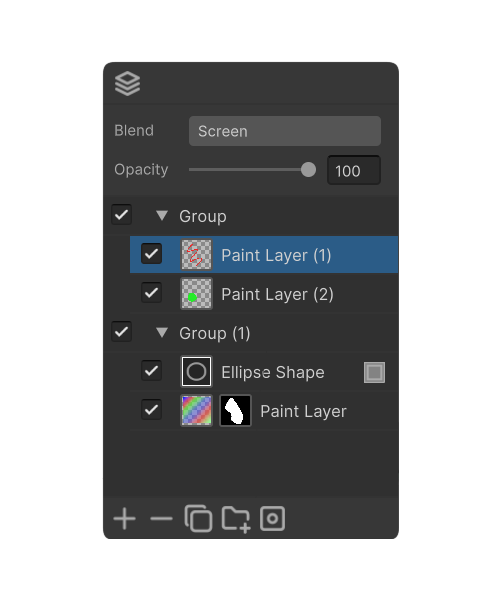
- Top toolbar - Blend display toggle button.
- Header - Blend mode dropdown and Opacity slider + value field for the selected layer.
- Layer list - per-row visibility, thumbnails, name, and rasterize button.
- Bottom action bar - Add, Delete, Duplicate, Group, Mask button.
Blend Display Toggle
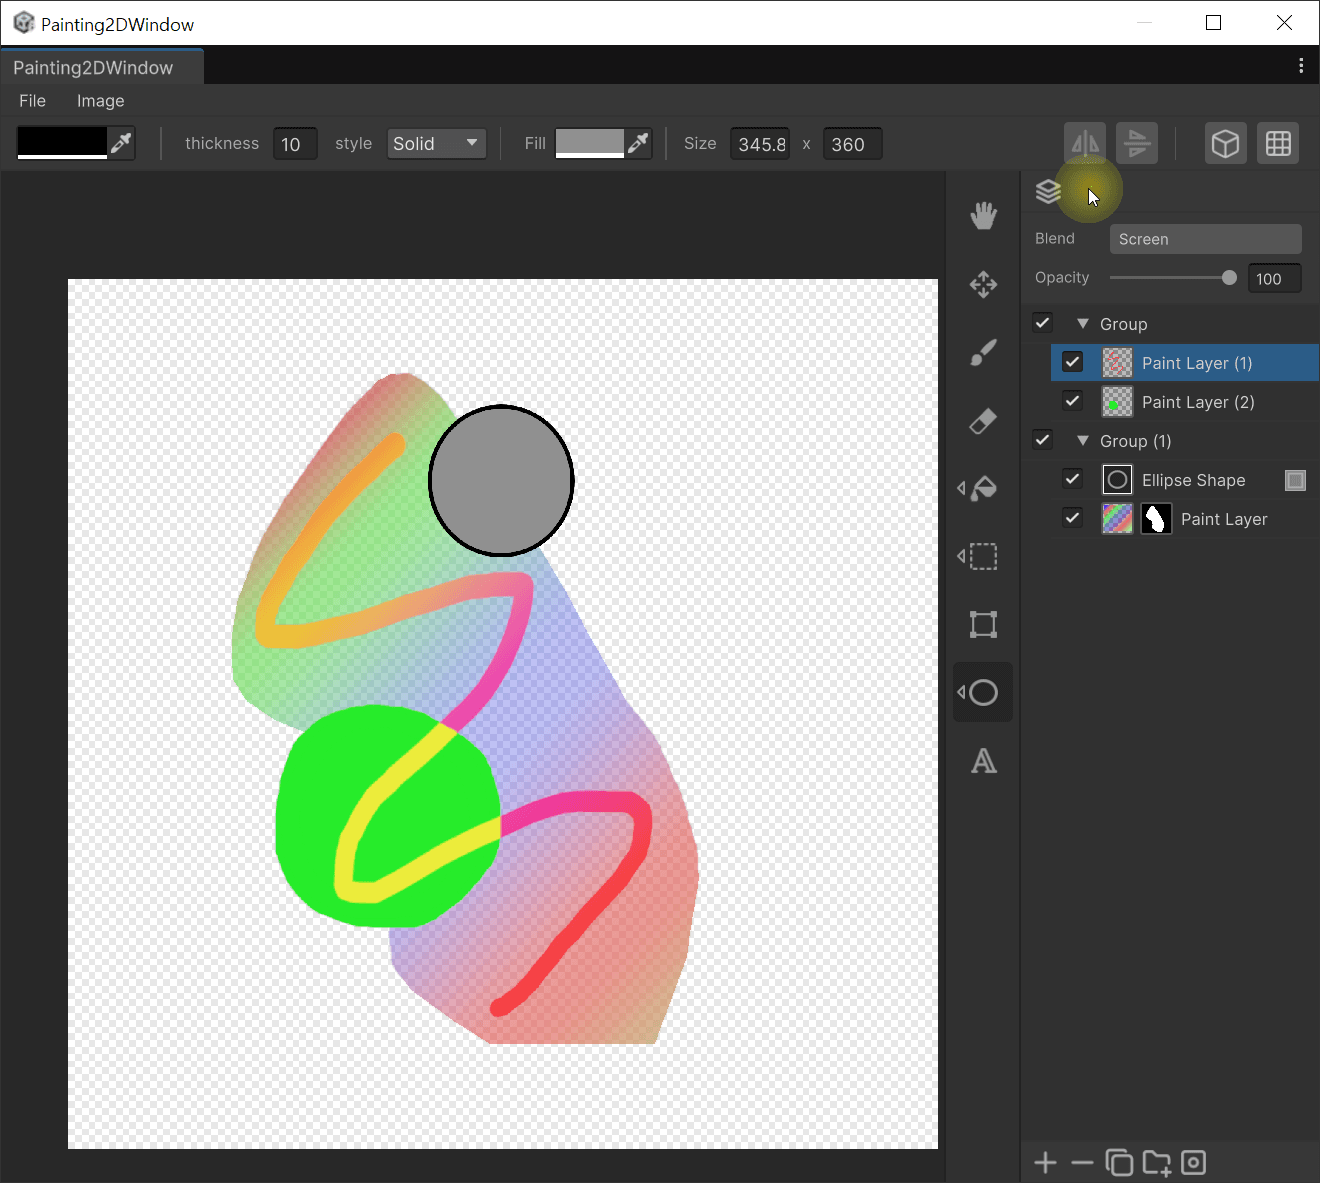
A single icon button at the very top of the panel. Each click toggles the canvas preview between the final composite of all layers (Blend All) and only the selected layer displayed alone (Blend One). Use it to flip between seeing the layer in context with the rest of the composition and viewing it in isolation.
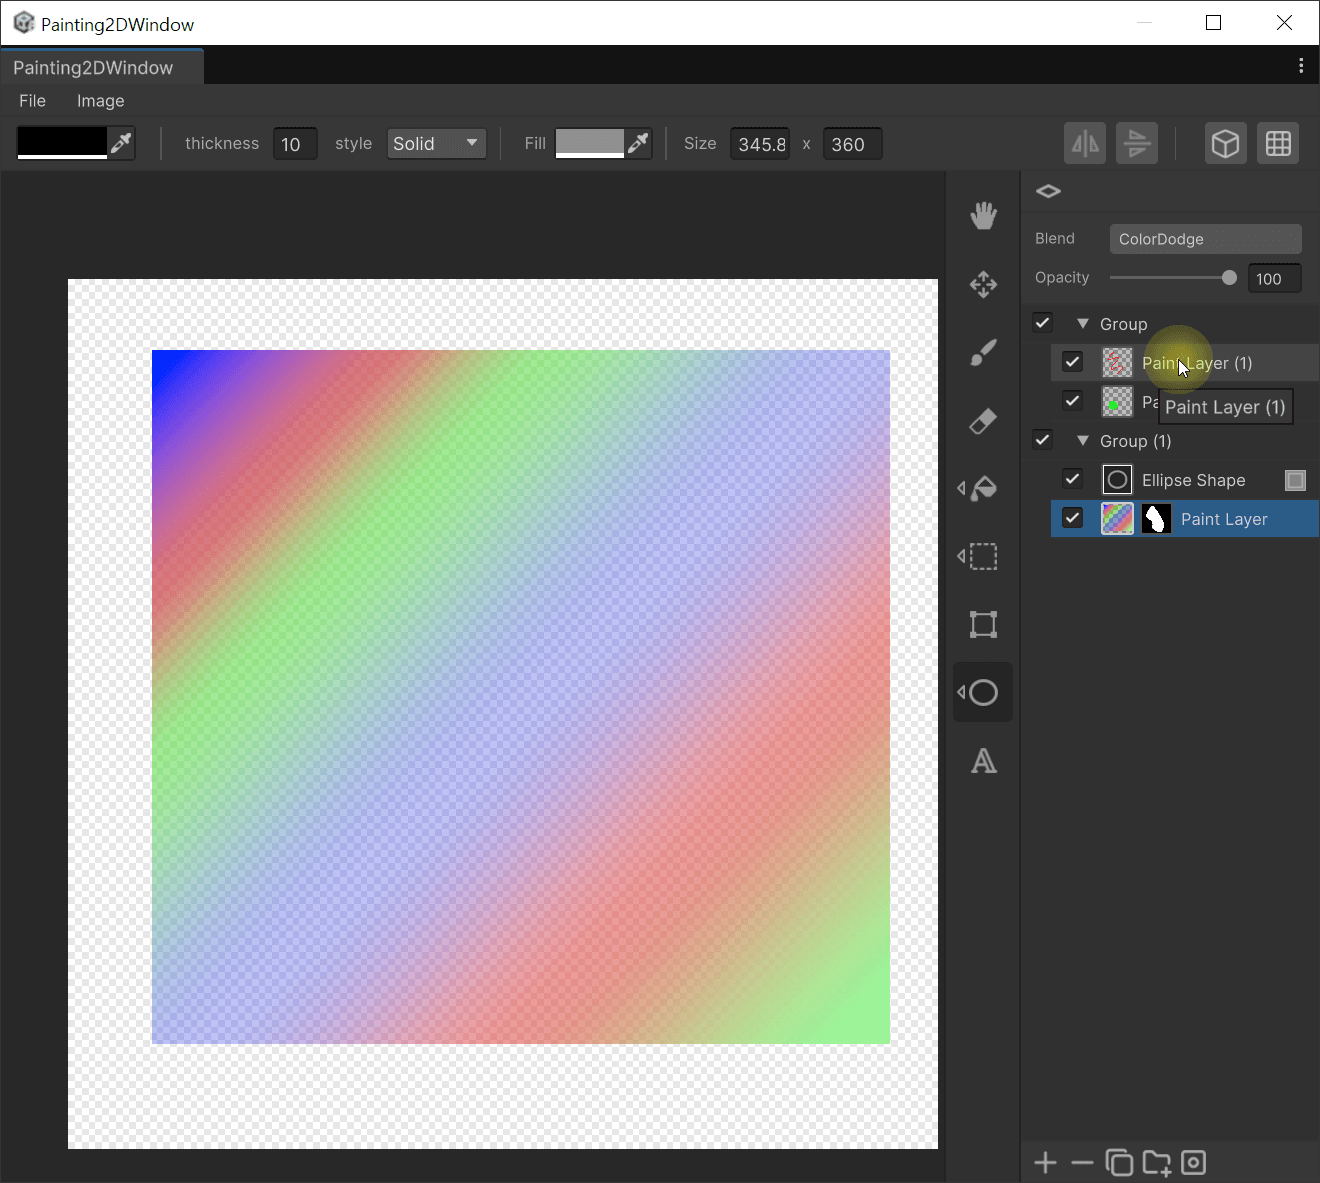
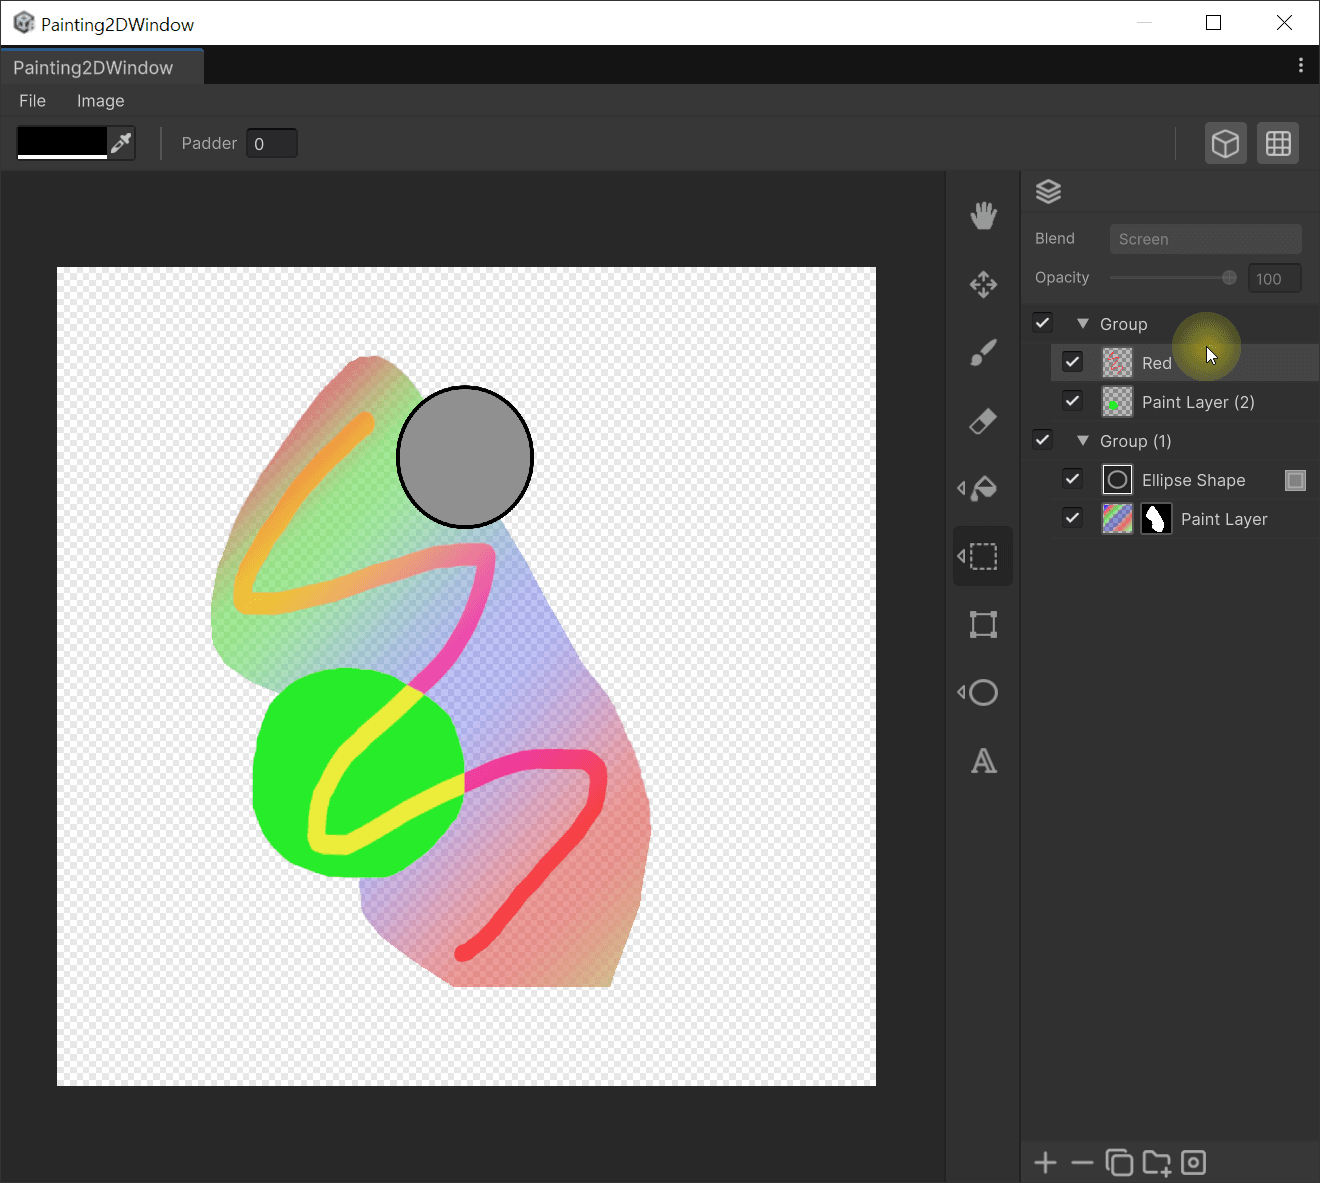
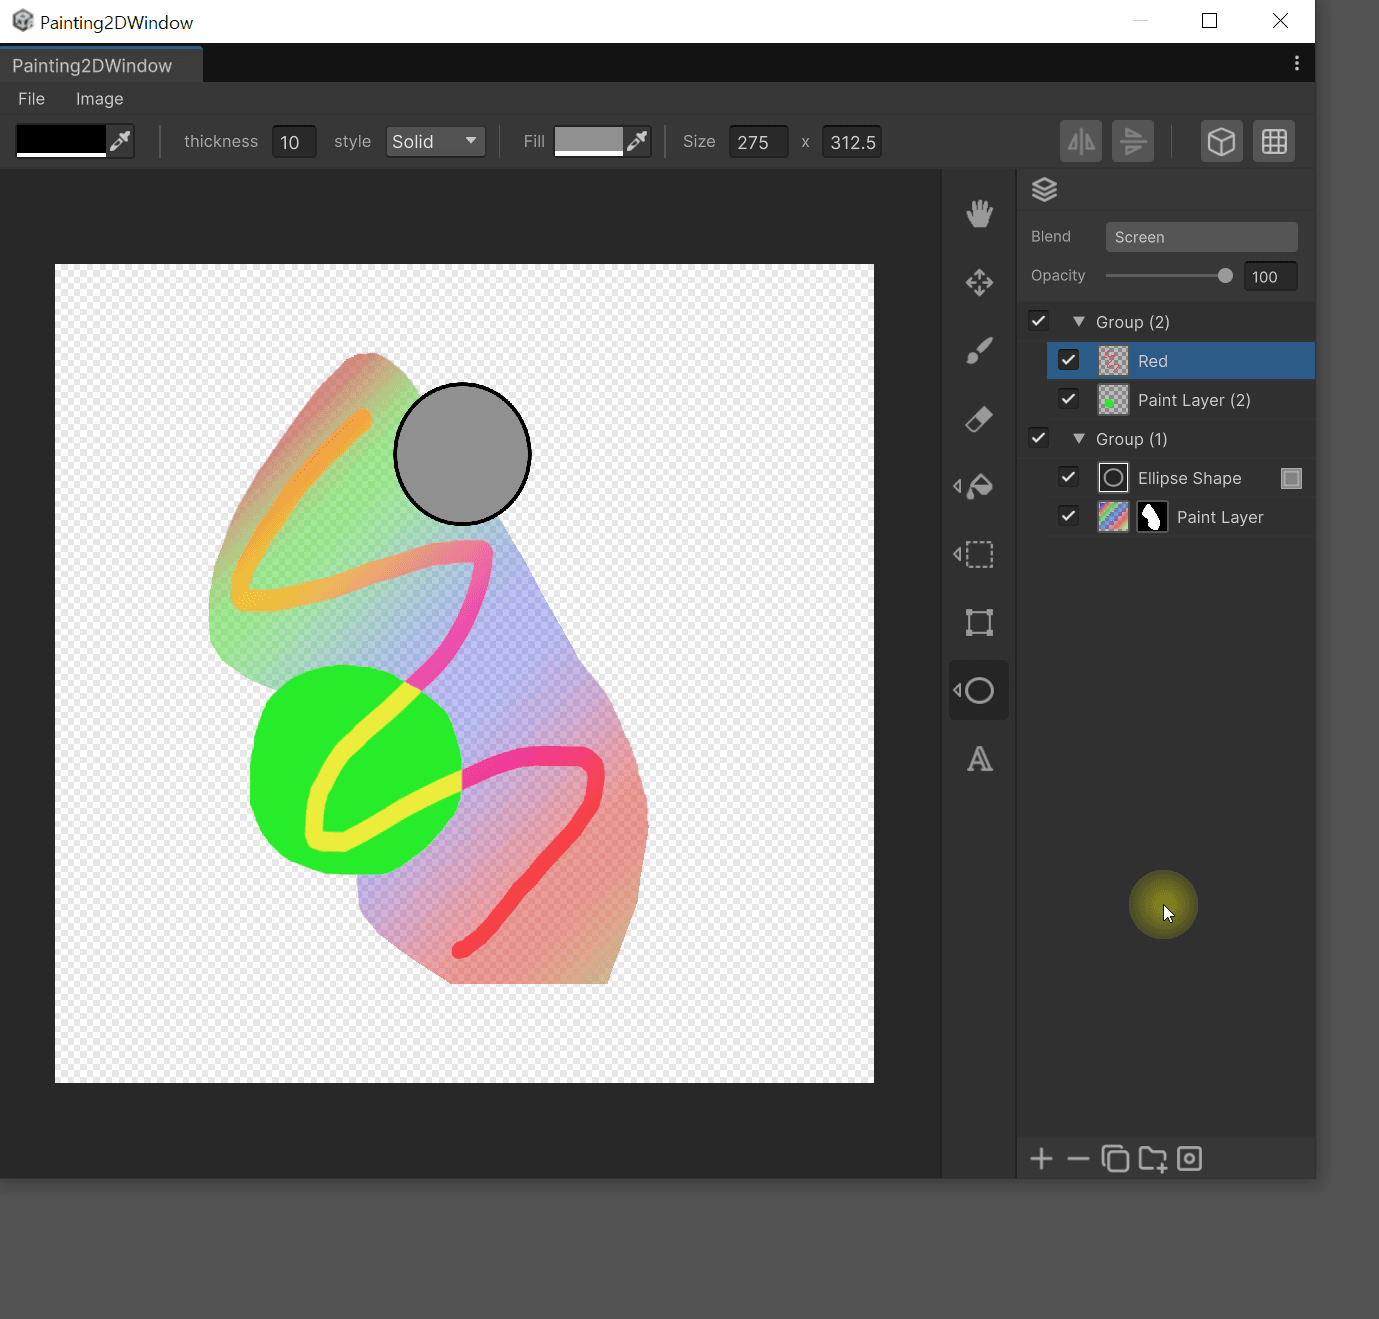
Blend Dropdown
The dropdown button in the first row of the header. Picks how the selected layer composites against the layers below, from every mode defined in the BlendType enum (Normal, Multiply, Add, and more). The chosen value is applied immediately and can be reverted with `Ctrl+Z`.
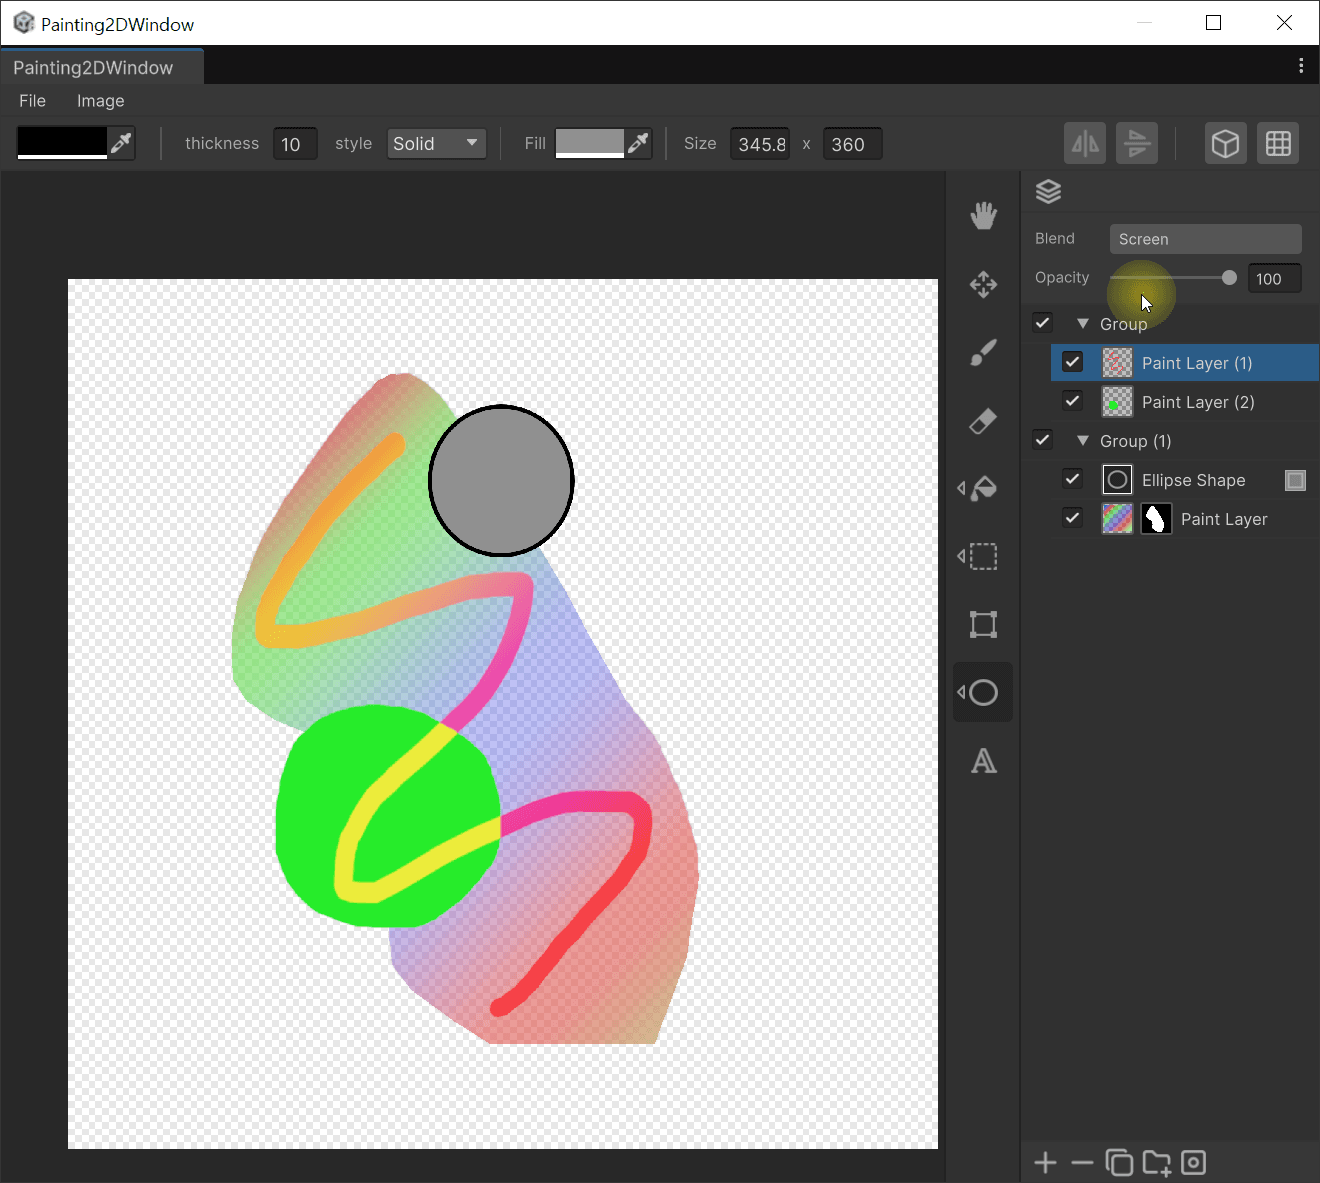
Opacity Slider

The second row of the header. Sets the selected layer's opacity in the 0–100 range
. The slider and the numeric input field are always kept in sync, and the canvas and thumbnail refresh the moment the value changes.
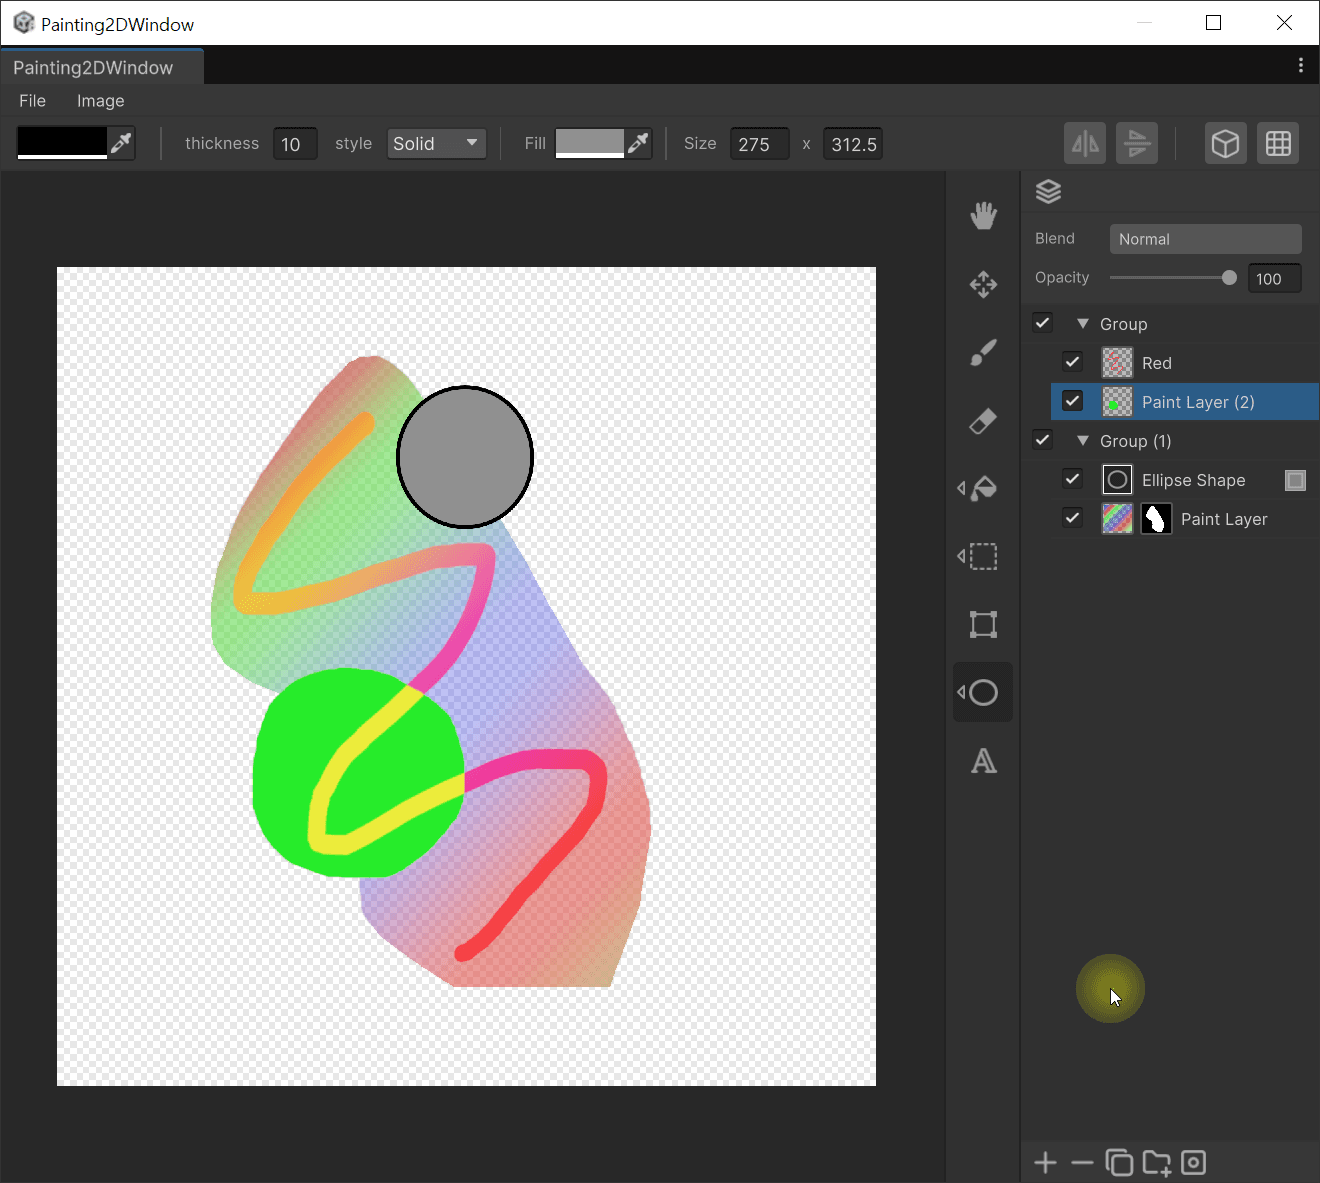
Layer List
Each layer occupies a single row. From left to right: visibility, group chevron, thumbnail, mask thumbnail, name, rasterize button.
Visibility toggle
- Unchecking hides the layer and excludes it from canvas composition.
- Hiding a group layer hides all of its child layers together.
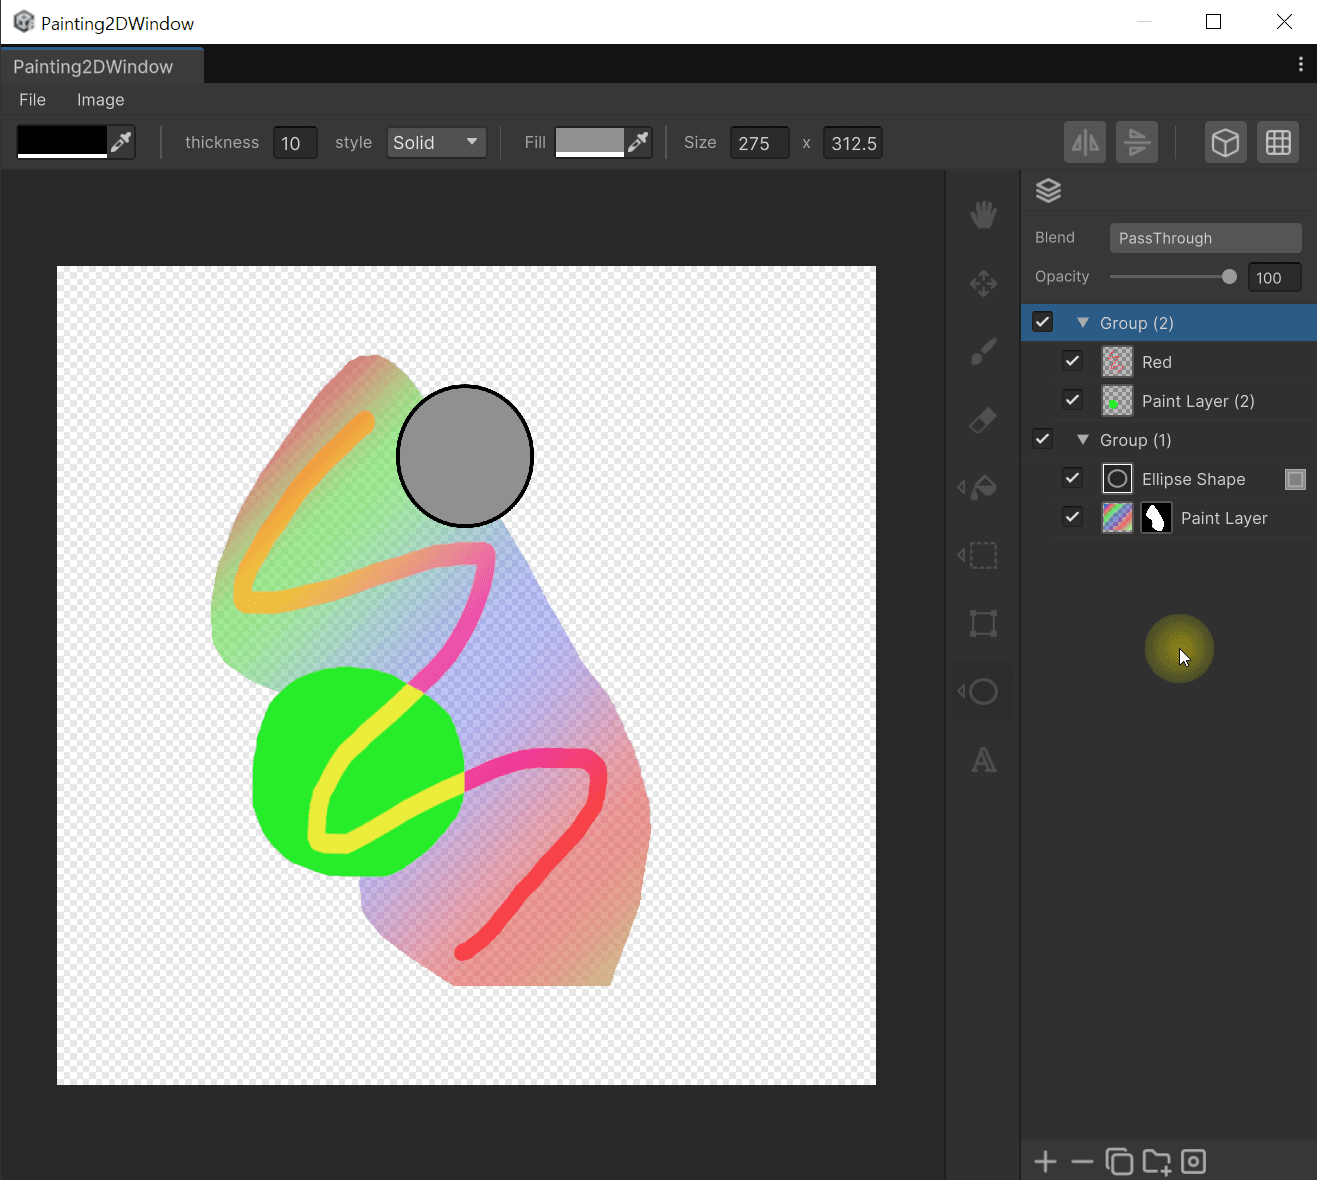
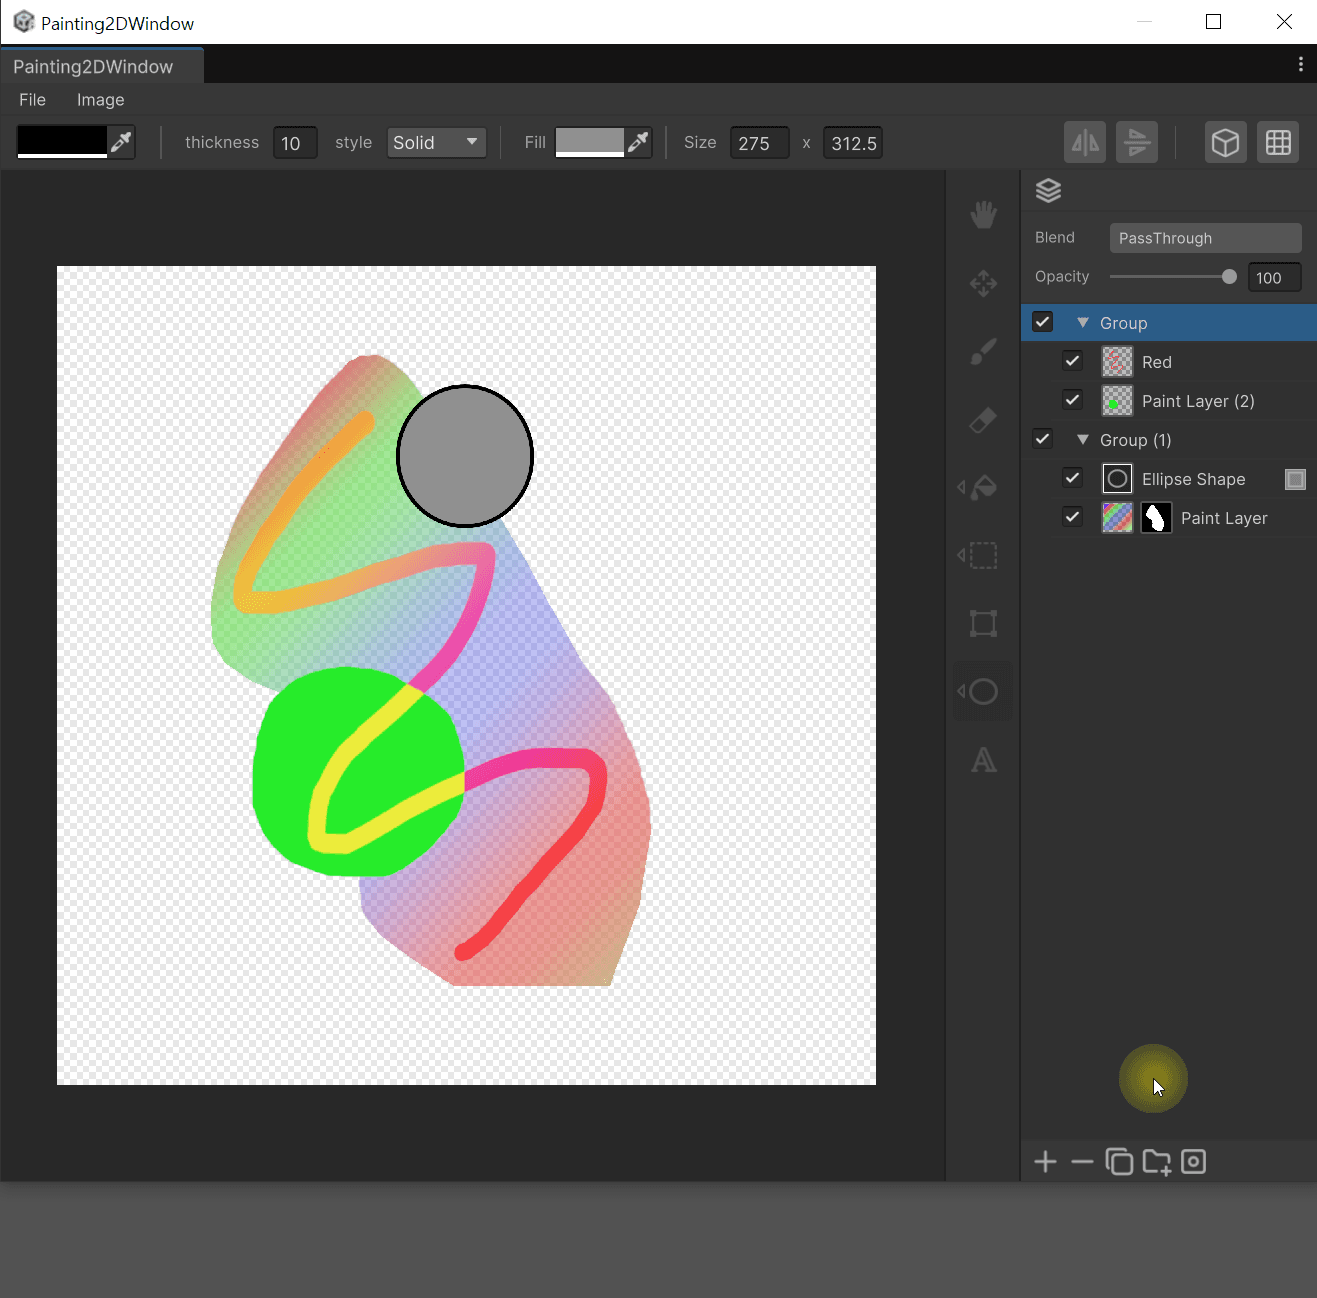
Group chevron

- Shown only on Group-type layers.
- Click to collapse or expand the child layers. ▶ means collapsed, ▼ means expanded.
Layer thumbnail

- Shows a 64px preview of the layer's contents.
- If the layer has a mask and you are currently editing the mask, clicking the thumbnail returns you to editing the layer body.
Mask thumbnail
- Appears only on layers that have a mask.
- Clicking it switches to mask editing mode. In this state Brush/Eraser paint into the mask pixels (in mask mode Eraser behaves like a white brush).
- The side you are currently editing (layer body or mask) is indicated with a highlight.
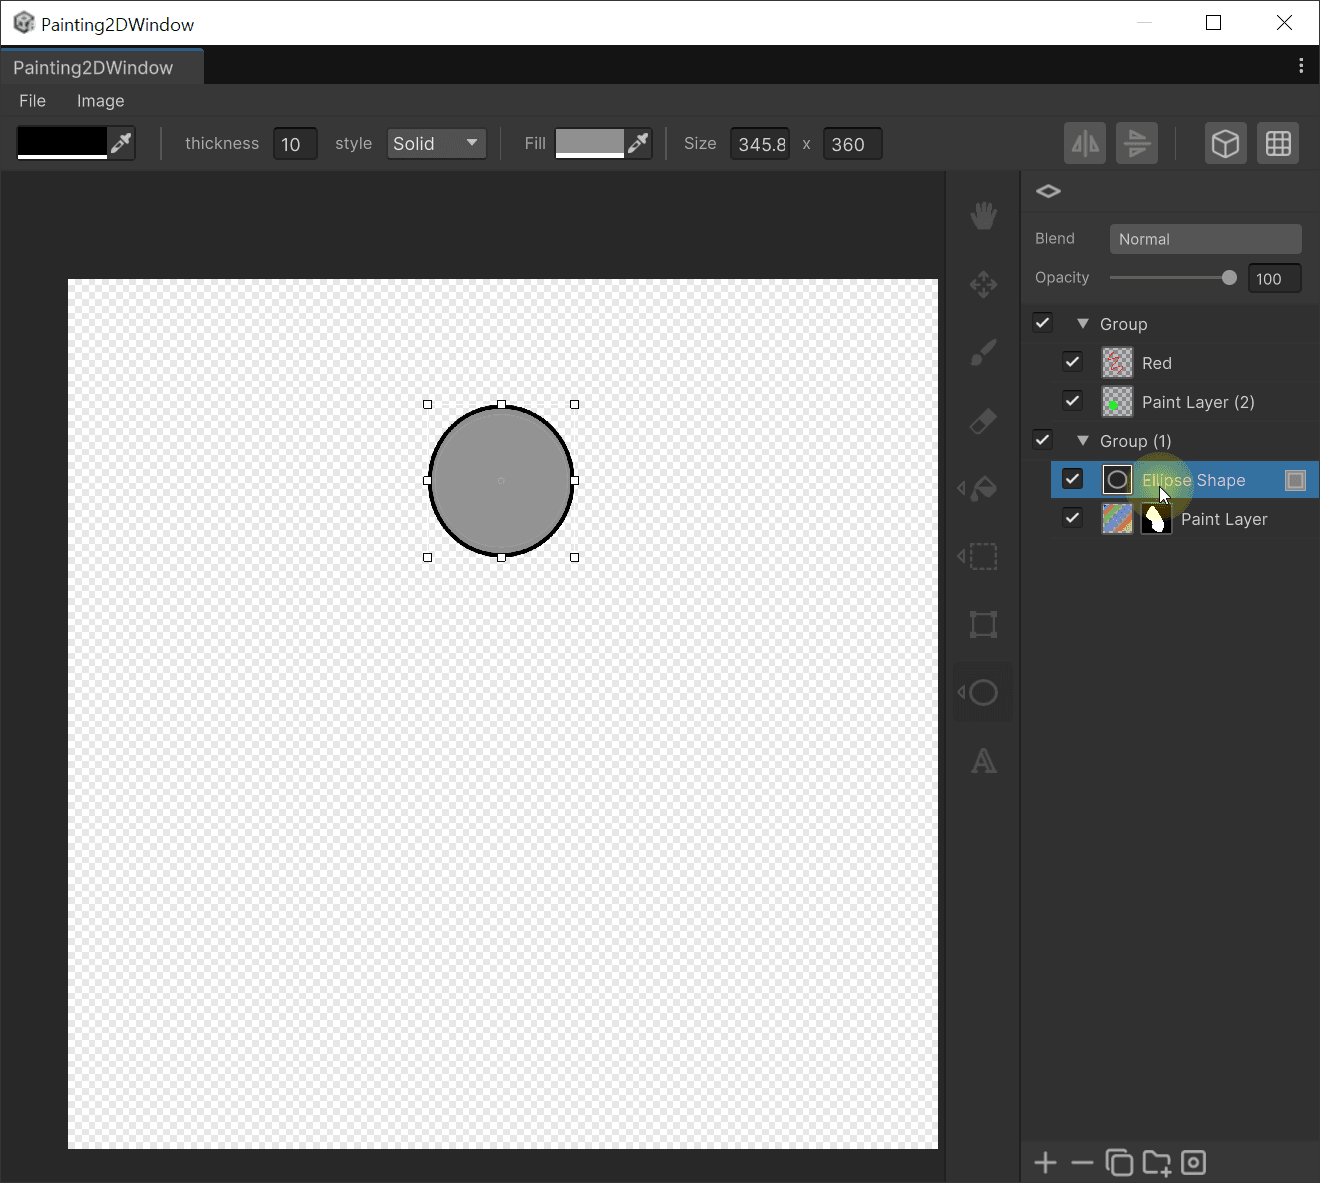
Layer name
- Displayed as a label by default.
- Double-click turns the label into an inline text field so you can rename the layer.
- Press 'Enter' to commit, 'Escape' to cancel.
Rasterize button
- Appears on the row only for Fill / Sticker / Text / Shape layers.
- Clicking creates a new Paint layer that bakes in the current shape, Opacity, and Blend mode, and removes the original parametric layer. The whole operation is a single Undo step.
Selection and reordering
- Left-click : Single-select this layer.
- Shift+click : Range-select from the last clicked layer.
- Ctrl+click : Toggle multi-selection.
- Drag : Reorder layers. Dropping onto a group layer moves the item inside the group.
- Delete / Duplicate / Opacity / Blend operations all target the currently active selection.
Bottom Action Bar
Five icon buttons are laid out side by side at the very bottom of the panel.
Add Layer
- Instantly adds a new Paint layer at the position of the current selection. The name is auto-generated from 'Paint Layer' without collisions.
- If the selected layer is a group, the new layer is added at the top inside the group.
Delete

- Deletes the currently selected layers.
- Multiple selection is supported. This action prevents a state where all layers are deleted.
Duplicate
- Duplicates the selected layers directly above them in the same group. The name is automatically suffixed with a number.
- Layers with masks are duplicated along with their mask.
Group
Pressing the button opens a context menu with three items.
- Add Group : Creates an empty new group layer. Placed relative to the current selection.
- Ungroup : Enabled only when the selected layer is a group. Dissolves the group and promotes its child layers up one level.
- Merge Group : Enabled only when the selected layer is a group. Merges the contents of the group into a single Paint layer. This action respect each child's current Blend/Opacity.
Mask
Pressing the button opens a context menu whose items are enabled/disabled based on whether the selected layer already has a mask.
- Add Black Mask : Adds a black (fully hiding) mask. Disabled if a mask already exists.
- Add White Mask : Adds a white (fully revealing) mask. Disabled if a mask already exists.
- Remove Mask : Removes the current mask. Disabled when no mask exists.
Once a mask is added, a mask thumbnail appears on the layer's row. Clicking it switches to mask editing mode.
Effect
The Effect button on the layer panel action bar adds non-destructive effects to the selected layer. The same effect cannot be added twice to a single layer. Added effects appear in the layer's effect list and can be toggled with the eye icon or removed with the X button.
| Item | Behavior |
|---|---|
| Levels | Adjust input/output levels for the combined RGB channel or per R/G/B channel |
| Brightness / Contrast | Brightness and contrast correction |
| Hue / Saturation / Lightness | Hue / saturation / lightness correction |
| Blur | Blur |
| Stroke | Outline stroke (see below) |
Stroke Options
| Property | Values | Default |
|---|---|---|
| Size | Thickness | 4 |
| Position | Outside / Inside / Center | Outside |
| Blend Mode | (full Blend Mode list) | Normal |
| Opacity | 0.0 – 1.0 | 1.0 |
| Fill Type | Color / Gradient | Color |
| Color / Gradient | Fill color or gradient | Black |
Layer Context Menu (Right-Click)
Right-clicking a layer opens a context menu with the following actions:
- Color Range... — Color-range based selection or mask. See Color Range for details.
- Color Range to Mask... — Shown only when the layer's mask is active; the result is applied directly to the mask channel.
- Merge All Layers — Merge every root-level layer.
- Merge Visible Layers — Merge every visible root layer.
- Merge Down — Merge the selected layer with the one immediately below it.
- Merge Selected Layers — Merge all currently multi-selected layers.
- Merge Group — Flatten a group layer into a single layer (enabled only on groups).
Blend Mode Wheel Cycle
Hover over the Blend dropdown button in the layer panel header and use the mouse wheel to cycle the blend mode forwards or backwards. (The wheel does not trigger this action anywhere else.)
Duplicate Selection To New Layer
When you have an active selection, press Ctrl + J (Mac: Cmd + J) to copy those pixels onto a new layer. The original layer is untouched and the color is preserved without any conversion.
Drag-and-Drop Texture Asset
Drag the following items onto the canvas render area to add them as new layers:
- Texture2D assets from the Project window
- PNG / JPG / JPEG files from the OS file explorer (EXR / PSD / TGA / BMP are not supported)
If the canvas is empty when you drop the first texture, it is bound as the source texture instead of becoming a new layer. Subsequent drops always become new layers.
Invert Brush Opacity (Shift + X)
While using a brush, press Shift + X to invert the current opacity (100 − current value). For example: 30% → 70%, 100% → 0%. This is not a two-value toggle; it is always computed as 100 − current value.