Collections
The Collections feature helps you organize all of your generated assets into folders you can easily browse, rename, and manage. You can access it anytime by clicking Collections in the top header.

Inside the Collections page, you’ll see a button labeled New Collection. Clicking it creates a new folder, displayed as a card. When you hover over a collection card, you’ll see two options:
- Edit (pencil icon) — rename the collection
- Delete (trash icon) — remove the collection
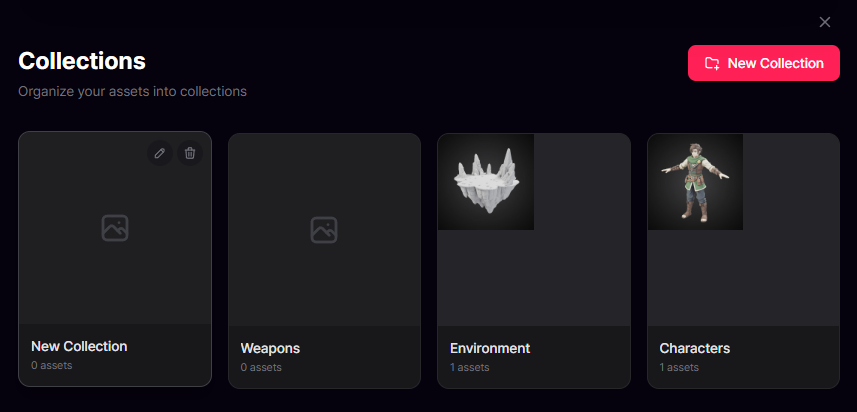
You can create as many collections as you need, and even nest collections inside one another to build sub‑collections for more detailed organization.
To add a generated model to a collection, go to your main Workspace. On the right side where your models appear, hover over any thumbnail and open the menu. From there, you can:
- Rename the model
- Add it to a collection
- Delete it
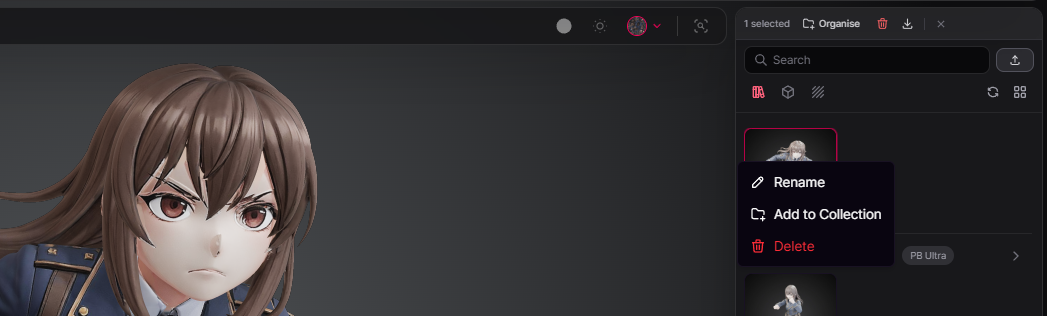
Choose Add to Collection, then select the collection you want to place it in. Click Confirm to finish. You can also create a brand‑new collection directly from this window if you need one.
Collections can be moved, nested, or reorganized at any time, giving you full control over how your assets are structured.
Adding to a Collection in the Unity Editor
The same collection system is also available in Unity through the Asset Library window.
- Open the Asset Library via the menu
Tools → PicoBerry → Asset Library. - Select one or more assets.
- Click the Add to Collection icon button on the right panel (tooltip: Add selected assets to Collection).
- In the dialog, pick one or more collections and confirm.
Collections belong to the currently active workspace (Personal or Team) and stay in sync between the web and Unity.