Text to Image
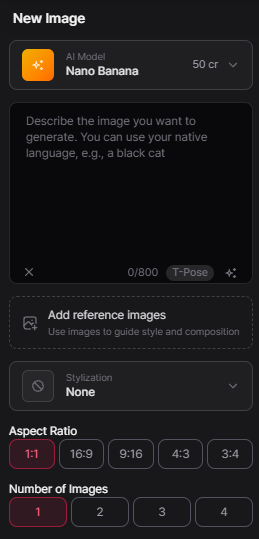
Step by step
- Open the Image workspace
- Select a model (example: Nano Banana).
- Enter a prompt in the description box (e.g., “a black cat”).
- Choose stylization, aspect ratio, and number of images.
- Generate and review results in the gallery. Use Iterate to refine variations.
Left‑Side Settings Panel
The left panel shows the settings used for the generation:
- Selected AI model
- input a text prompt
- Add any reference images
- Stylization level
- Aspect ratio
- Number of images to generate (1–4)
These settings help you understand how your configuration influenced the results.
Understanding Your Results
After you generate images, PicoBerry displays your results in a structured grid. Each row represents a different prompt, and the prompt text for that row appears directly to the right of the images. This layout helps you quickly understand which prompt produced which set of results.
Generated Rows
Each row (in this example) contains four variations generated from a single prompt. In the example image:
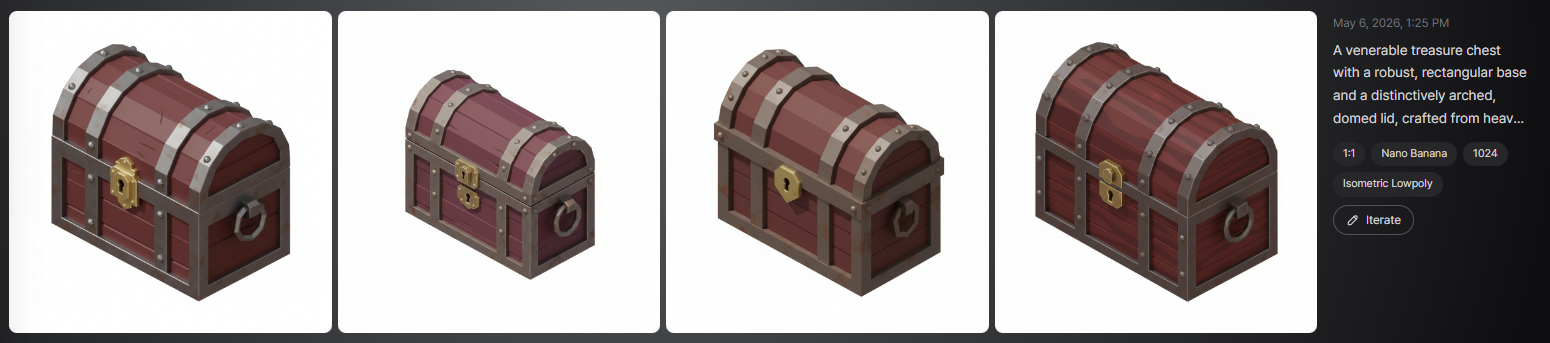
This makes it easy to visually connect each prompt with its output.
Result Cards
Each generated image appears as an individual result card, which includes:
- The generated asset
- The prompt text (aligned with the row)
- The model used
- The resolution
- The generation date
- An Iterate button for refining that specific variation
This structure helps you quickly identify which variation you want to refine or regenerate.
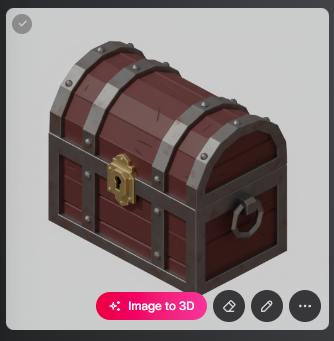
When hovering over a Image:
When you are ready to take this image to create a 3d model you can quickly hover the image and select "Image to 3D"