
Hotspot Texturing Tool
The Hotspot Texturing tool is a procedural tool designed for quick and efficient level, using designated textures.
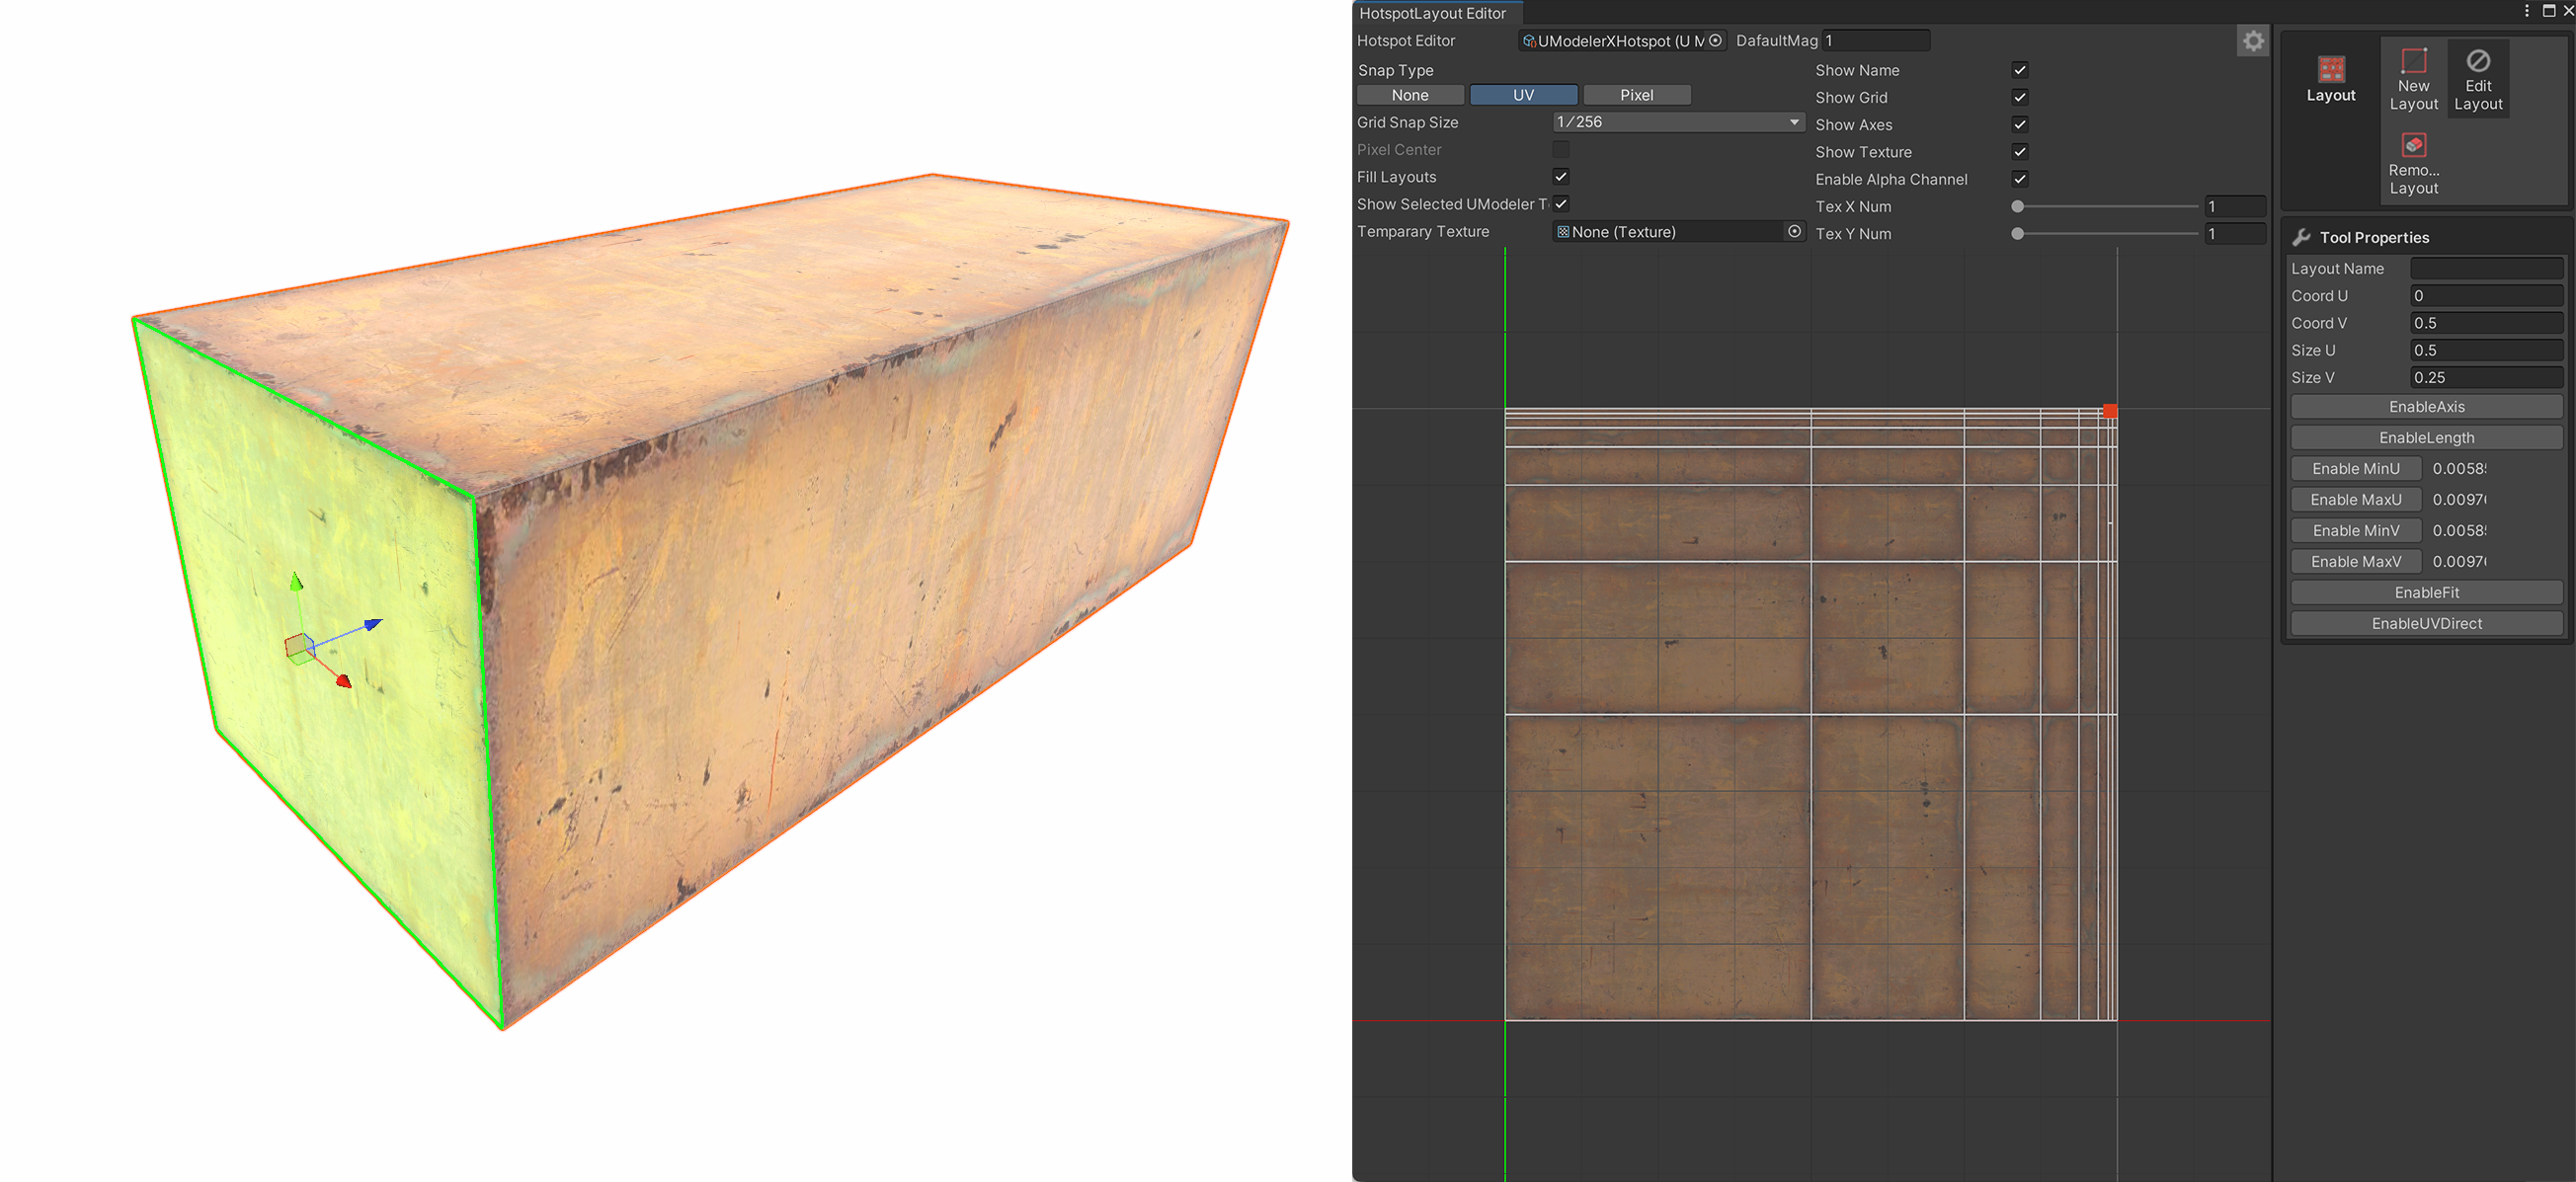
The Hotspot Texturing tool is a procedural tool designed for quick and efficient level, using designated textures.
How to use it
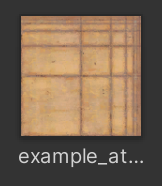
1.Drag the Modular Texture you want to use from the Project Panel onto a mesh to apply it.
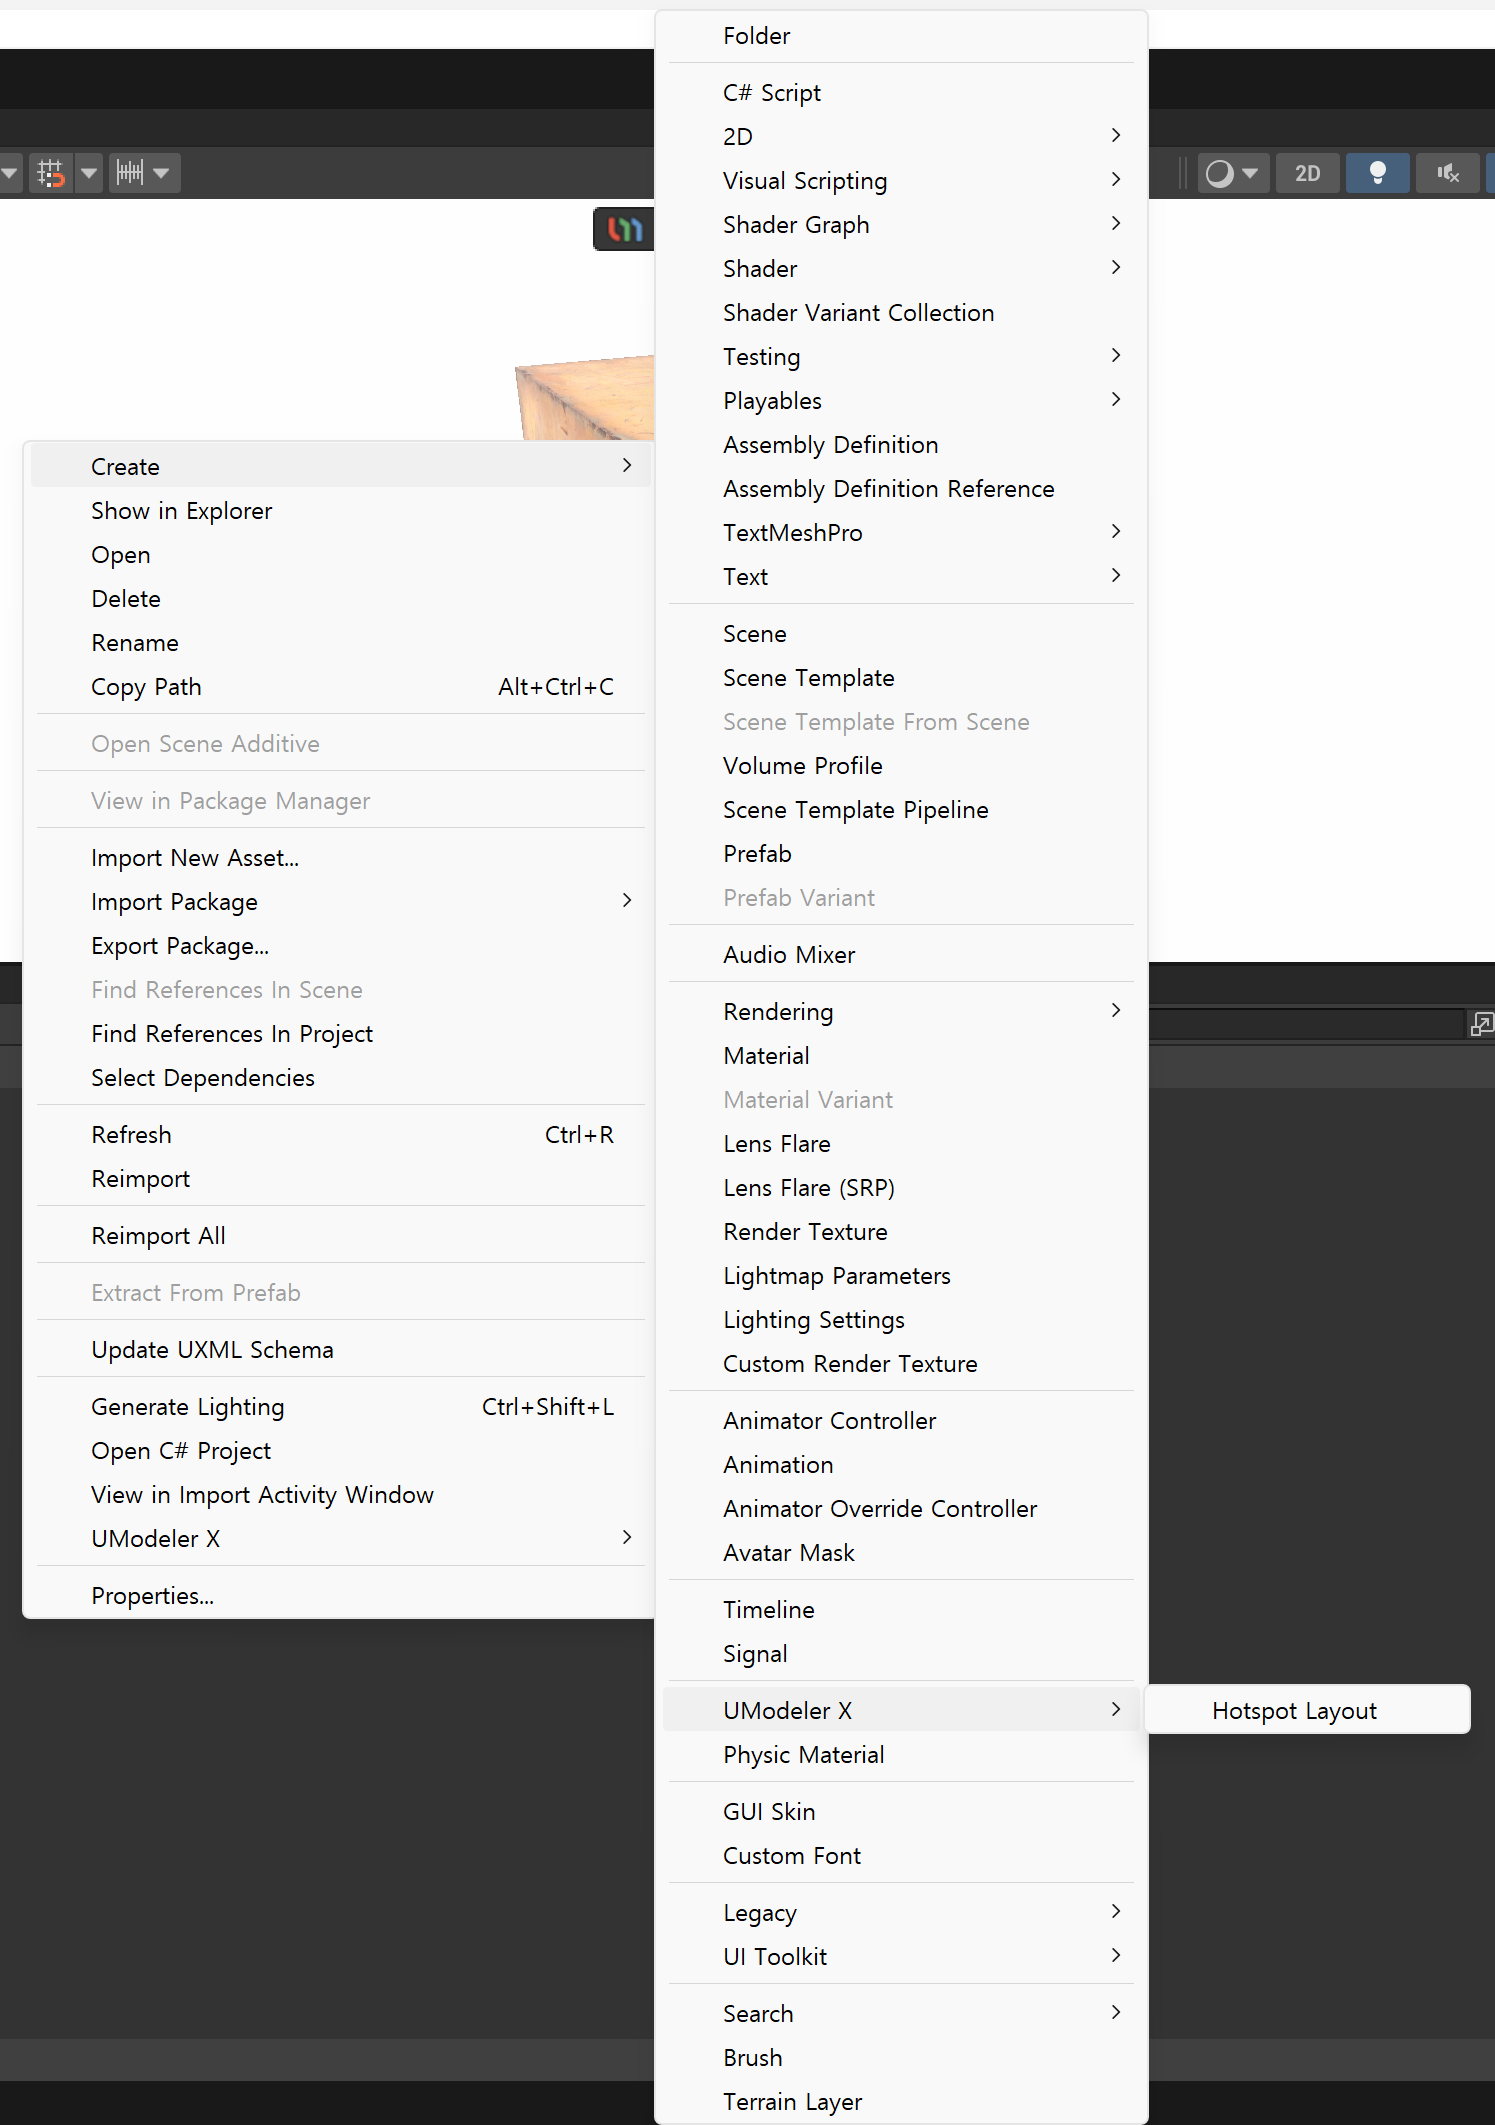
2.Right-click in the Project Panel and create a new Hotspot Layout.
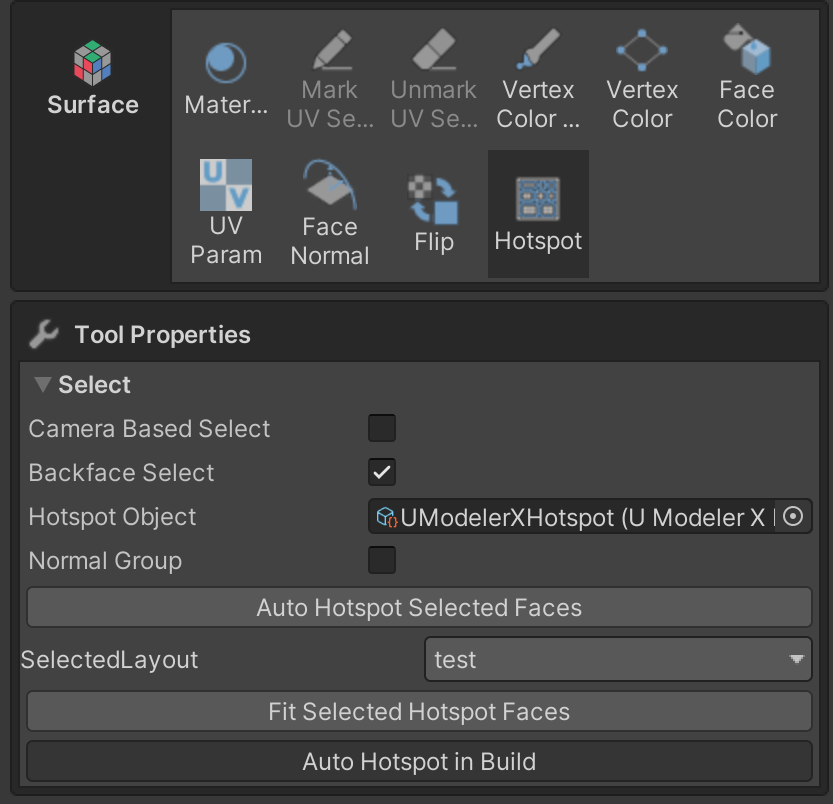
3.Assign the Hotspot Layout
3-1. Open the Hotspot tool.
3-2. Assign the created Hotspot Layout to the Hotspot Object.
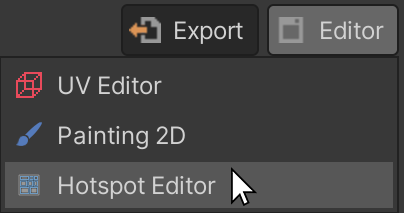
3-3. Click on the target area or activate the Hotspot Editor from the Editor to enable the Hotspot Editor.
4.Click the gear icon in the top-right corner of the Hotspot Layout Editor and assign a texture to the Temporary Texture field.

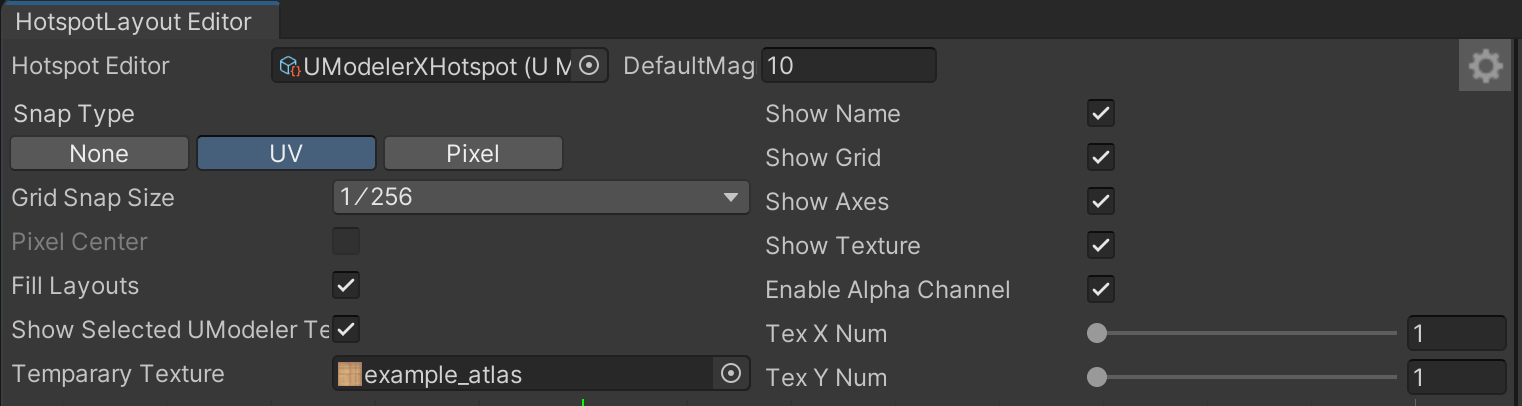
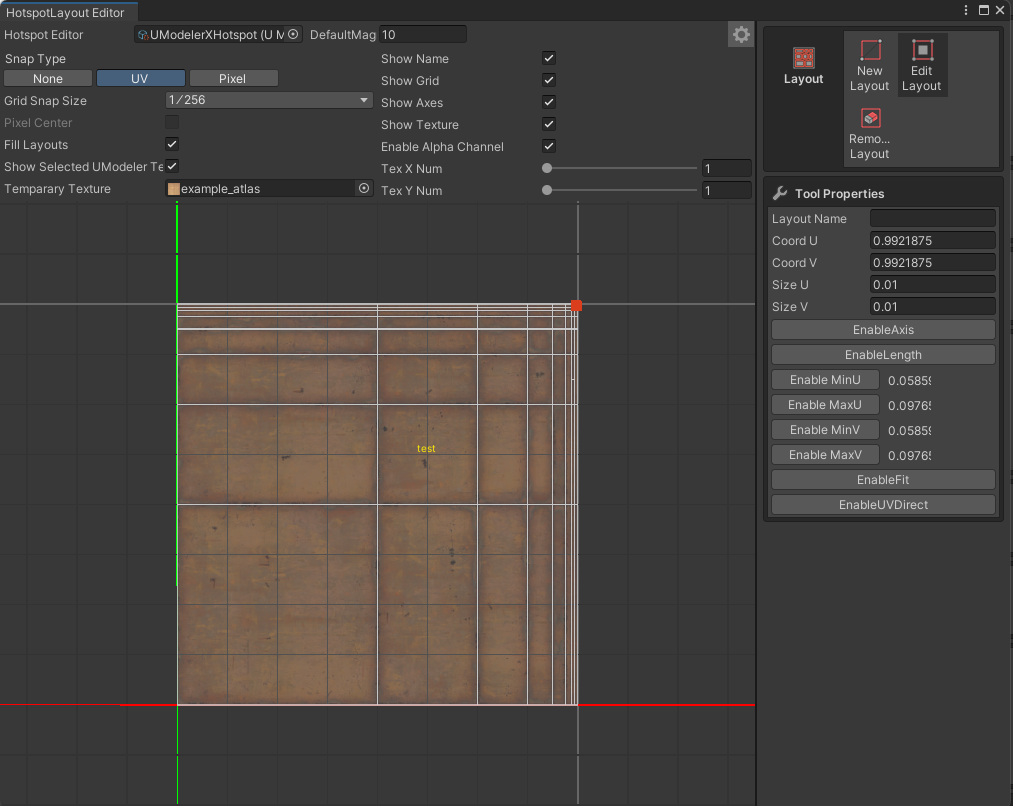
5.Use New Layout feature to automatically align texture areas to match the mesh's scale changes.
Three Methods for Using Hotspot Texturing
A. Auto Hotspot in Build
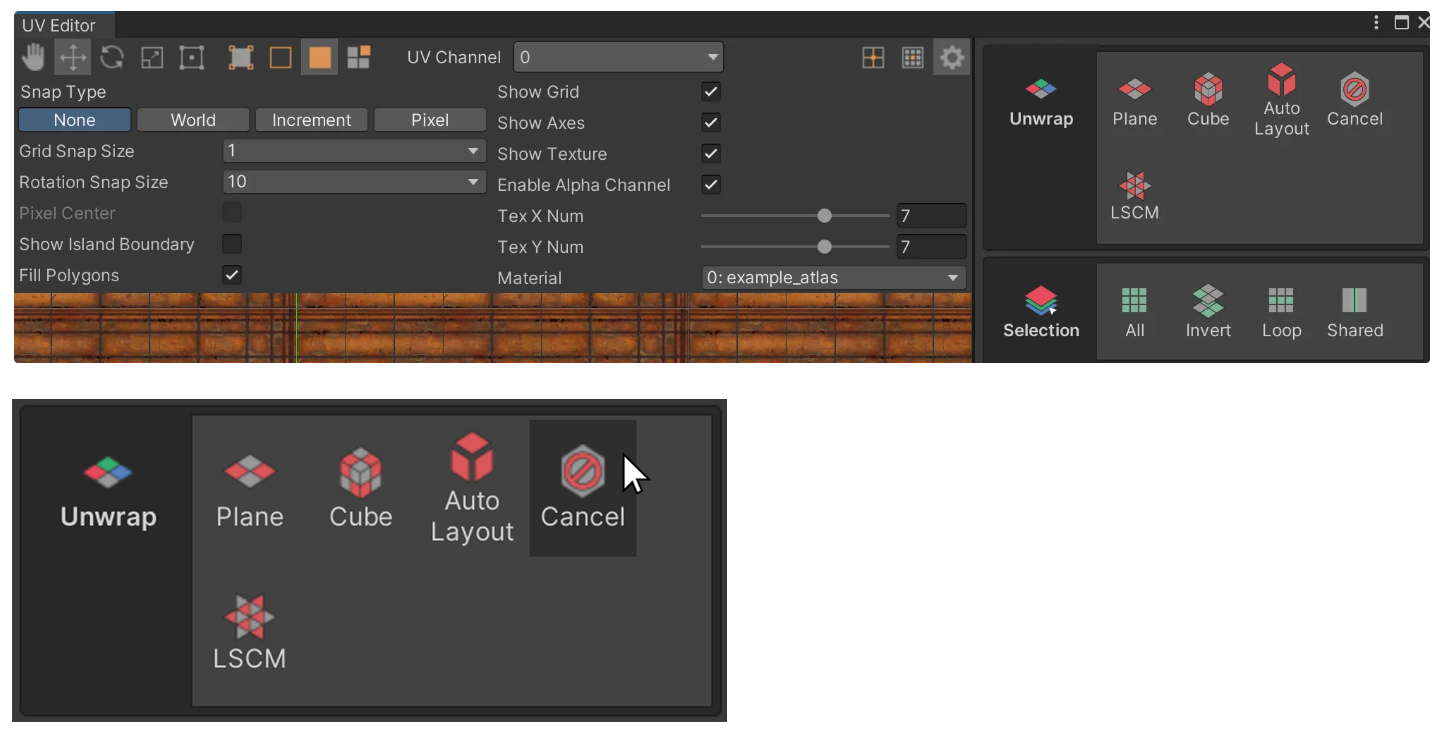
1.Activate the UV Editor window.
2.In the Unwrap Panel, ensure the mesh has no UVs. If UVs exist, select all and remove them by clicking the Cancel icon.
3.Select the mesh, then navigate to Surface > Hotspot > Auto Hotspot in Build.
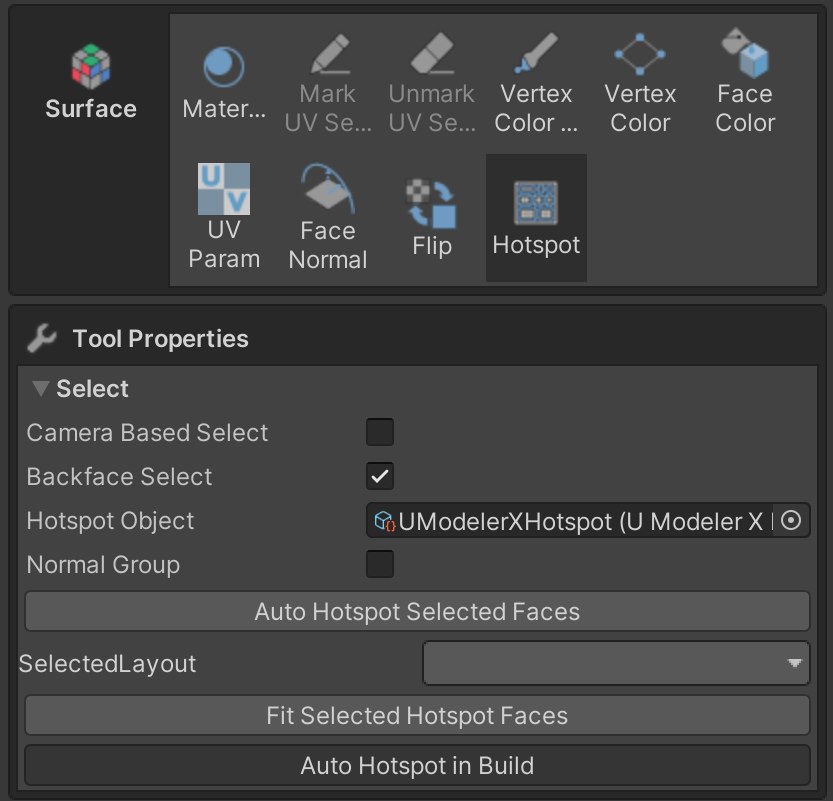
4.Move the face to see procedural changes based on the assigned texture.
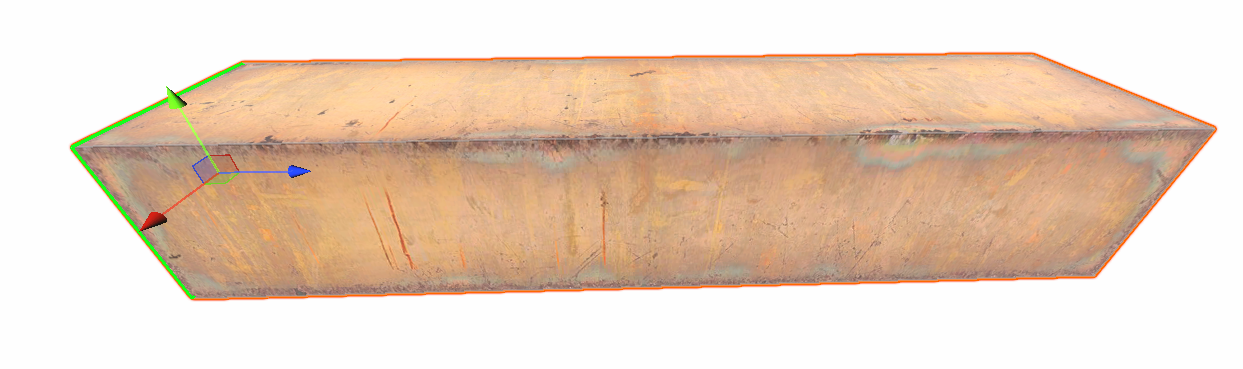
B. Auto Hotspot Selected Faces
1.Select the mesh and navigate to Surface > Hotspot > Auto Hotspot Selected Face.
2.After moving the face, textures may stretch or distort. Use Auto Hotspot Selected Faces again after each transformation. This applies only to selected faces.
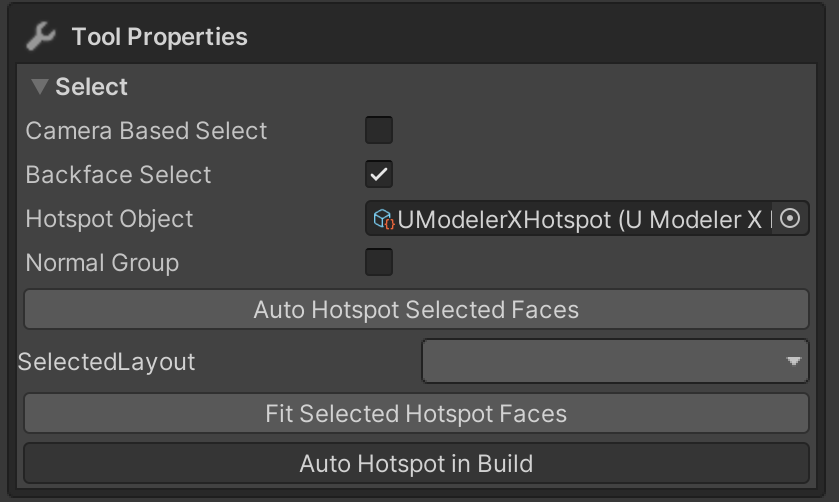
C. Fit Selected Hotspot Faces
1.In the Hotspot Layout Editor window, select Edit Layout. Click a face, then set its Layout Name in the Tool Properties window. In this guide, we name it "test".
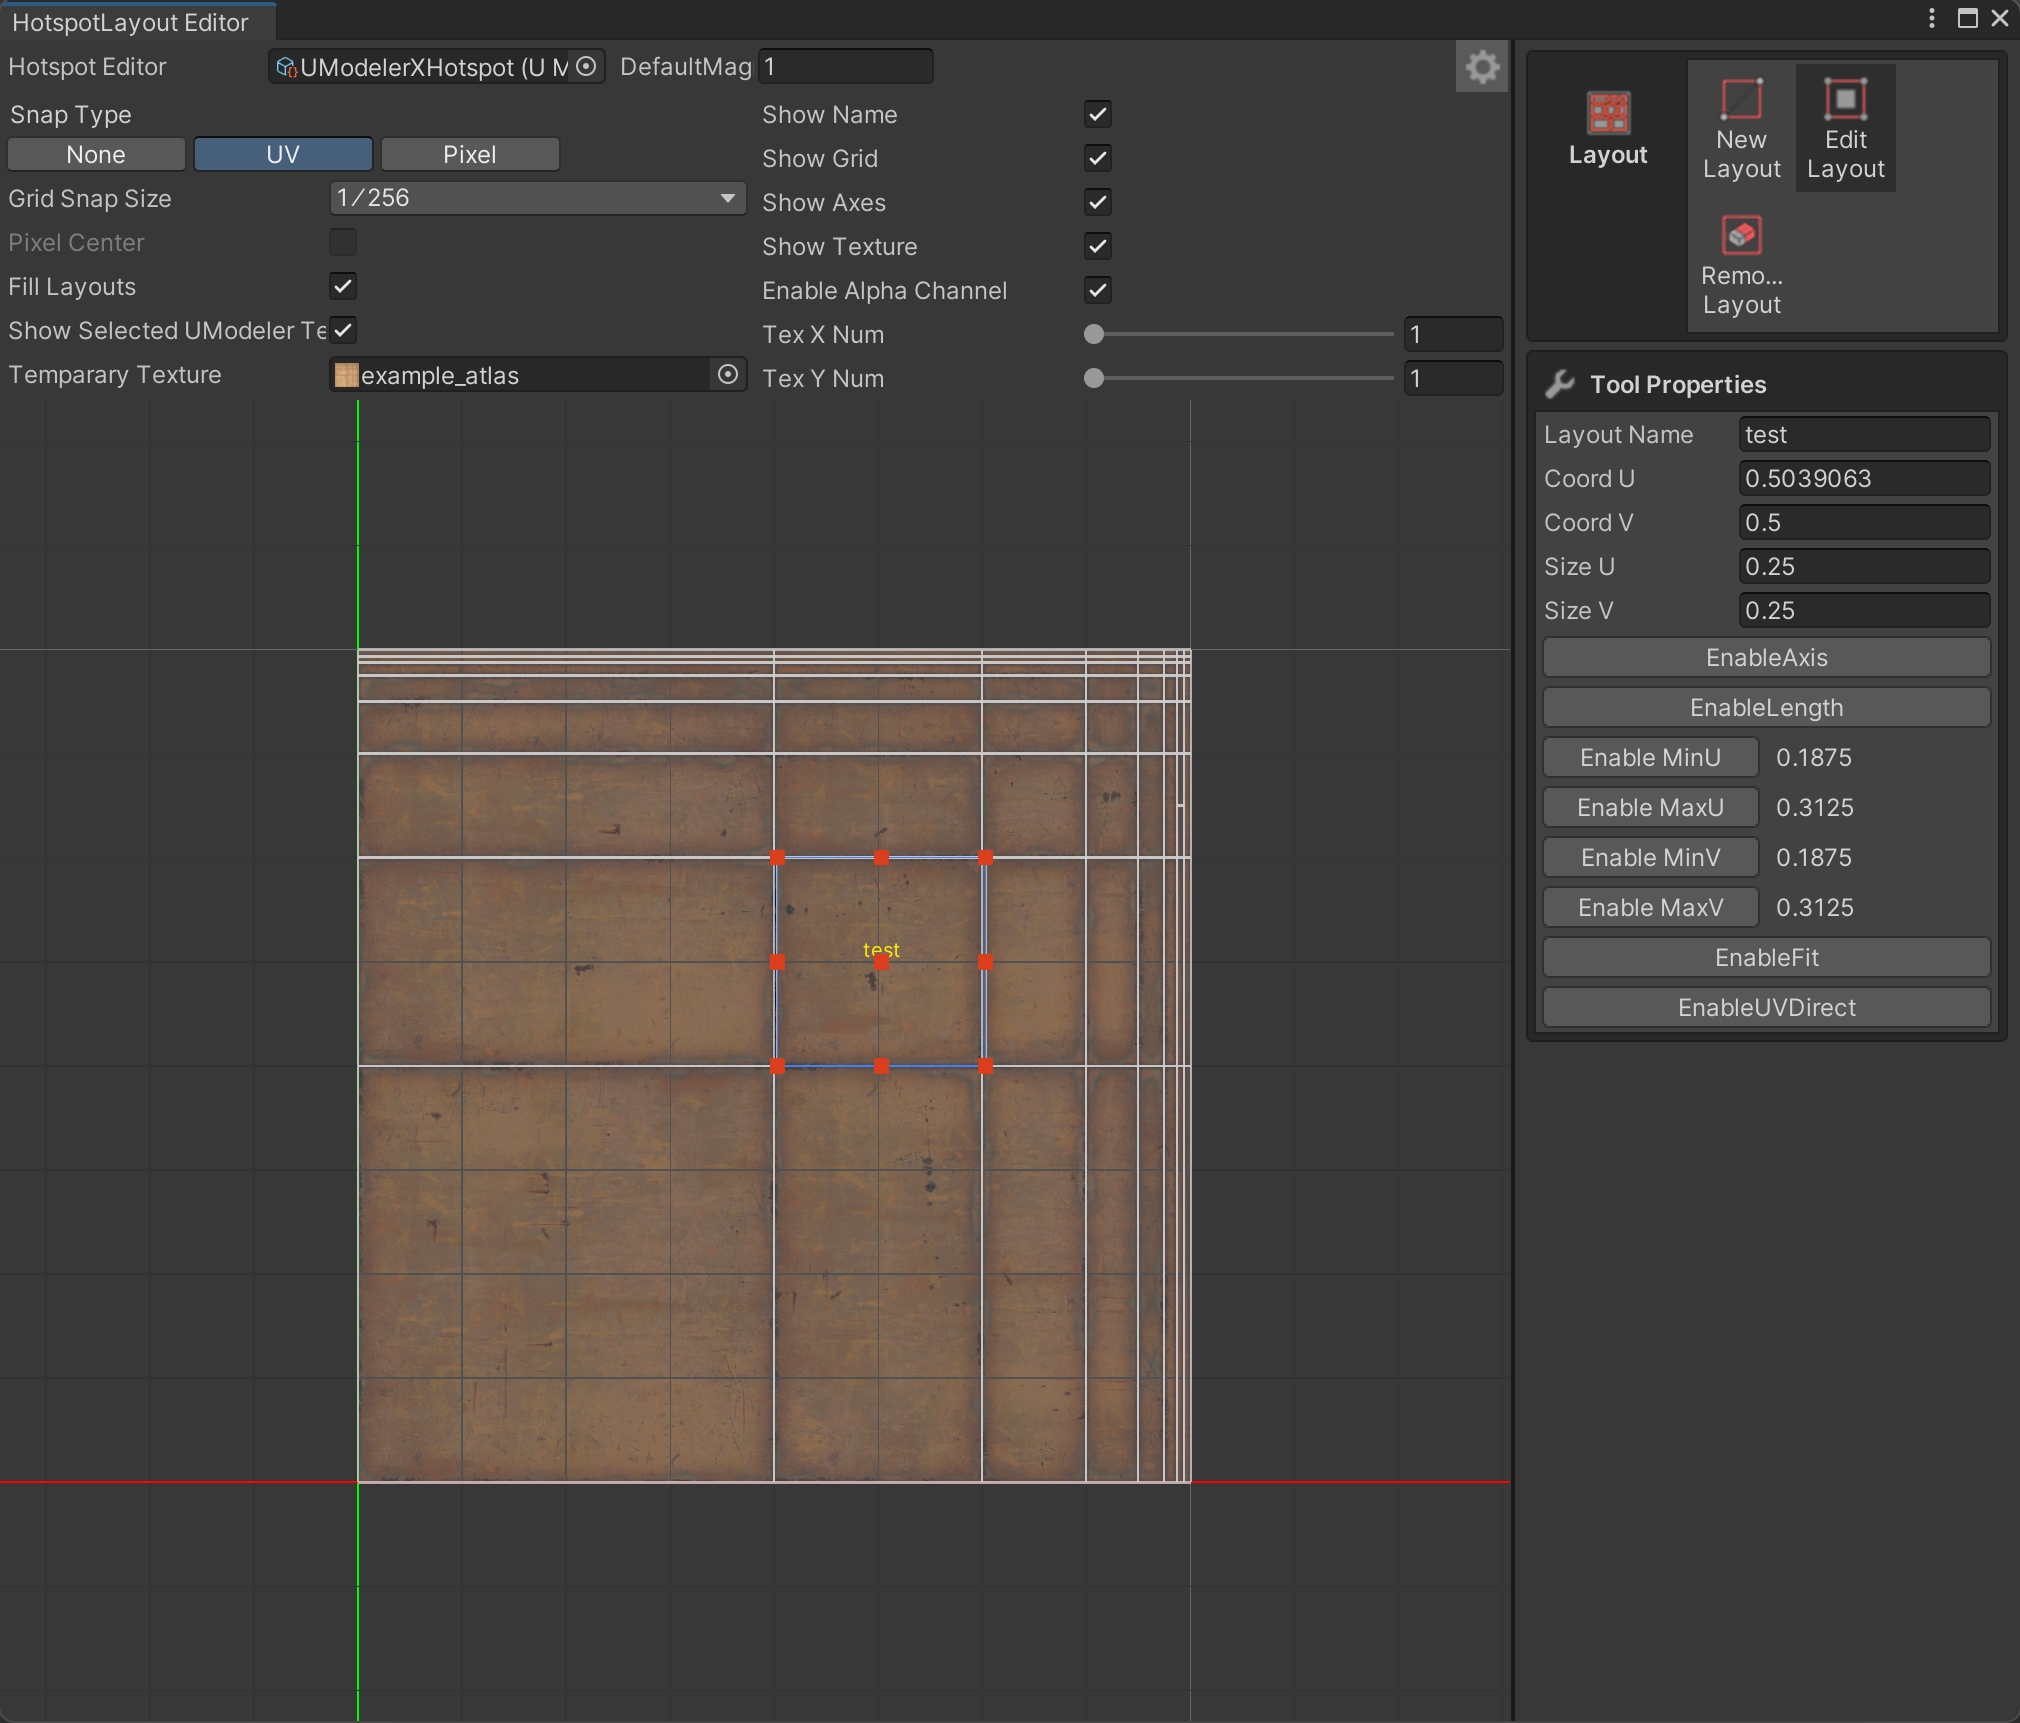
2.In the Inspector, go to the UModeler X Component and click Surface > Hotspot.
3.In Tool Properties, select the previously created layout under Selected Layout.
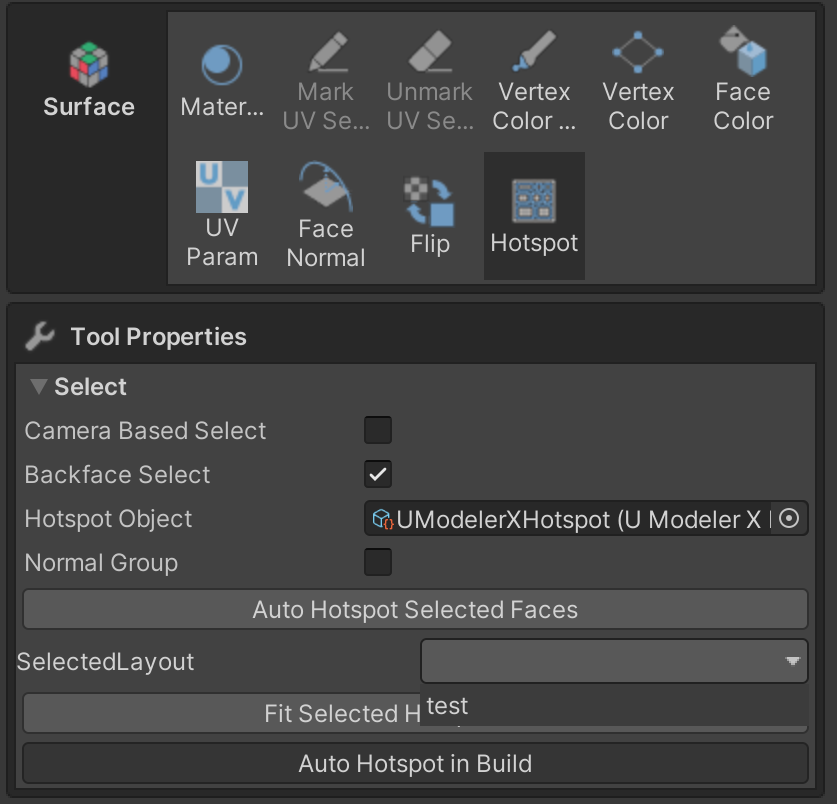
4.Click Fit Selected Hotspot Face.

5.Confirm that the selected face displays correctly in the viewport.
Summary
A. Auto Hotspot in Build: Automatically updates texture regions in real-time when moving mesh faces.
B. Auto Hotspot Selected Faces: Manually updates texture regions for selected faces.
C. Fit Selected Hotspot Faces: Adjusts textures precisely using assigned layouts.