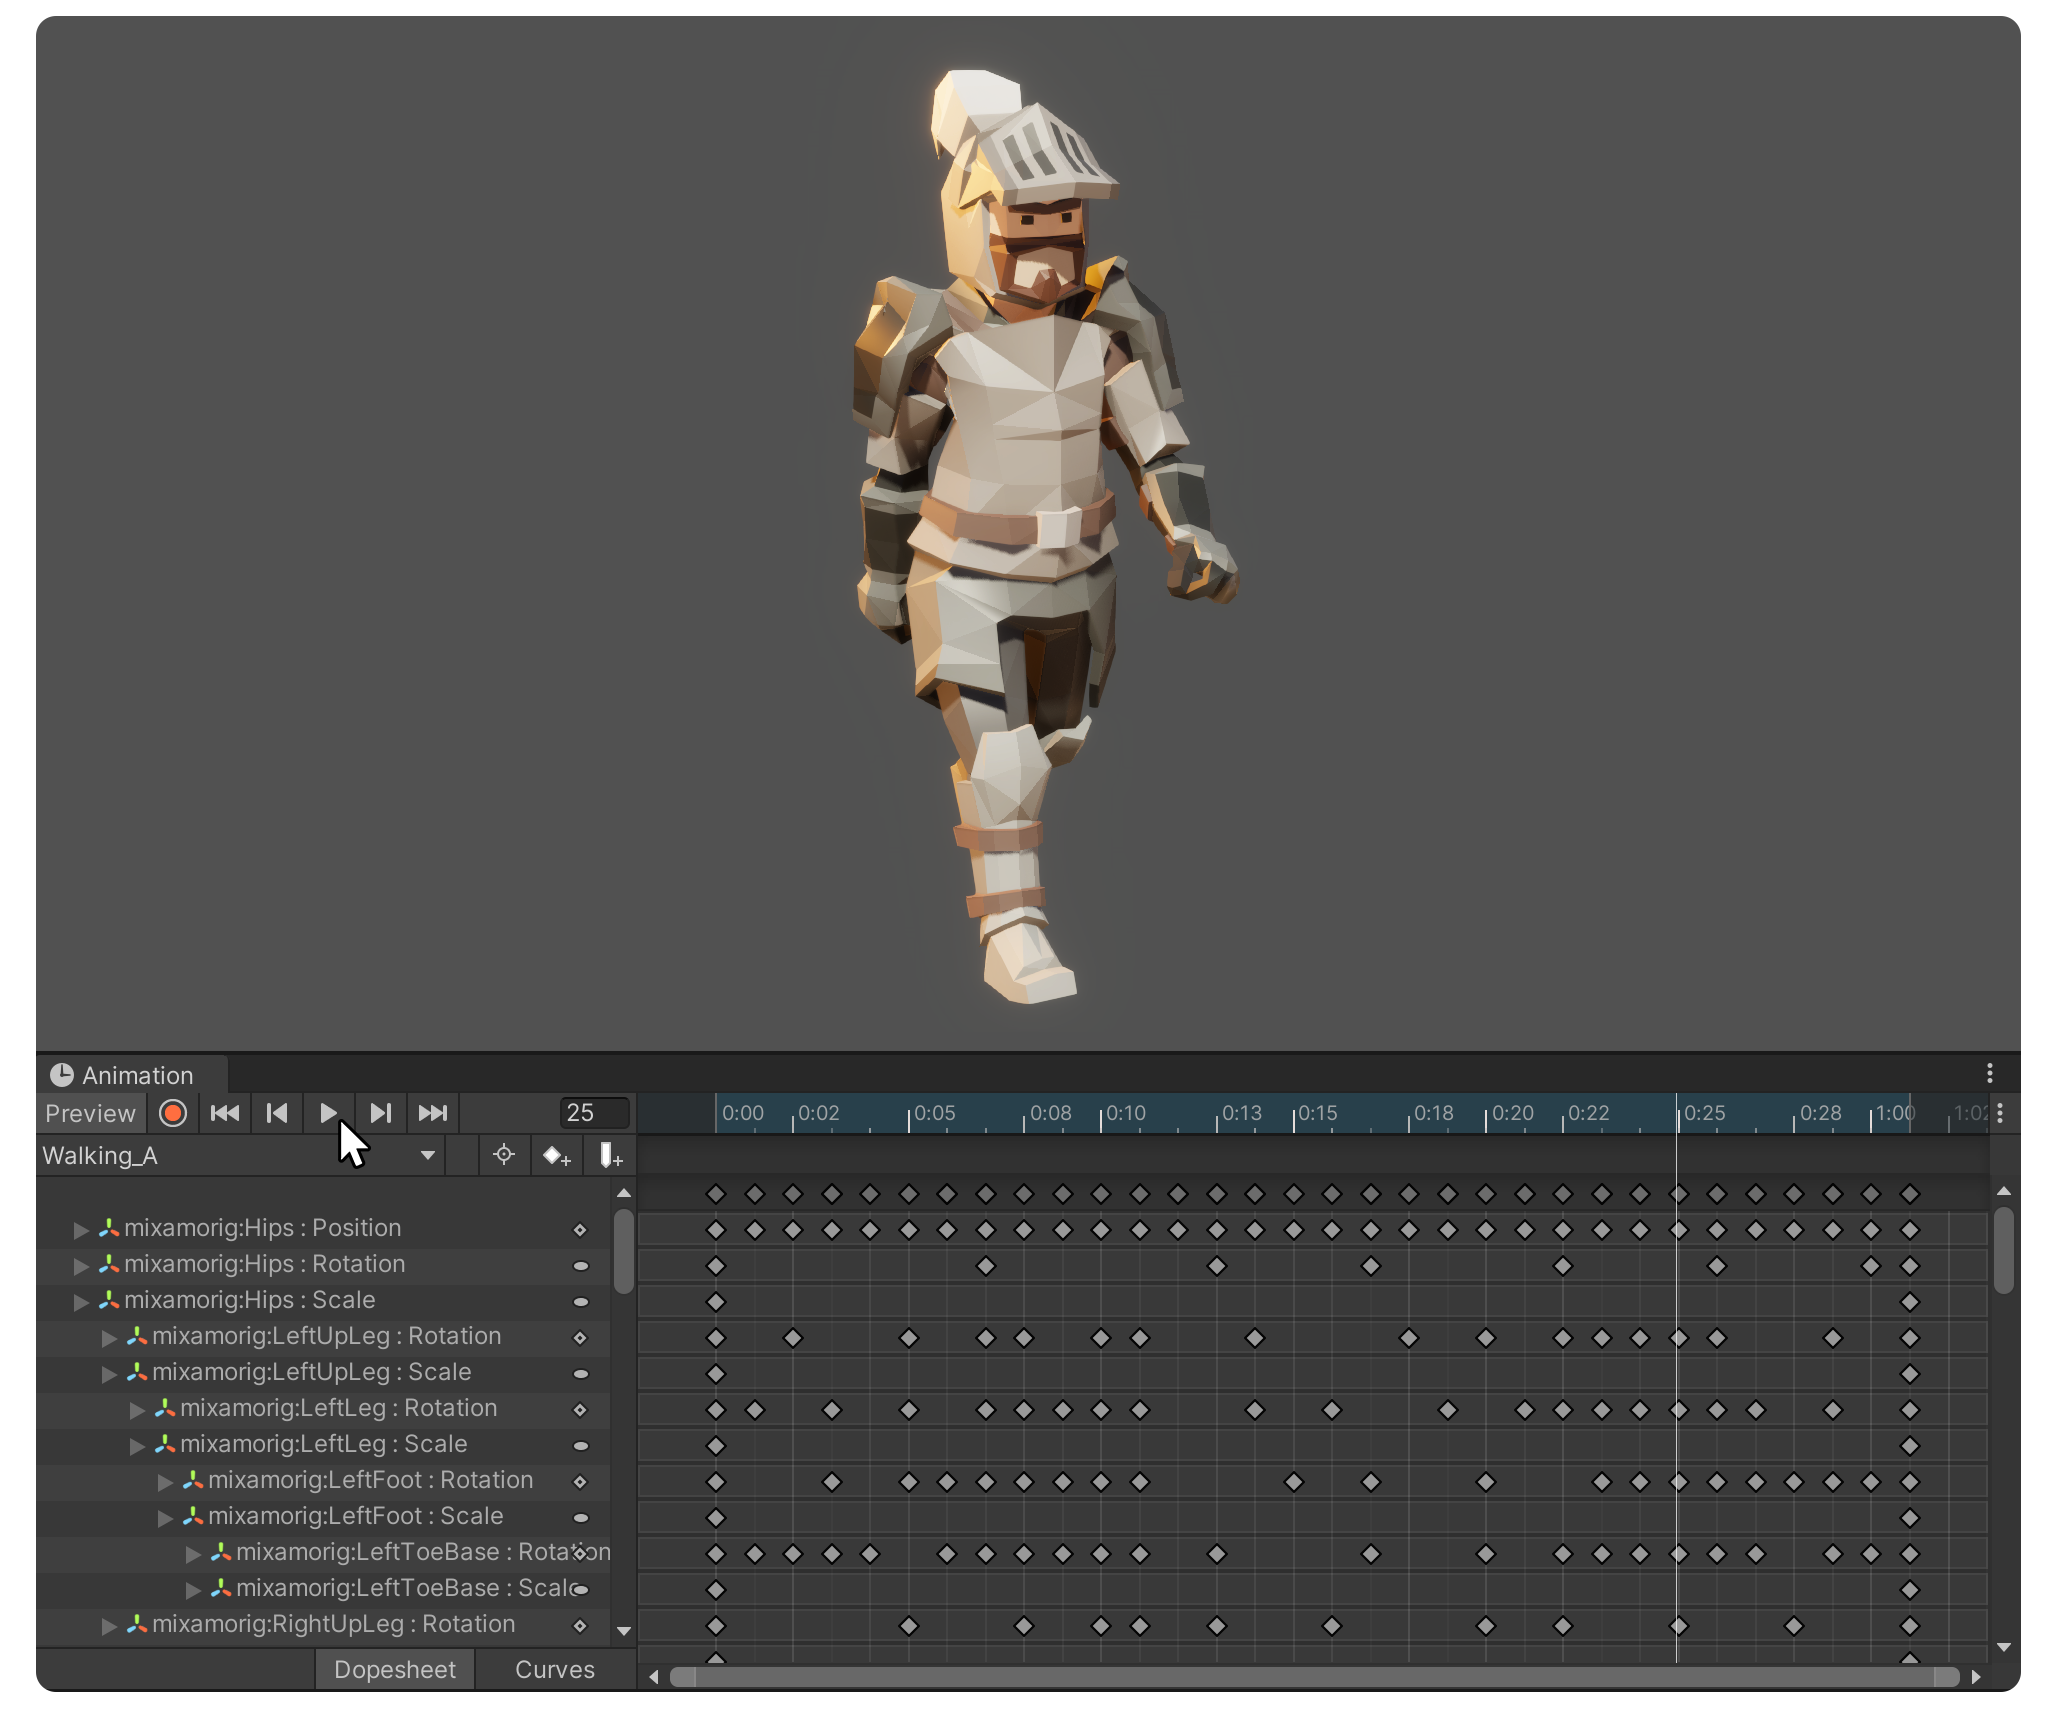
Synty Studios and Mixamo
Using UModeler X, it's possible to use various 3D assets from Synty Studios and animations from Mixamo together within Unity.
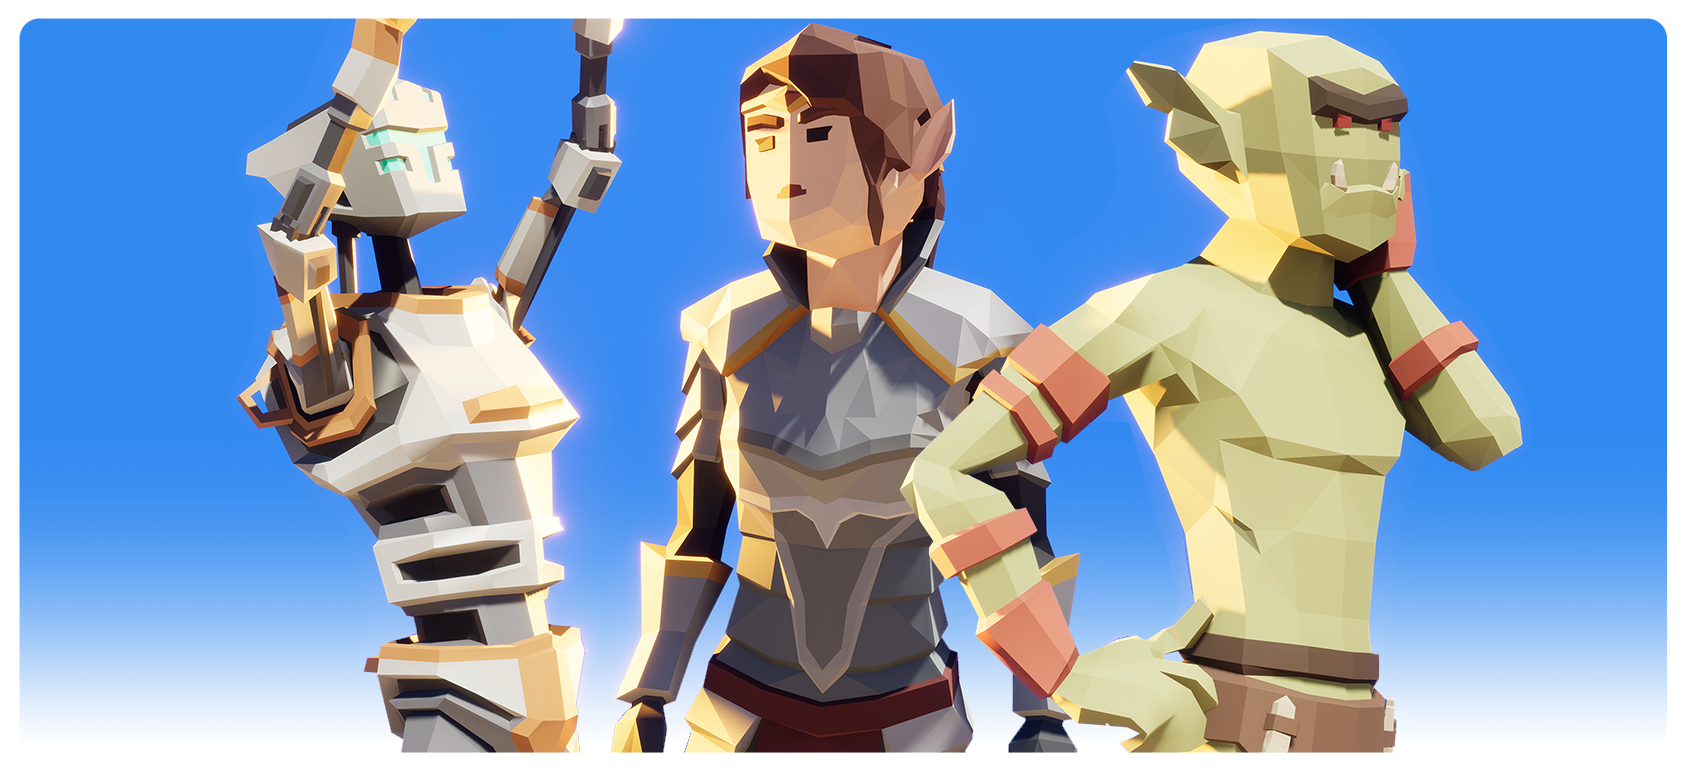
Using UModeler X, it's possible to use various 3D assets from Synty Studios and animations from Mixamo together within Unity.
Previously, you would have to export 3D characters created by Synty Studios using the FBX exporter, then upload them to Mixamo to use the animations. However, this guide document allows you to freely apply animations without leaving Unity.
The overall workflow is as follows.
- Select the Synty Studios asset and convert it into a UModeler X object.
- Next, proceed with rigging and skinning according to the bone structure of Mixamo.
- After that, download the animation from Mixamo and import it into your Unity project to apply to the model.
1. Conversion of Synty Studios Assets
The first step in the conversion process is to convert the desired Synty Studios assets into UModeler X objects.
1.Import the Synty Studios asset into your Unity project. Once the import is complete, you can access the Prefabs folder.
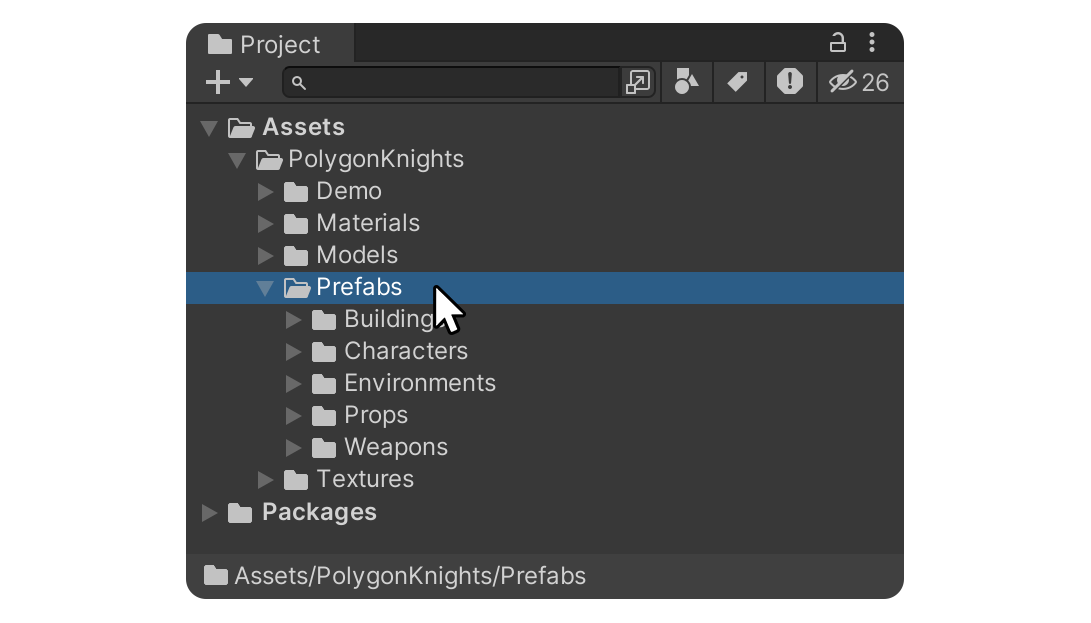
2.In the Prefabs folder, find the character prefab you want to convert and drag it into the scene.
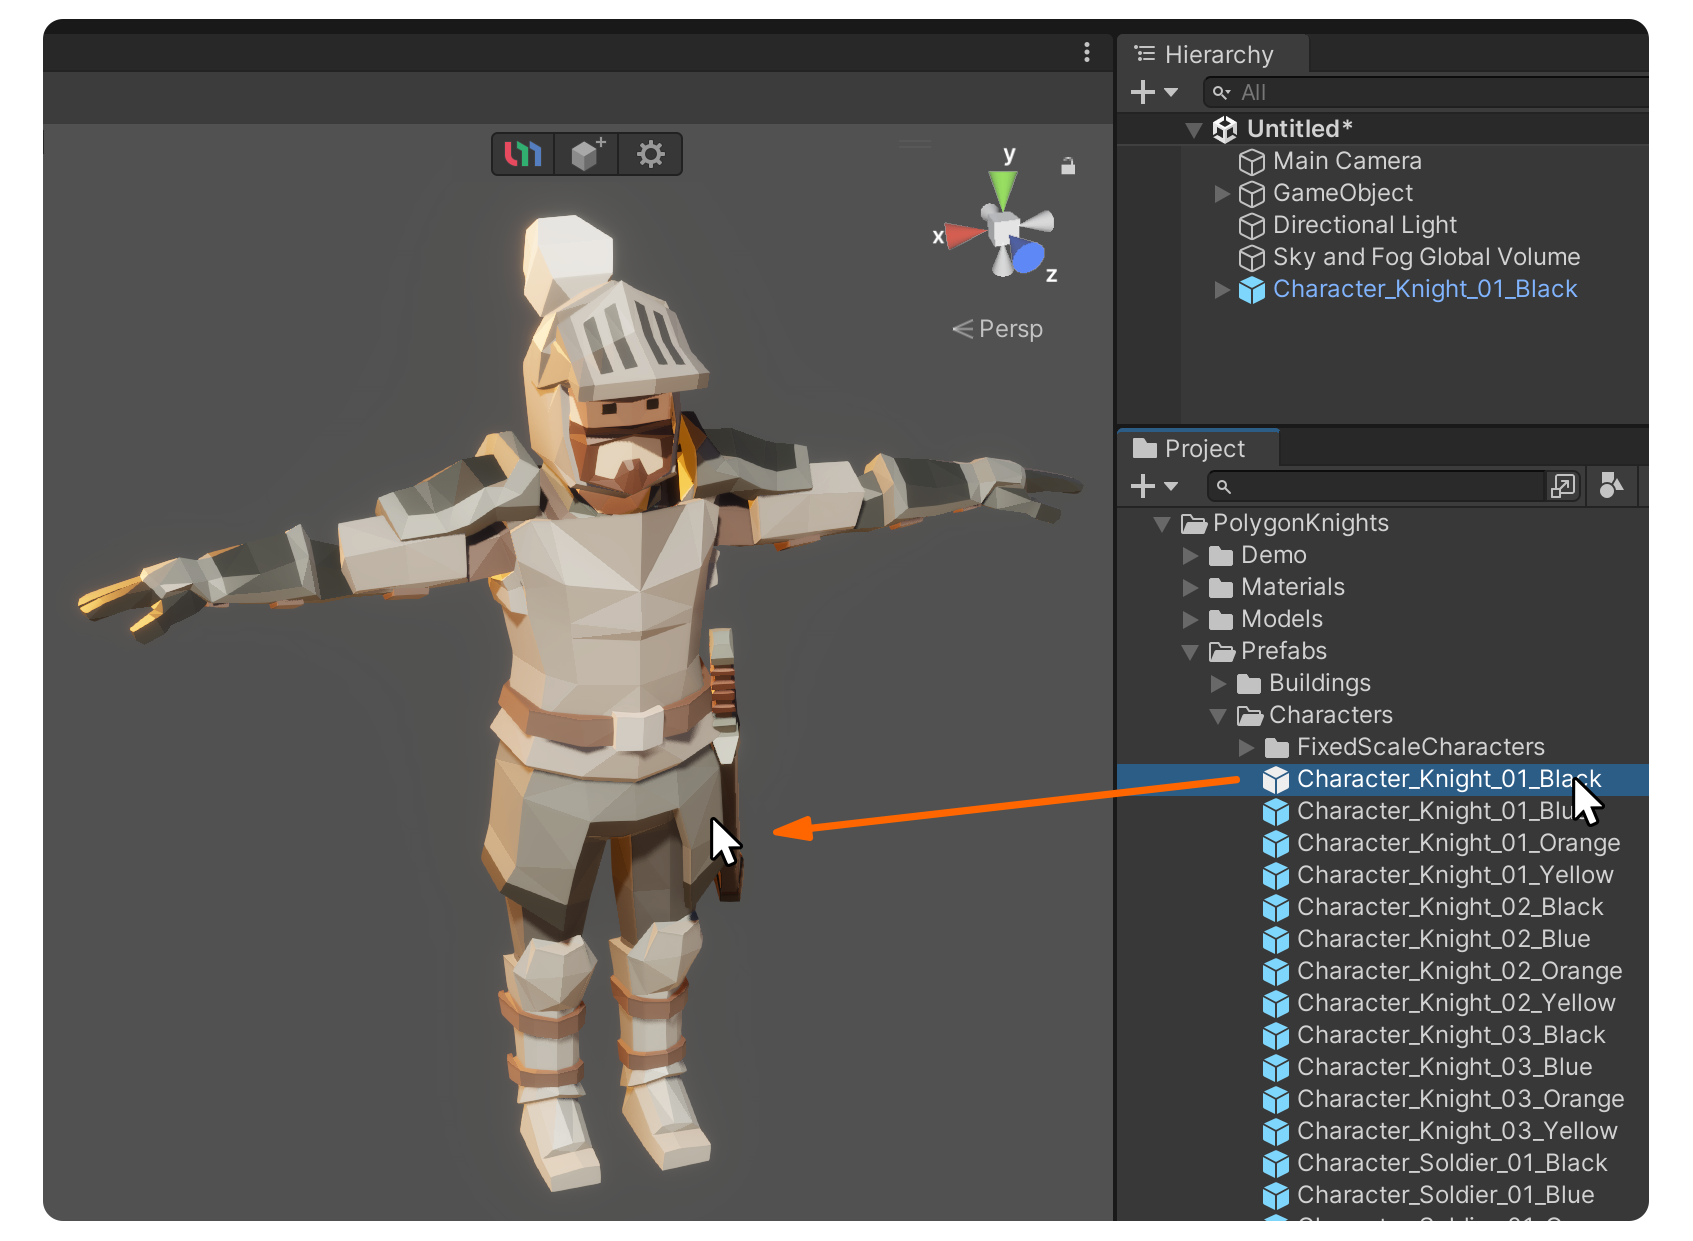
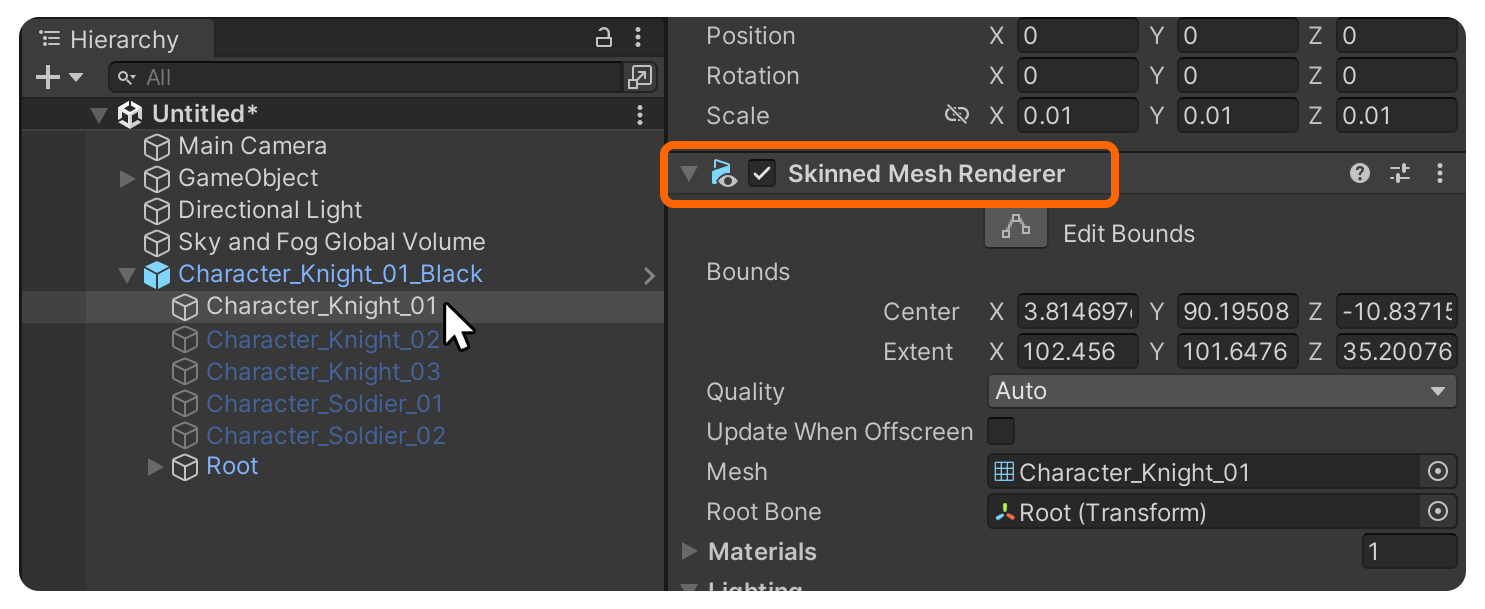
3.In the scene, find and select the object within the placed prefab that contains a Skinned Mesh Renderer or Mesh Renderer component. UModeler X can only convert objects that have a mesh.
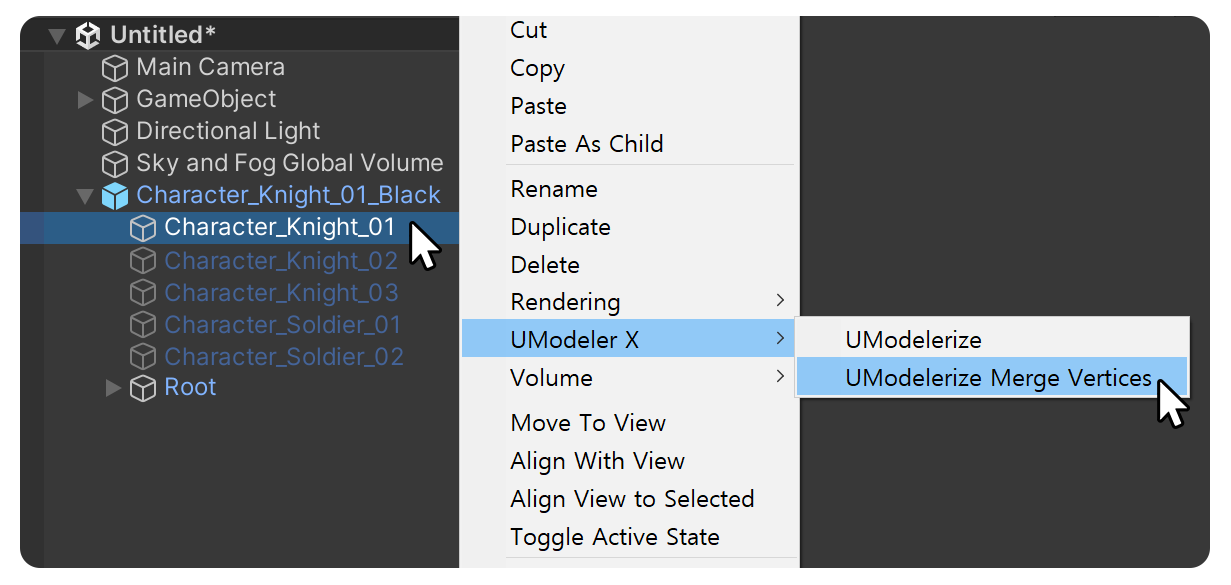
4.In the Hierarchy tab, right-click the selected object, and chooseUModeler X > UModelerize Merge Vertices
2. Modeling and Texture Editing
After converting to UModeler X objects via UModelerize, you can proceed with editing using various modes and editors of UModeler X.
Modeling Mode
You can make modeling edits using the modeling mode of UModeler X. For detailed information on the features and how to use modeling mode, please refer to the following manual.
Modeling Mode
UV Unwrapping and Painting Mode
Before using painting mode for texture editing, UV unwrapping is necessary. Since Synty Studios' assets are designed with very small UVs placed on textures with color sections set for each area, rather than using UV across the entire texture, it is necessary to unwrap the UVs before painting textures in painting mode.
For methods and the importance of using the UV editor for UV unwrapping, please refer to the guide document below.
UV Editor Guide
Once UV unwrapping is complete, you can switch to painting mode, which allows for texture painting, and edit the texture. For detailed information on the features and how to use painting mode, please refer to the following manual.
Painting Mode
3. Using Mixamo Bone Structure
To apply Mixamo animations to Synty Studios character assets, you need to match the bone structure.
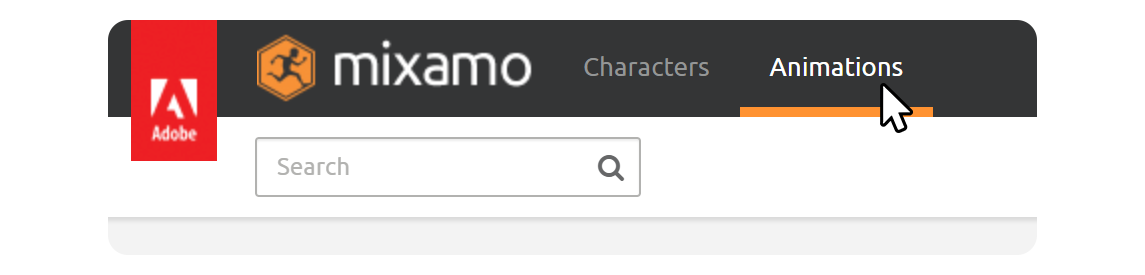
1.After accessing the Mixamo website , select Animations from the top category
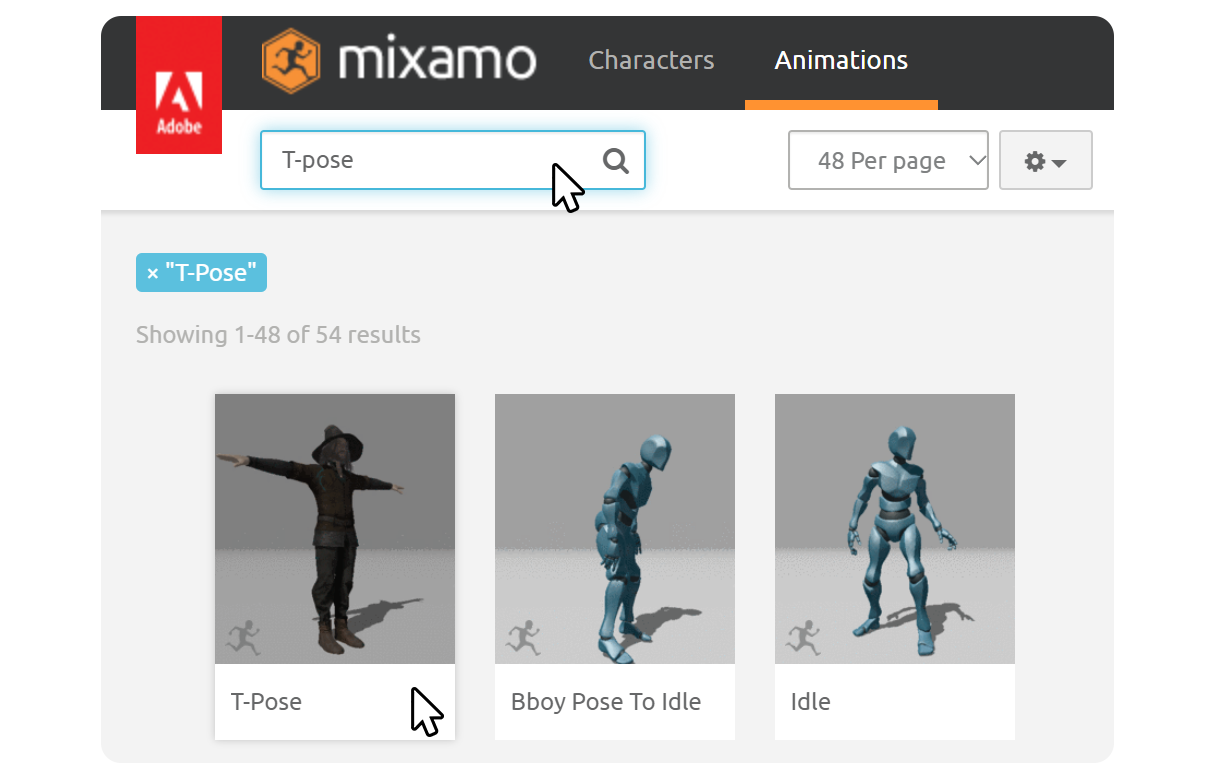
- If you are new to Mixamo, you can see animations in the T-pose state.
- If you have used Mixamo before, type T-pose in the search bar to find and select the T-Pose animation
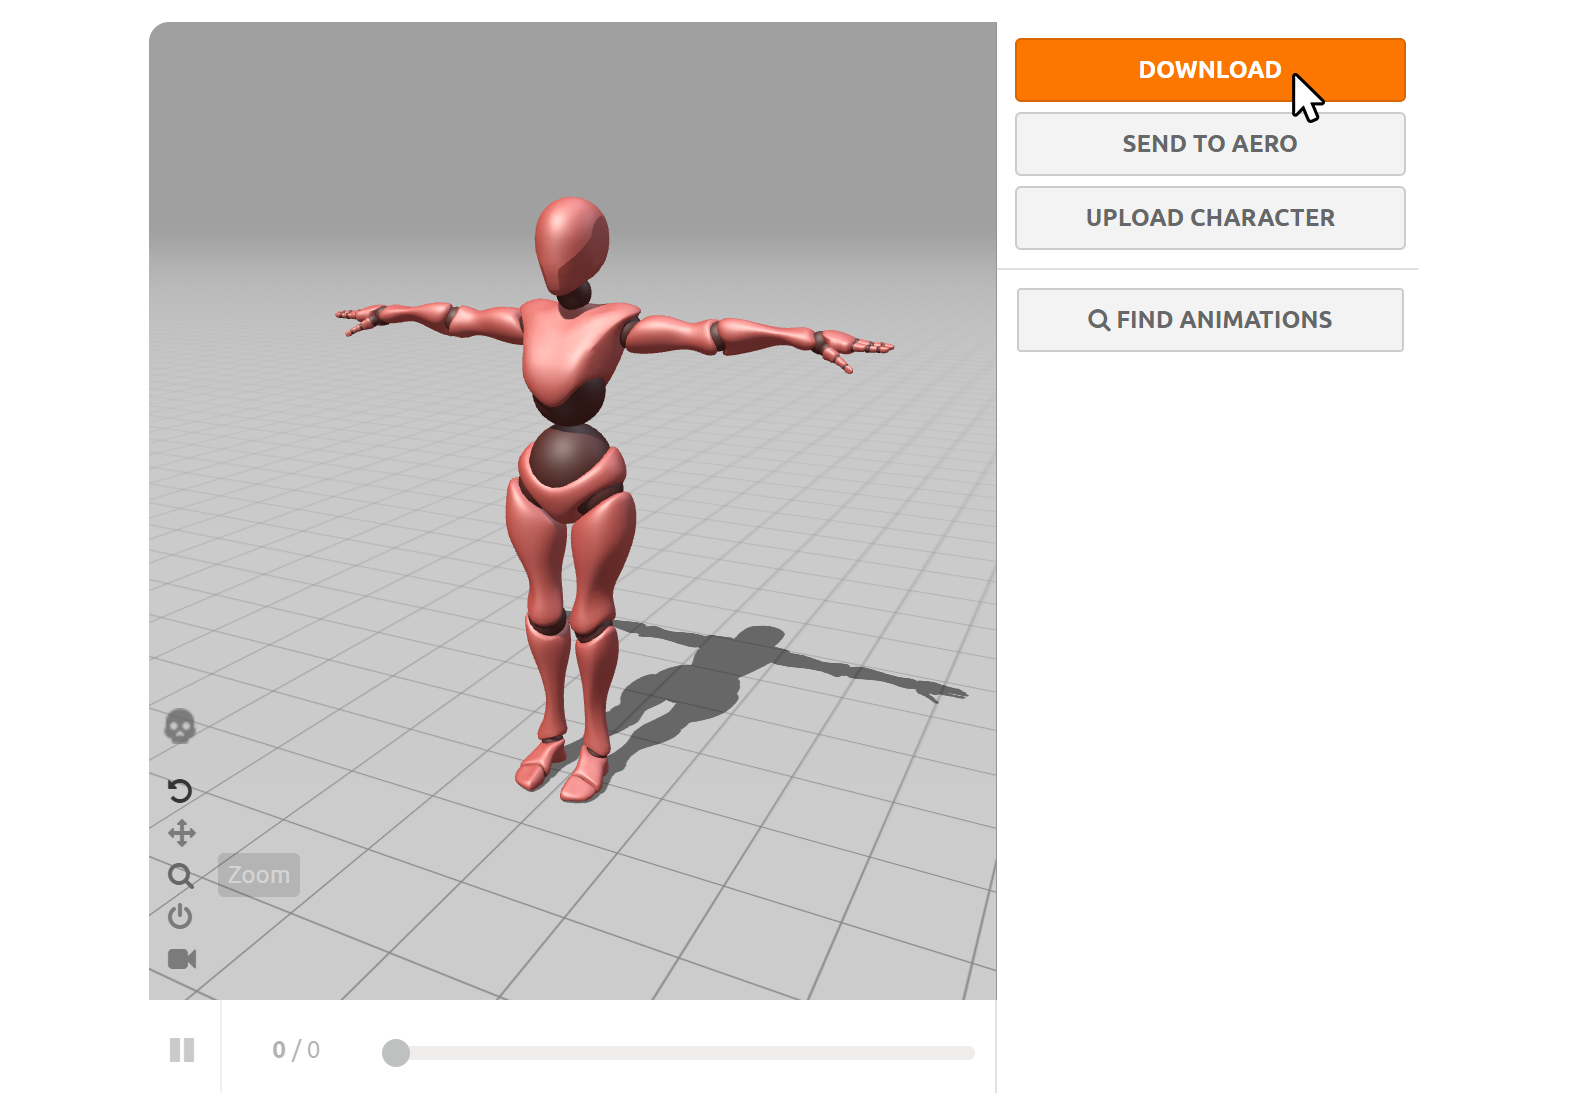
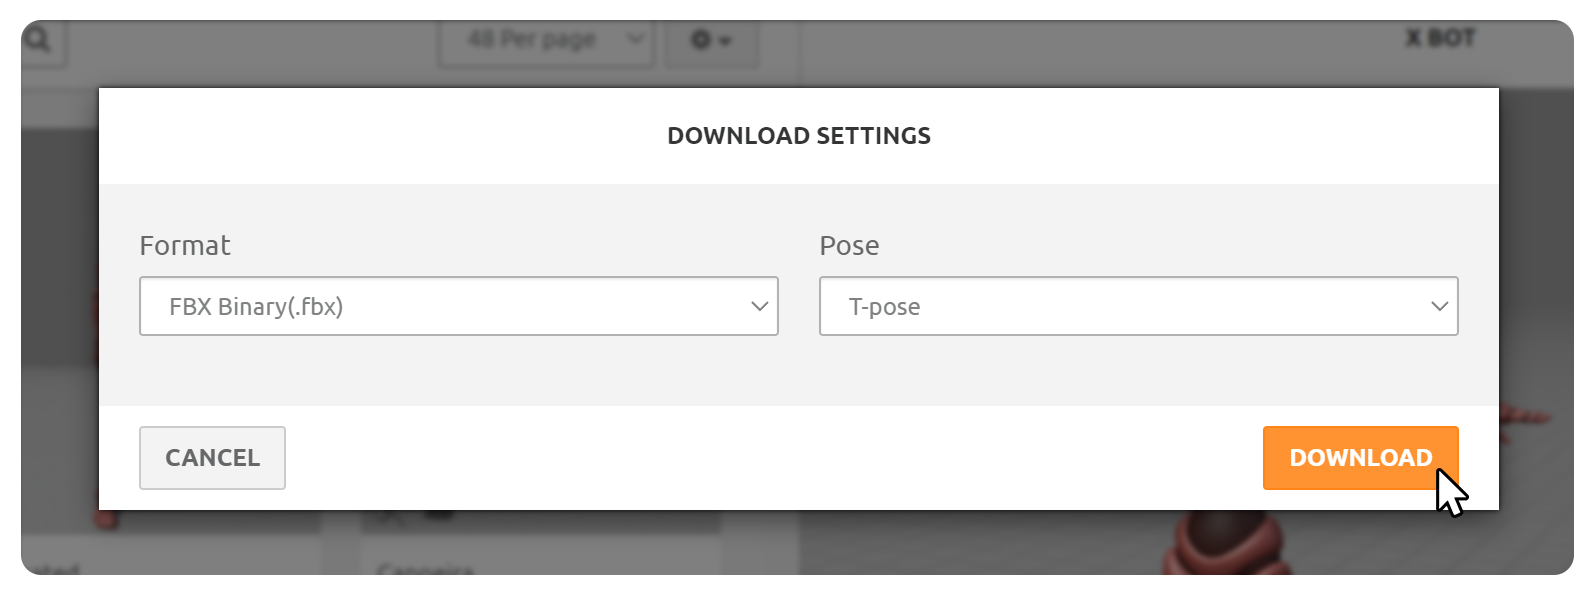
2.Press the Download button, then press the Download button again on the download options screen to download the animation file
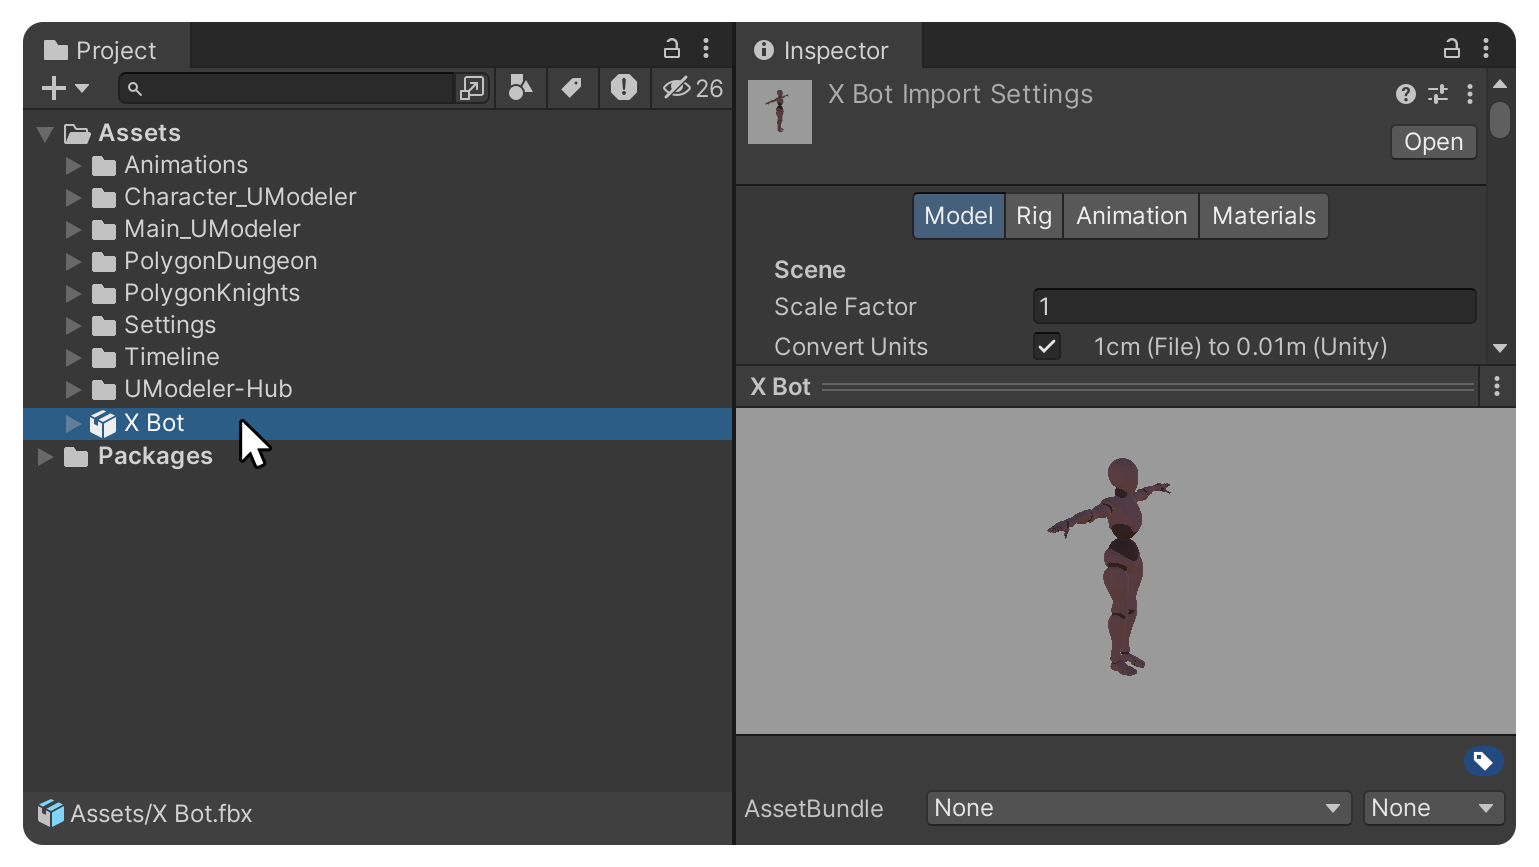
3.Import the downloaded fbx file into your Unity project.
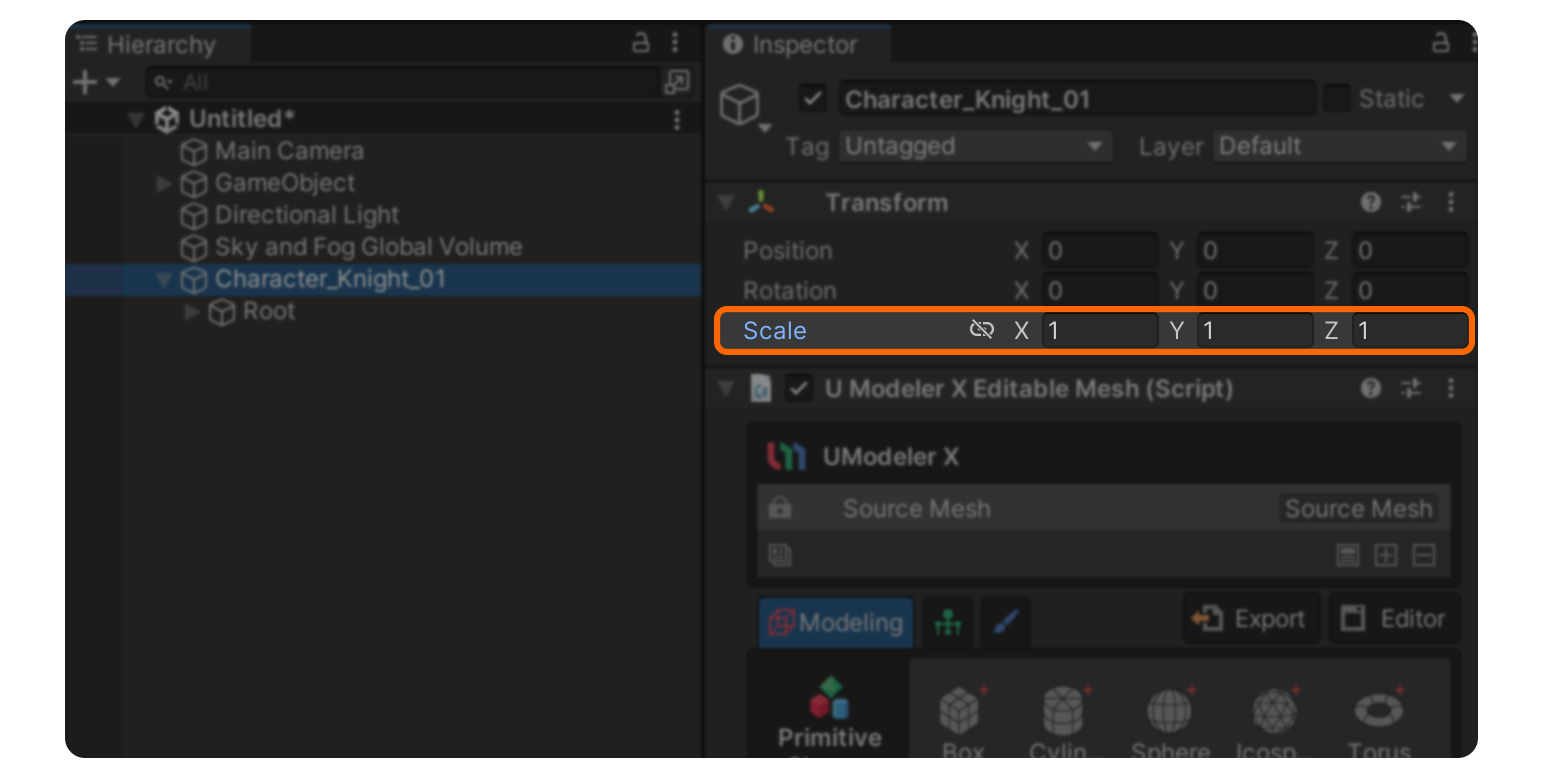
4.Drag it into the scene, and in the Hierarchy tab, copy and separate mixamorig:Hips, a child object of the said object
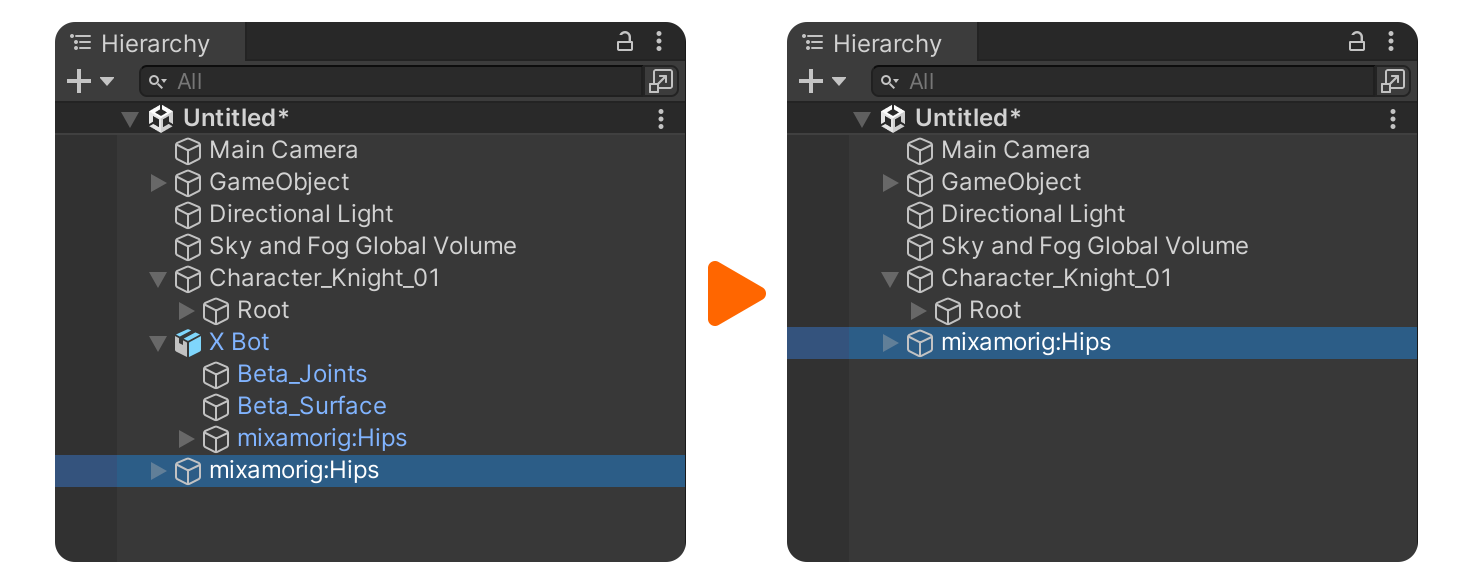
5.After separating the mixamorig:Hips object, delete the model object.
- This bone structure should be applied to the UModelerized Synty Studios character asset.
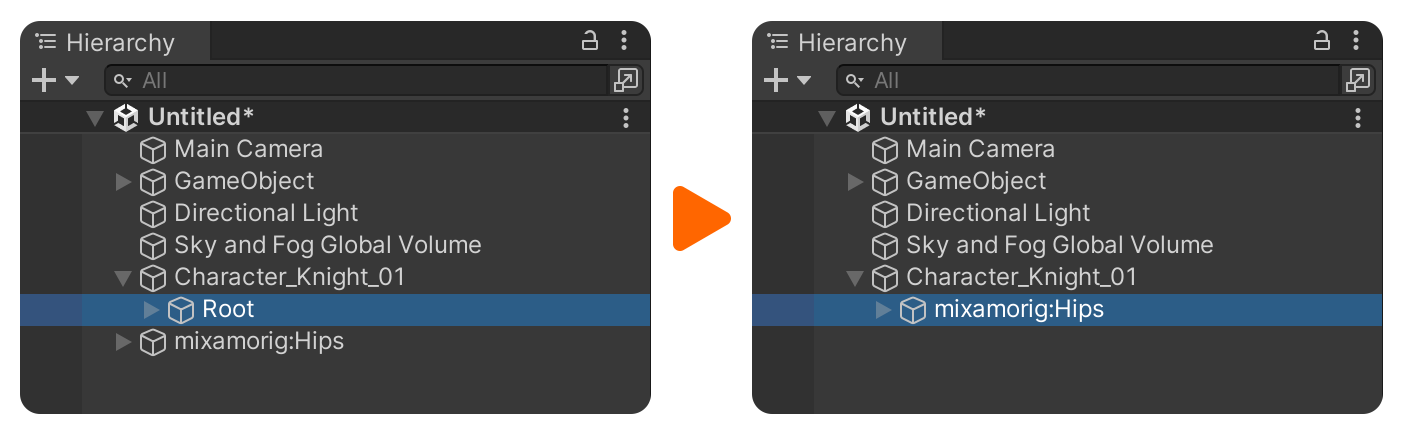
6.Register the bones as child objects of the UModeler X object.
- Delete the existing Root objects and assign the mixamorig:Hips object.
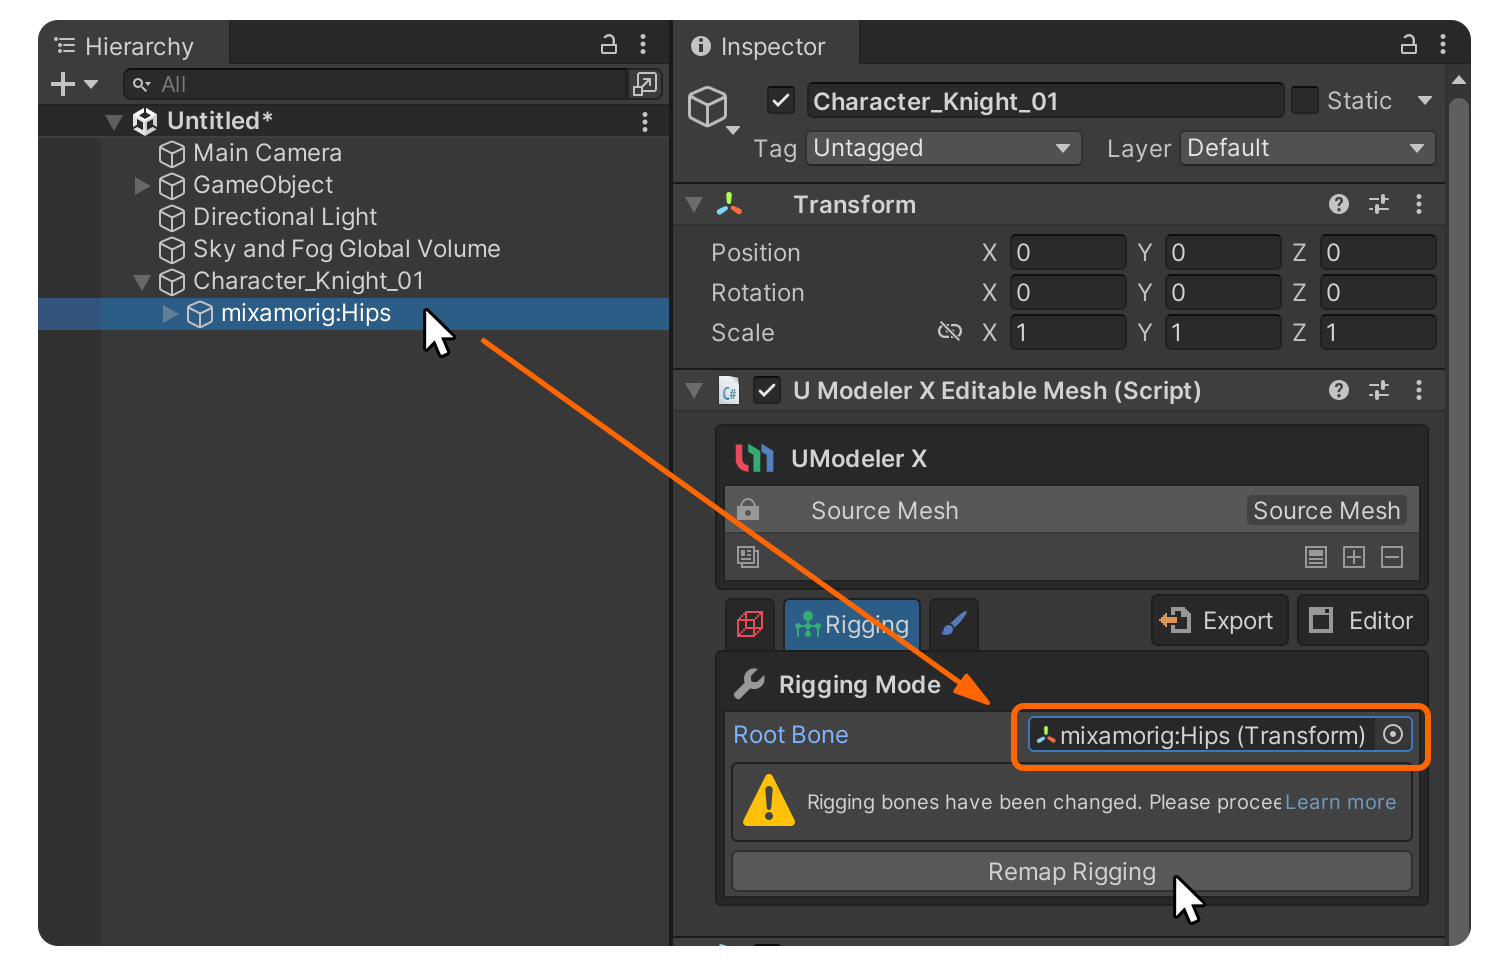
7.In the rigging mode, drag the mixamorig:Hips object to the Root Bone slot and click the Remap Rigging button to proceed with the rigging.
8.You may need to adjust the position of the bones depending on the character.
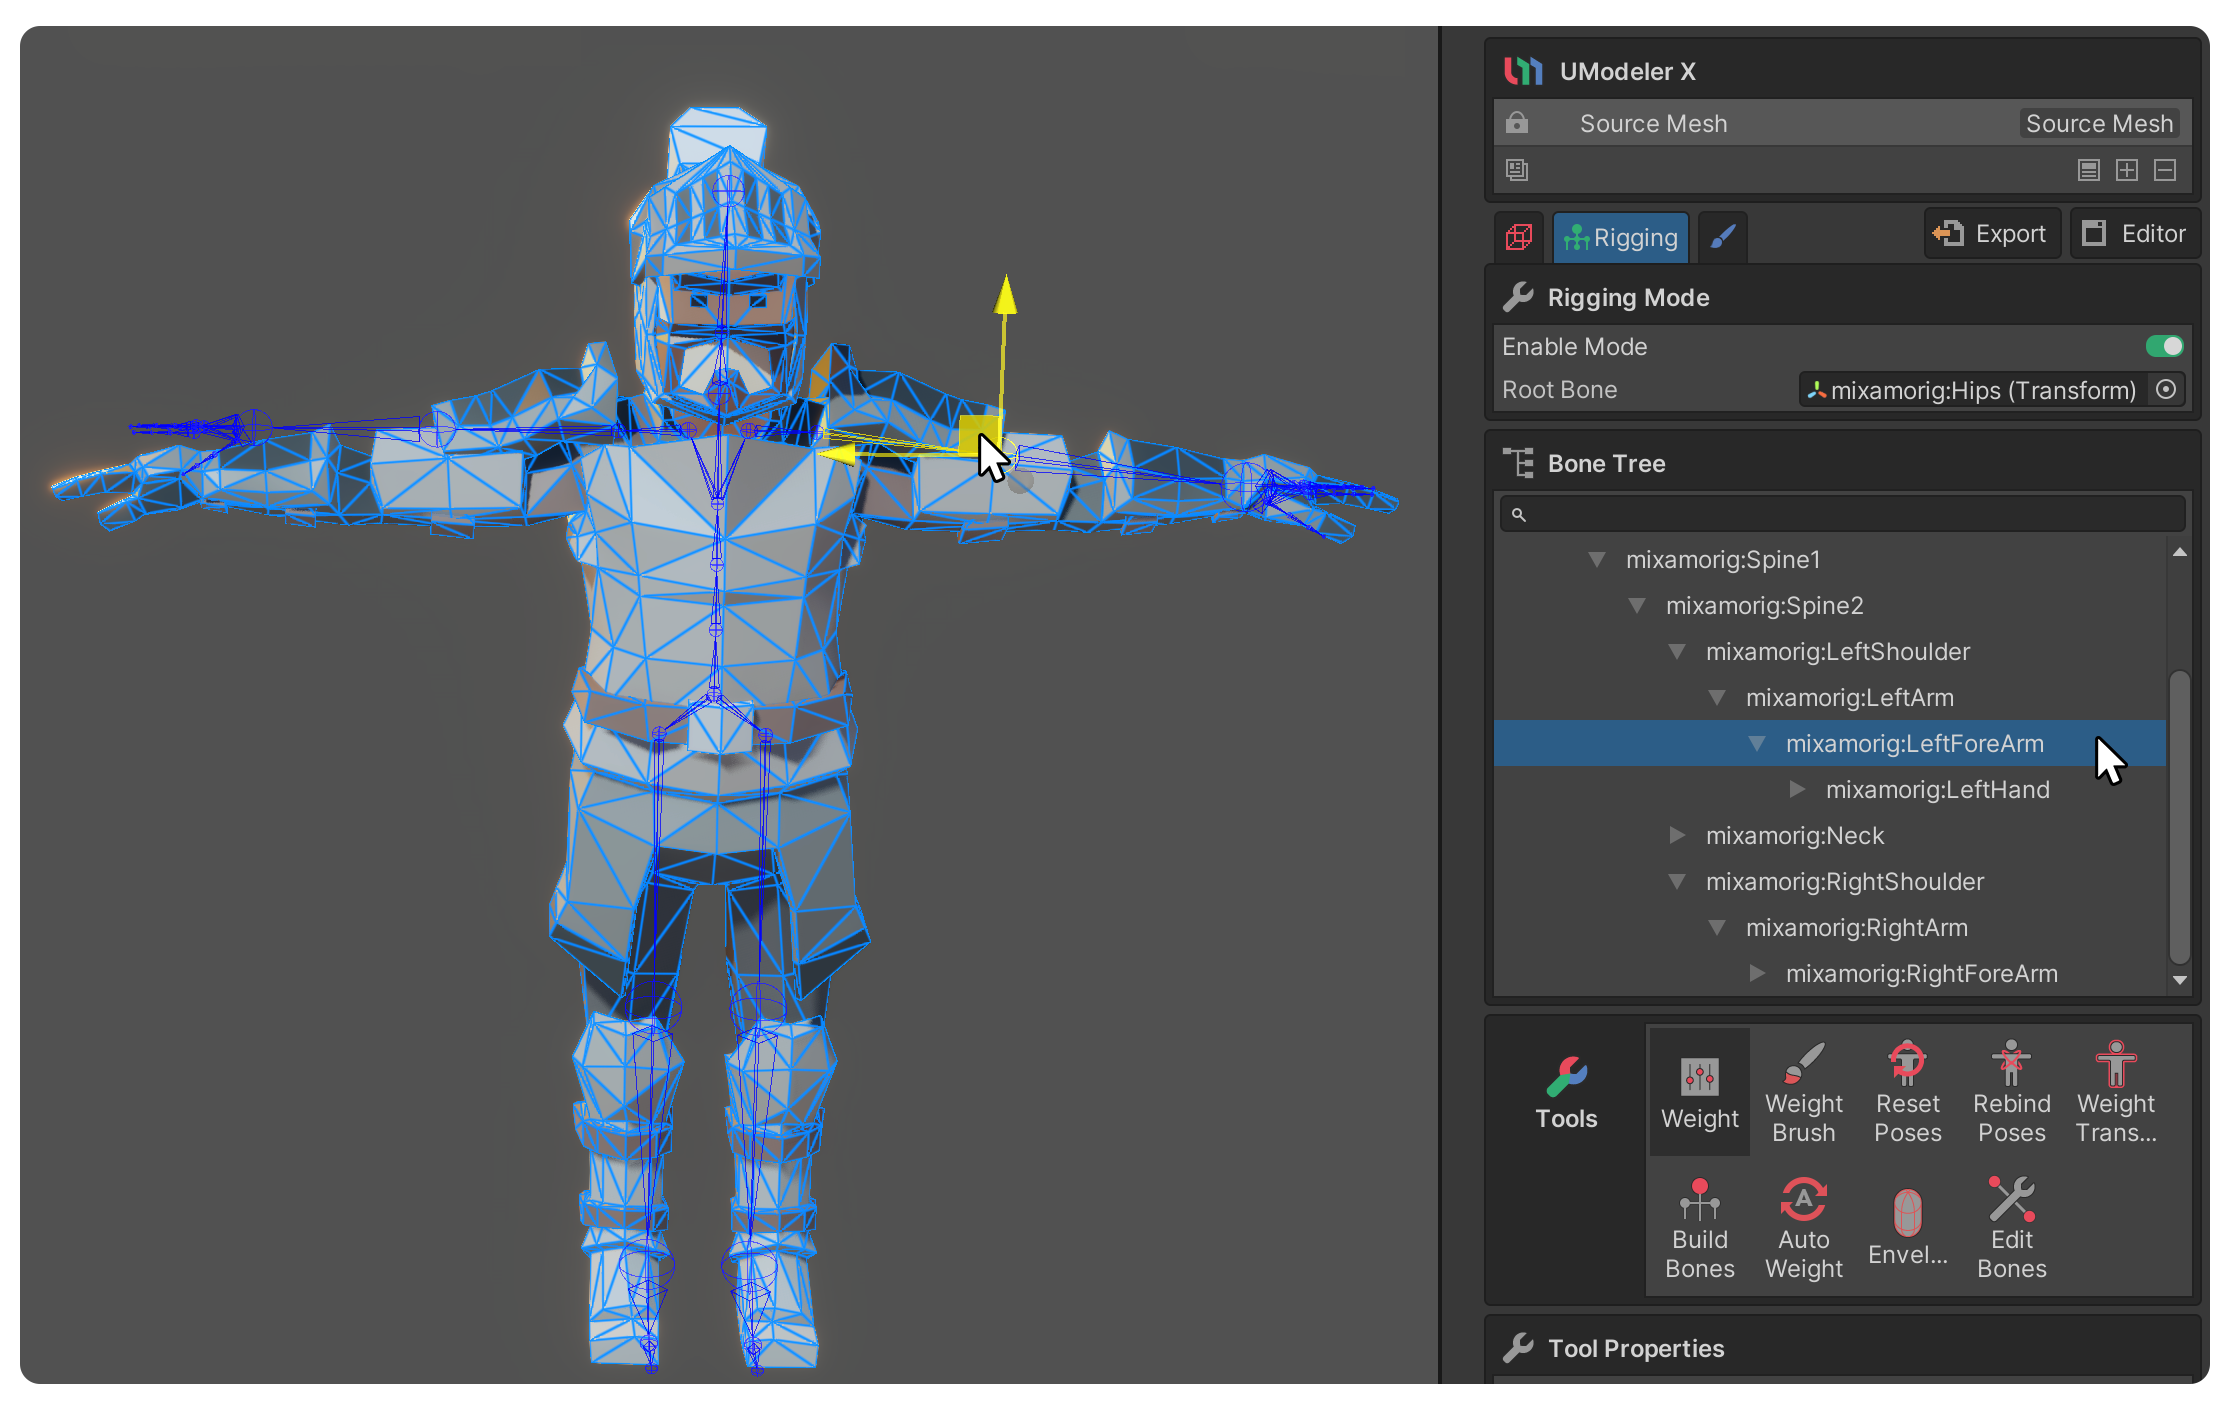
- Bones can be selected in the Bone Tree area of rigging mode,
- Or, With the Enable Clicking On Bones feature activated, you can directly select bones in the scene by Shift-clicking on them.
9.Proceed with the skinning process, which connects the vertices of the polygons to the bones.
- Even if the position of the bones has been modified to fit the shape of the character, the actual vertices and the bones are not connected. In this case, the actual vertices do not follow when the bones move, and to solve this, you must go through a process called skinning.
- Skinning is the process of connecting bones and the surface vertices together so that when the bone moves, the polygon moves along with it. You can simply use the Auto Weight tool or other skinning-related tools.
Skinning Related Tools
- Use weight editing tools to perform this process. Tools for editing weights are as follows:
Weight Tool
Weight Brush Tool
- Tools for quickly and conveniently assigning weights automatically are listed below:
Weight Transfer Tool
Auto Weight Tool
Envelope Tool
For a comprehensive guide on rigging mode, please refer to the guide below.
Rigging Mode Guide
4. Applying Mixamo Animation
Once the character's bone setup and skinning processes are completed through Rigging Mode, it's time to apply the animation.
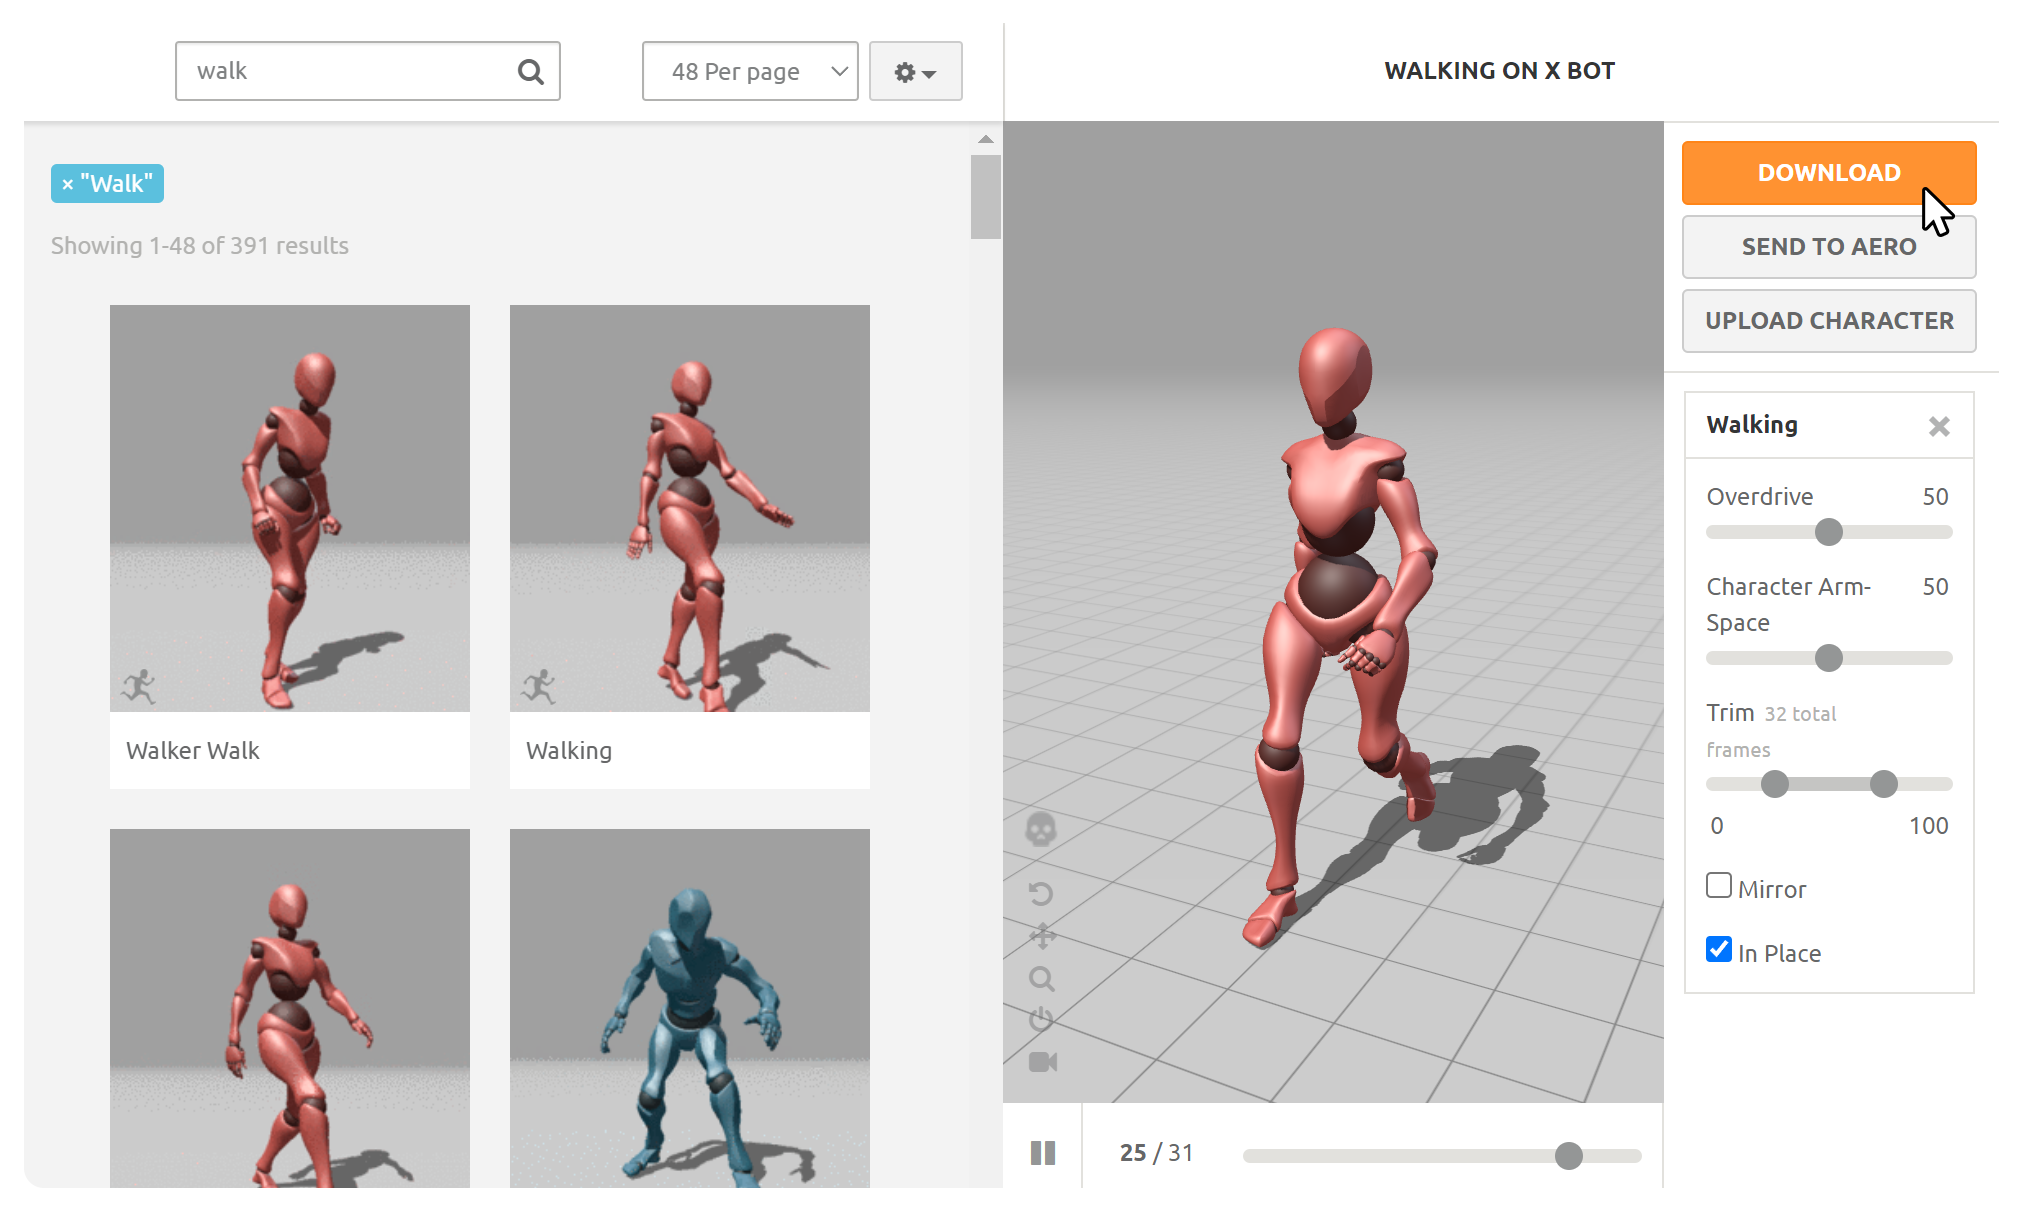
1.Access the Mixamo website select the animation you want, and click the Download button.
2.In the Download Settings window, adjust the following settings:
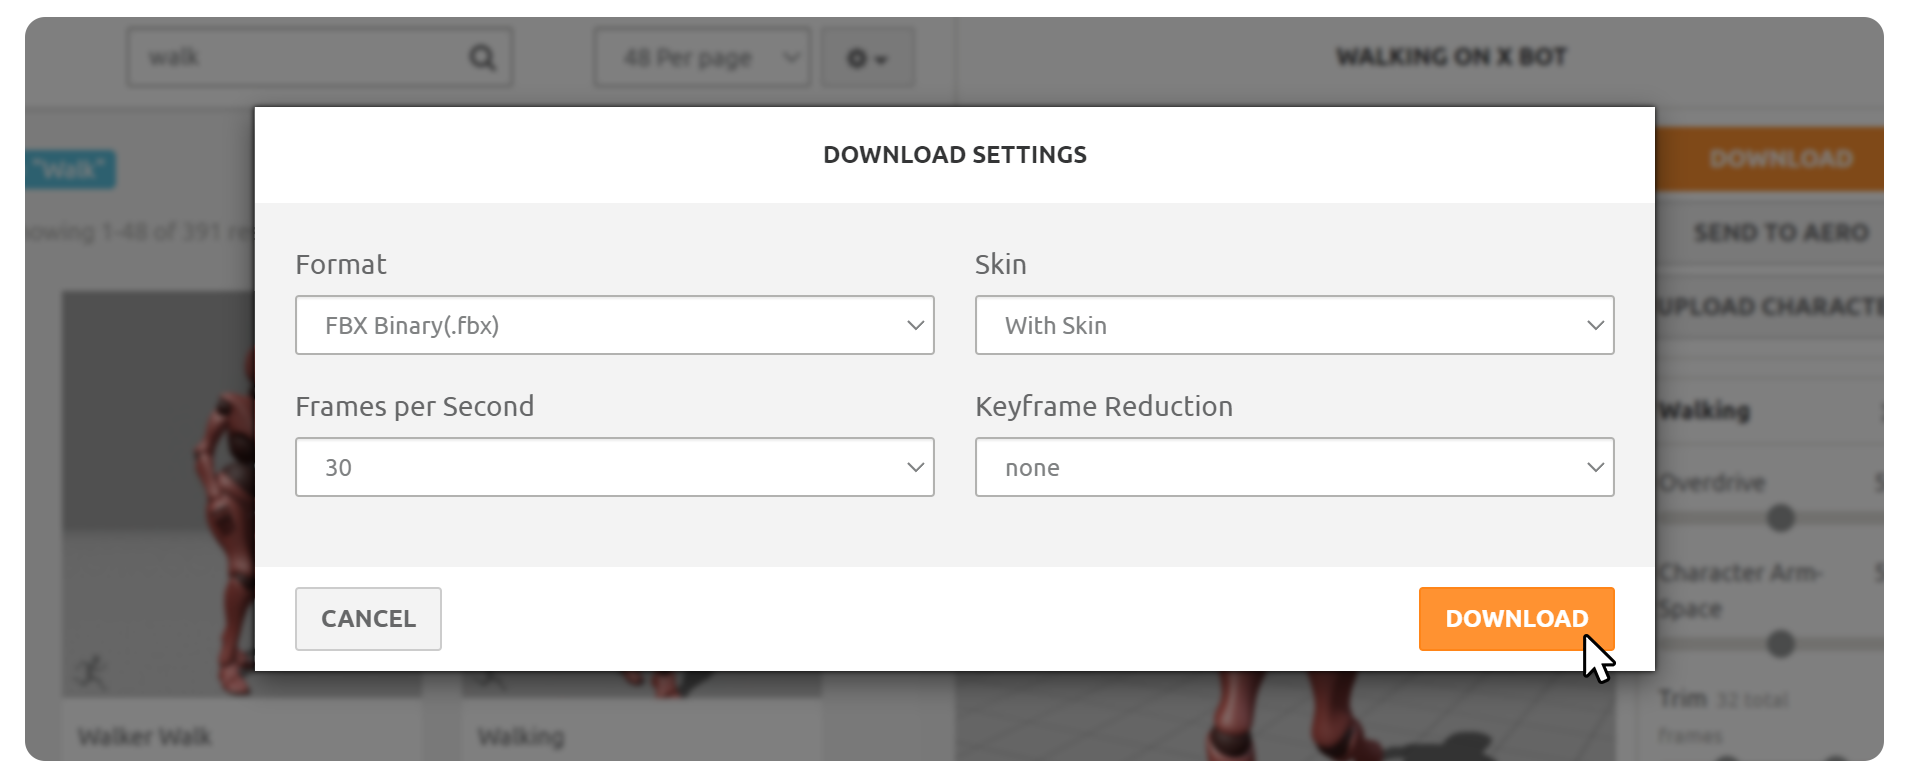
- Format: Set to FBX Binary (.fbx) format.
- Skin: Select 'Without Skin' to import only the animation.
- Since rigging has already been completed through UModeler X, modeling is not required.
- Frames per Second: Represents the number of frames per second, typically set to 30.
- Keyframe Reduction:
- Animations provided by the Mixamo service consist of motion capture data, including numerous animation key points for each frame
- Keyframe Reduction is a feature that reduces the number of key points included in the animation, simplifying the data to make the animation easier to manage.
- You can reduce the number of keyframes if necessary, but be aware that this may occasionally distort the animation.
3.After adjusting the settings, click the Download button to download the animation file, and then import it into your Unity project.
4.Select the character, and add an Animation component from the Inspector tab.
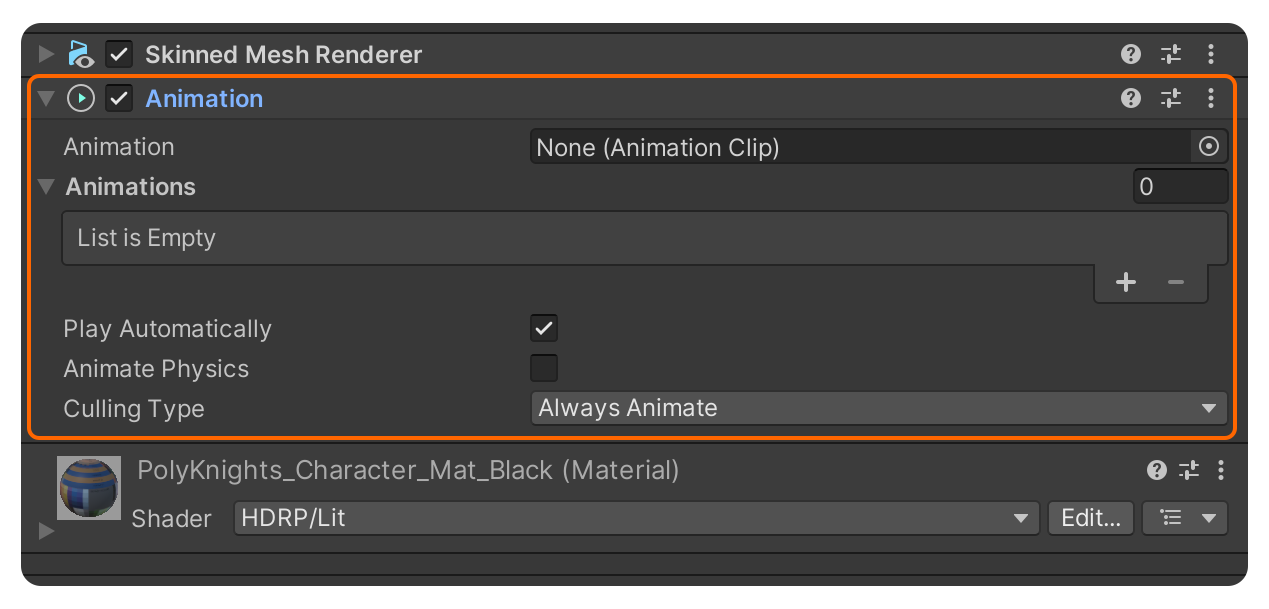
5.Drag and drop the downloaded and imported animation file into the Animation component.
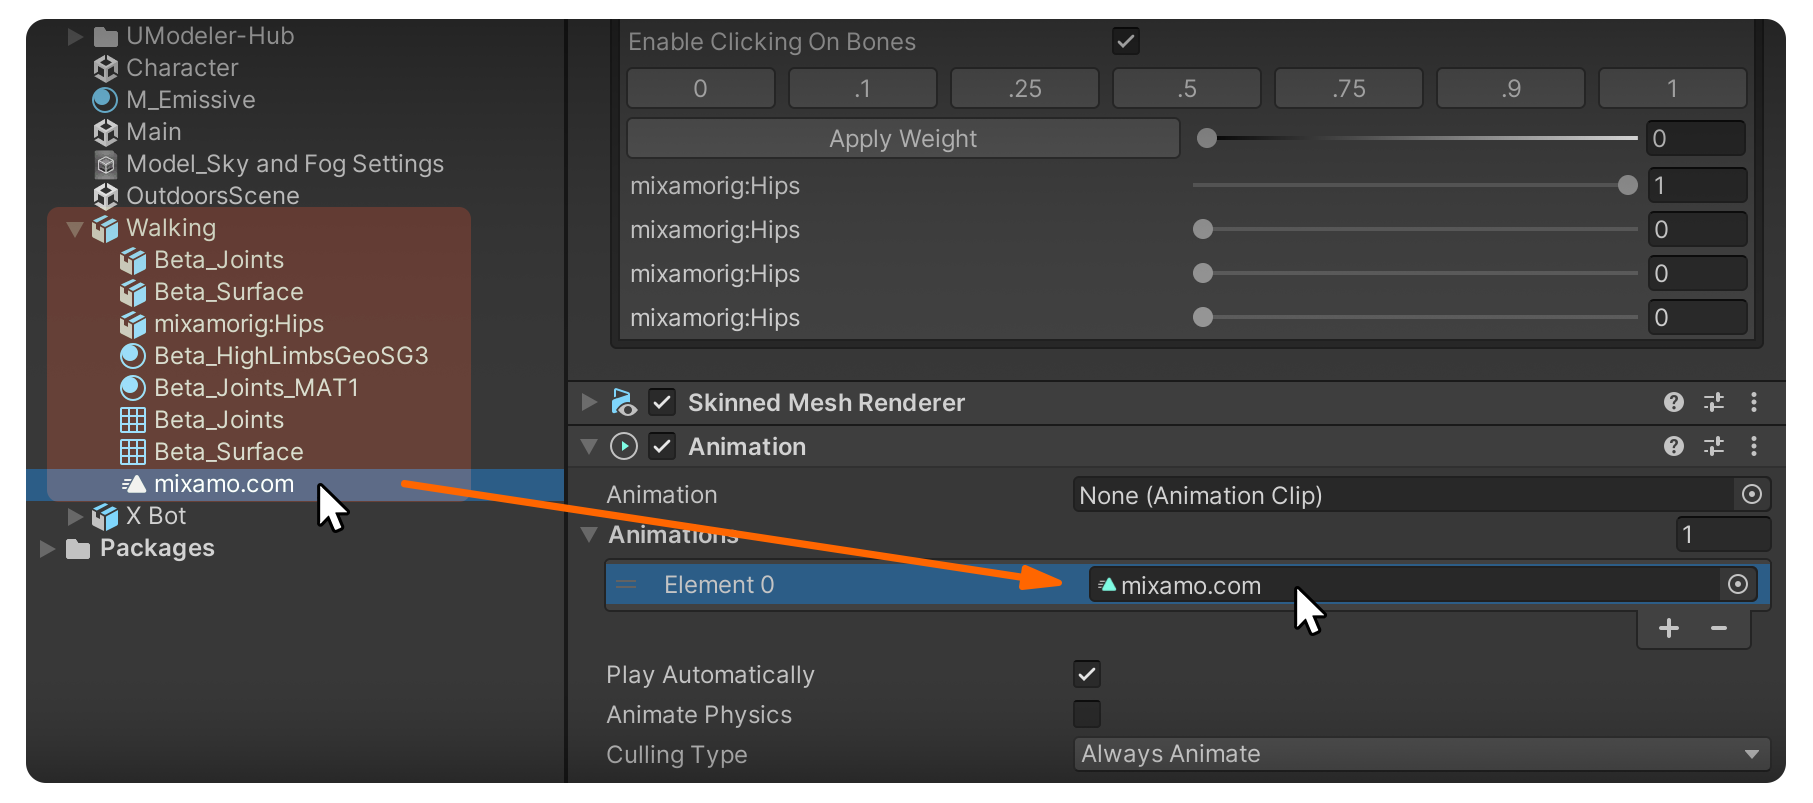
- The animation file is created under the imported FBX, named 'mixamo.com'.
6.Open the Animation window by clicking Window > Animation > Animation or pressing Ctrl+6.
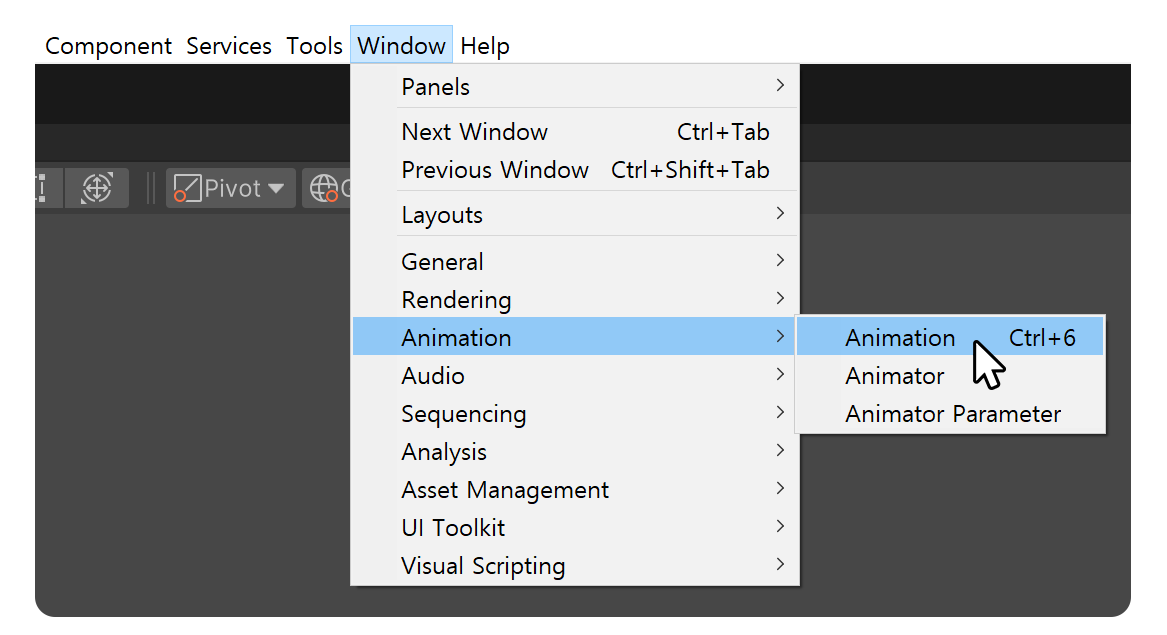
7.Press the play button in the Animation window to start the animation playback.