Remesh
Translation in progress — showing the English version.
Step by step
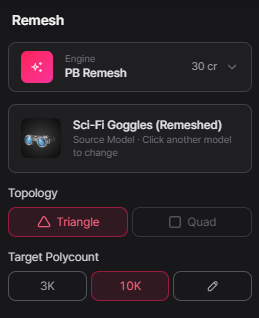
- Open the Remesh workspace.
- Select a Remesh engine (e.g., PB Remesh, 30 cr).
- Choose your source model from the selected right side list (e.g., Sci‑Fi Goggles).
- Set the Topology type to either Triangle or Quad (Triangle is selected in the example).
- Pick a Target Polycount preset (e.g., 10K) or click the pencil icon to enter a custom value.
- Review your choices, then click Generate to start the remesh process.
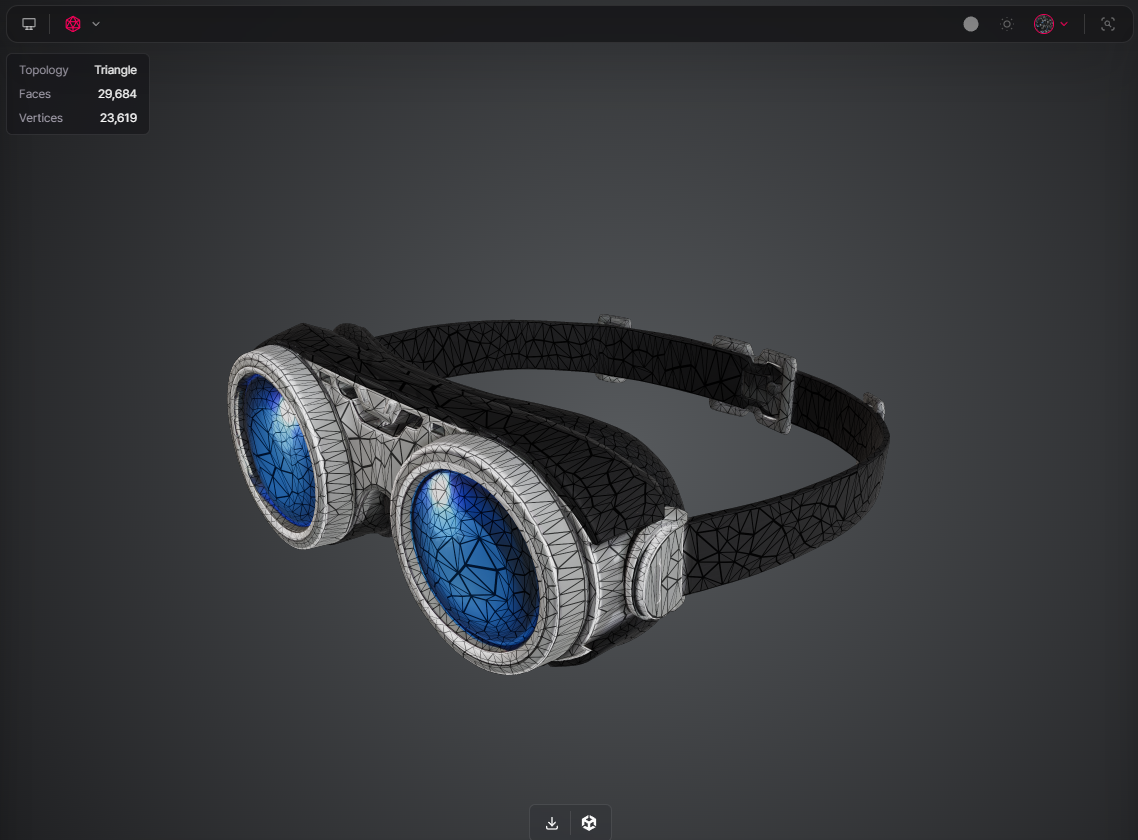
- Inspect the new mesh in the viewer and decide whether to keep it, lower/raise the polycount, or try a different engine.
Understanding Your Results
Remesh tool controls how your mesh will be rebuilt:
- Remesh engine
- Choose between PB Remesh, Meshy Remesh, or Tripo Remesh.
- Each engine may handle detail and smoothing slightly differently.
- Source model
- Shows the currently selected model (e.g., Female Sci‑Fi Character T‑P…).
- You can click another model to change the source.
- Topology
- Triangle : ideal for real‑time engines that consume triangle meshes.
- Quad : better when you plan to sculpt, subdivide, or further edit the mesh.
- Target Polycount
- Presets like 3K, 10K, etc.
- A manual input option (pencil icon) for custom polycounts.
These settings define how dense, clean, and engine‑friendly your final mesh will be, making Remesh a key step before texturing, rigging, or exporting to Unity.